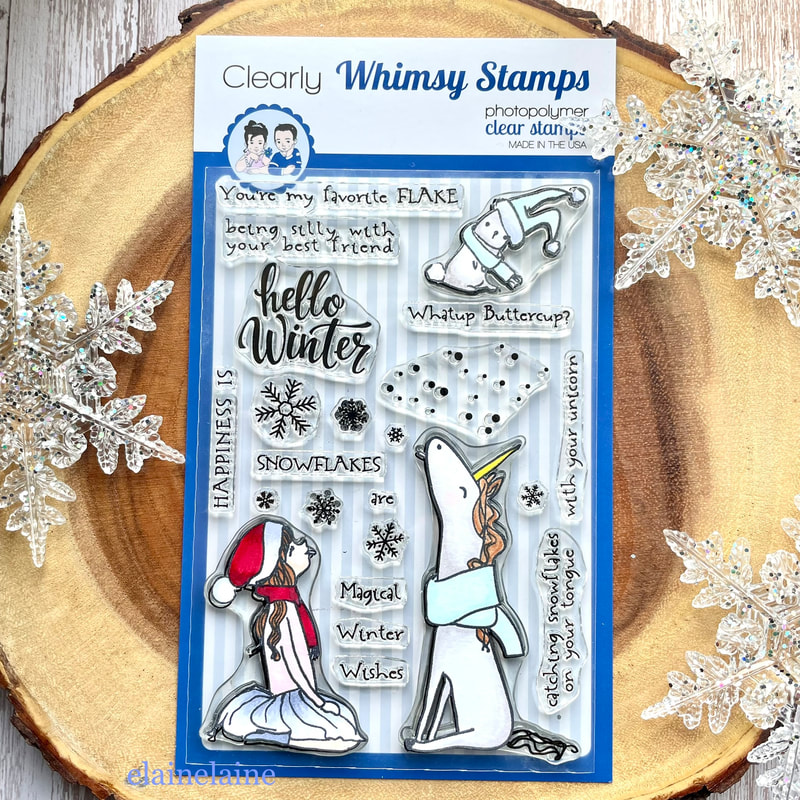
This is an adorable wintery unicorn clear stamp set from Whimsy stamps. Who doesn't like snowflakes and unicorns? I think we all dream of catching snowflakes with a unicorn friend!

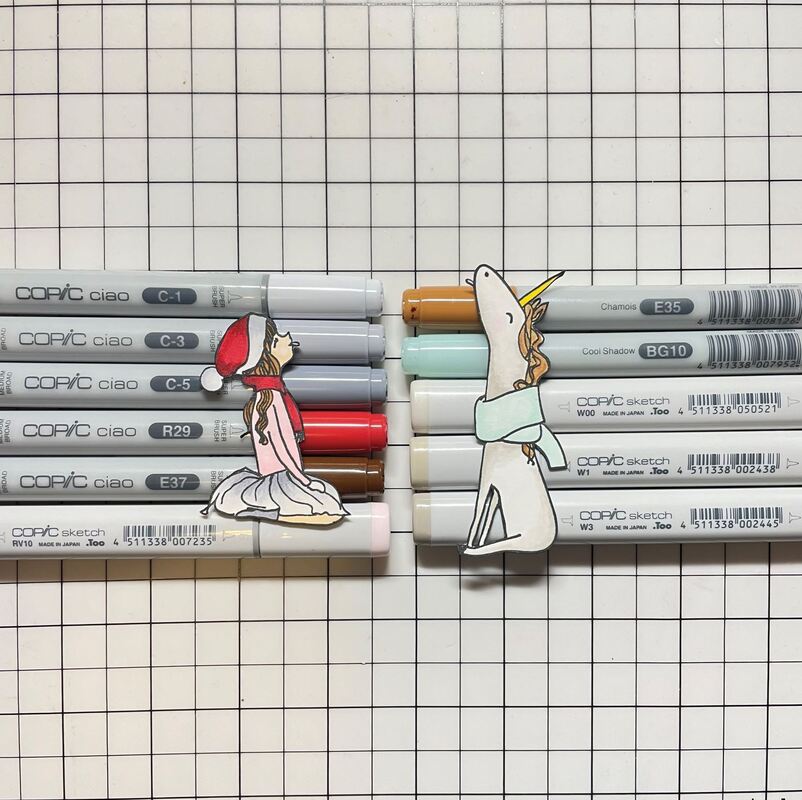
First, I stamped the images with the VersaFine Clair Nocturne ink, and then colored them with Copic markers.

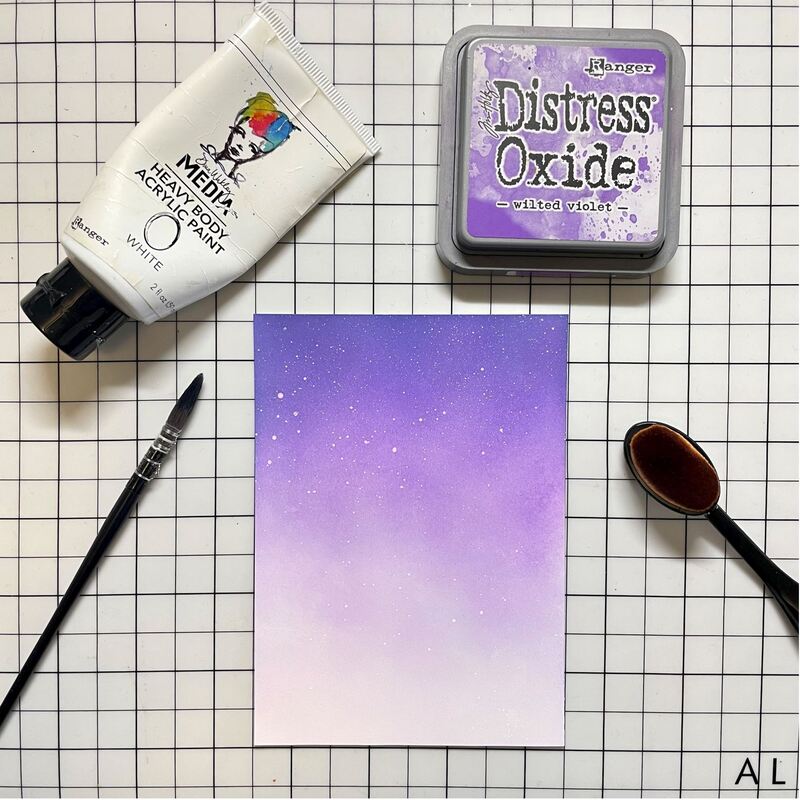
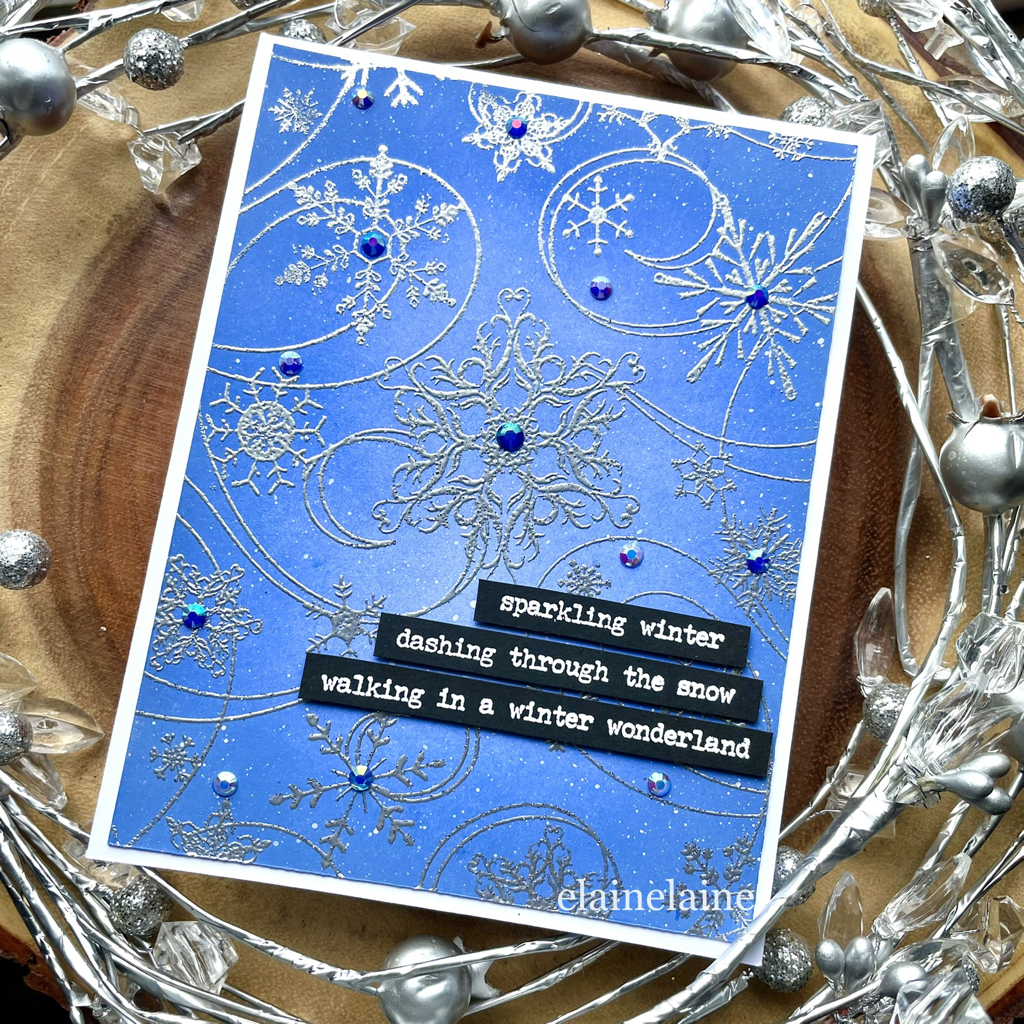
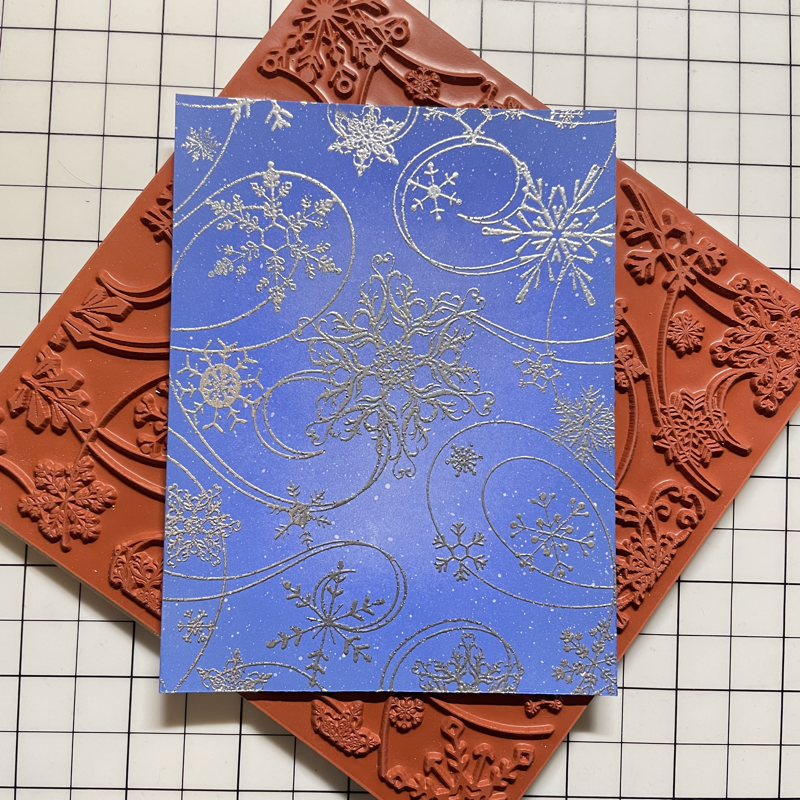
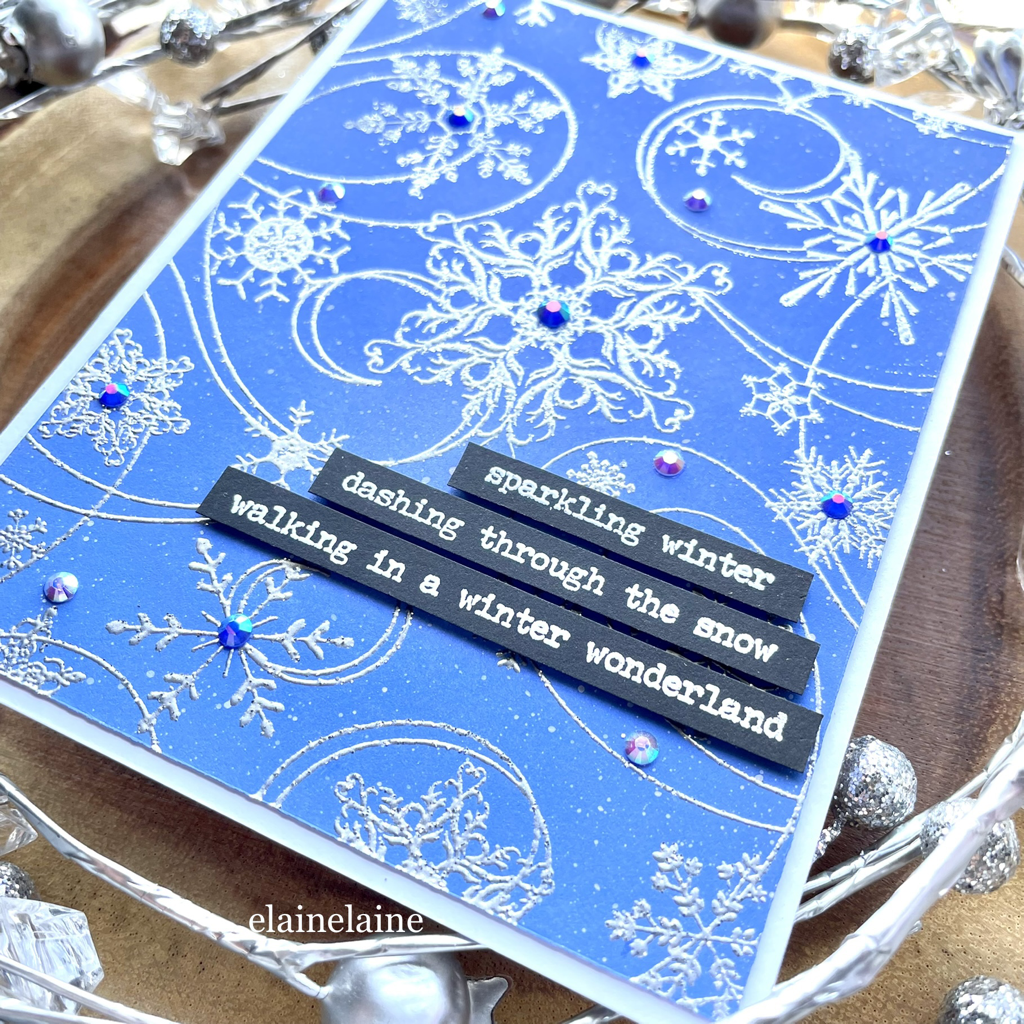
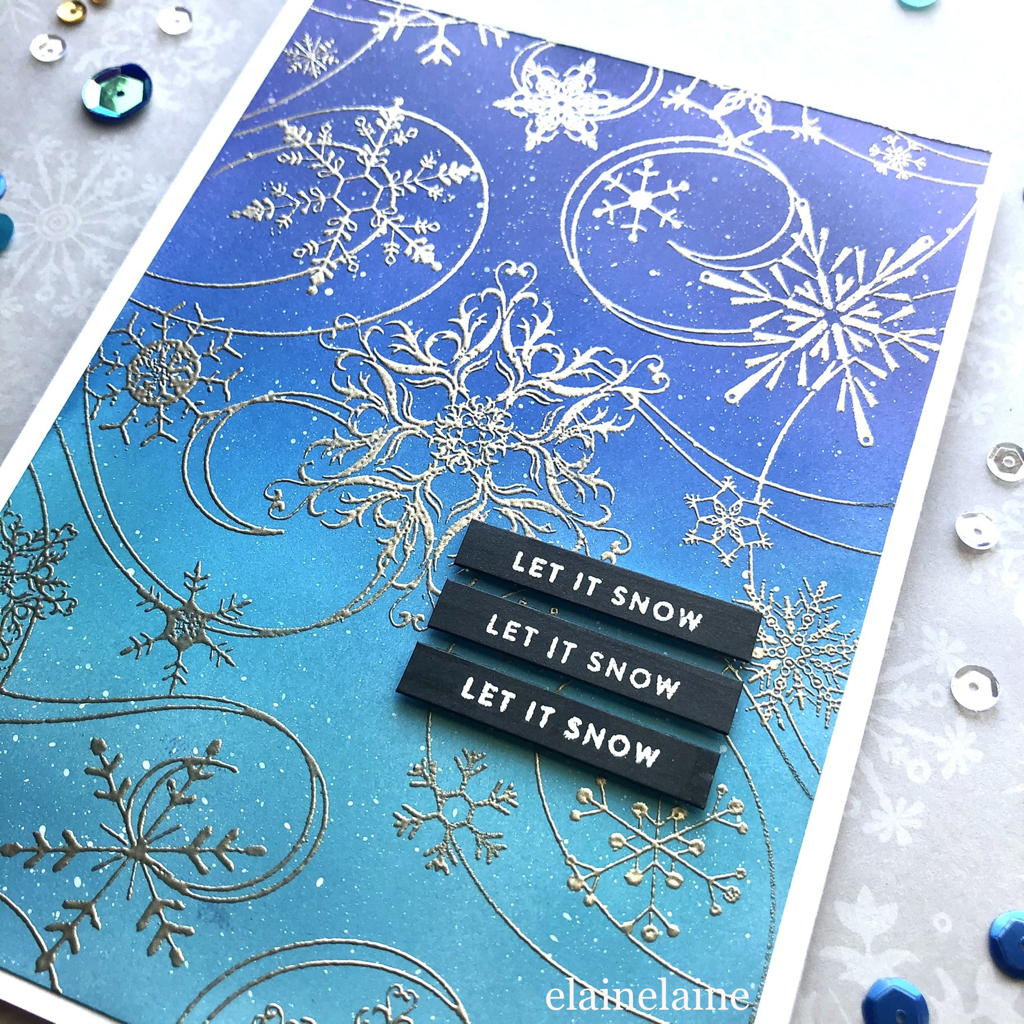
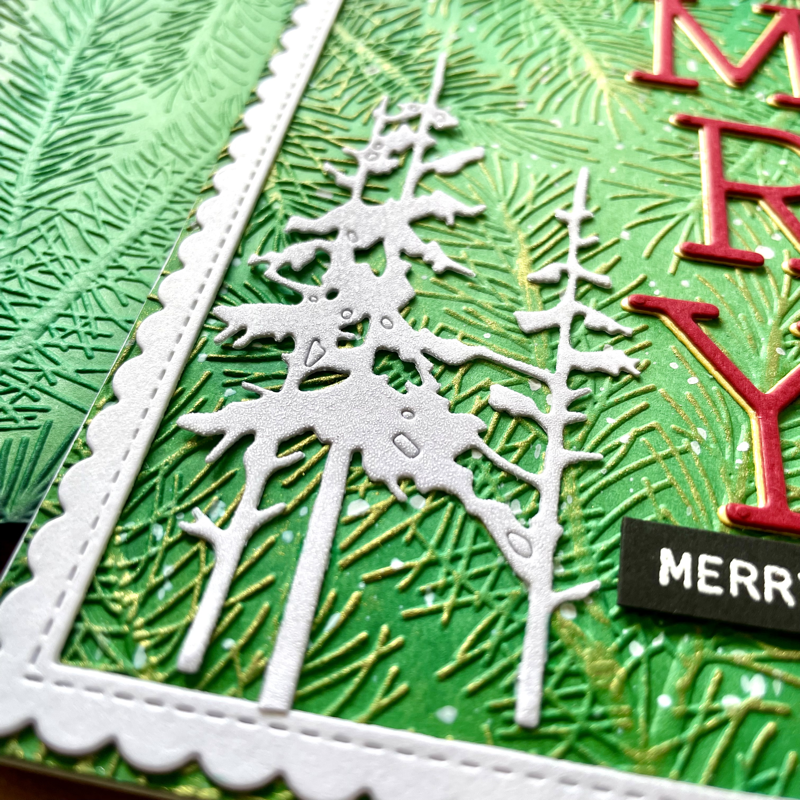
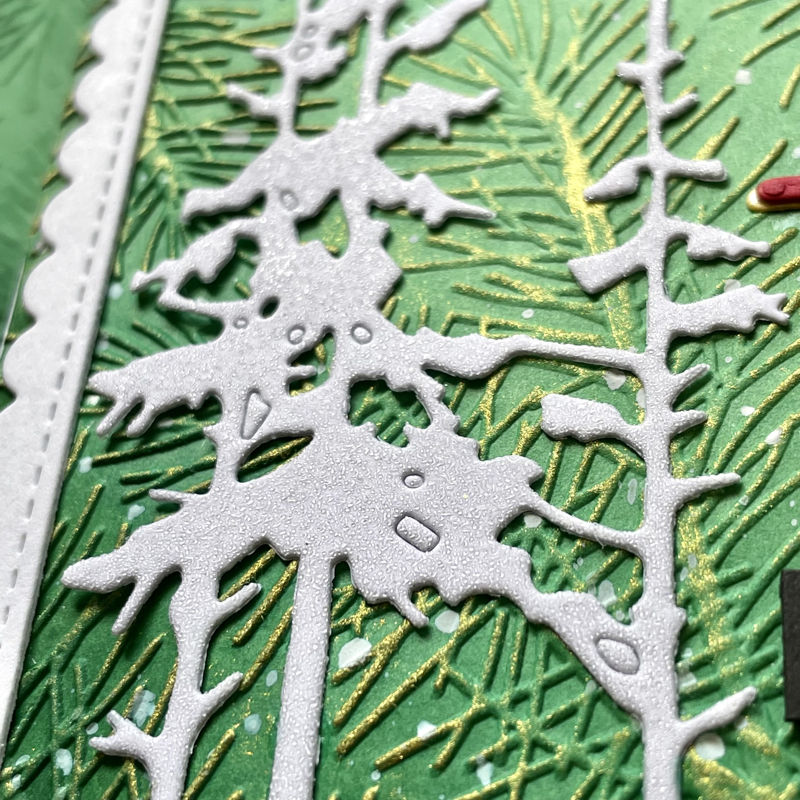
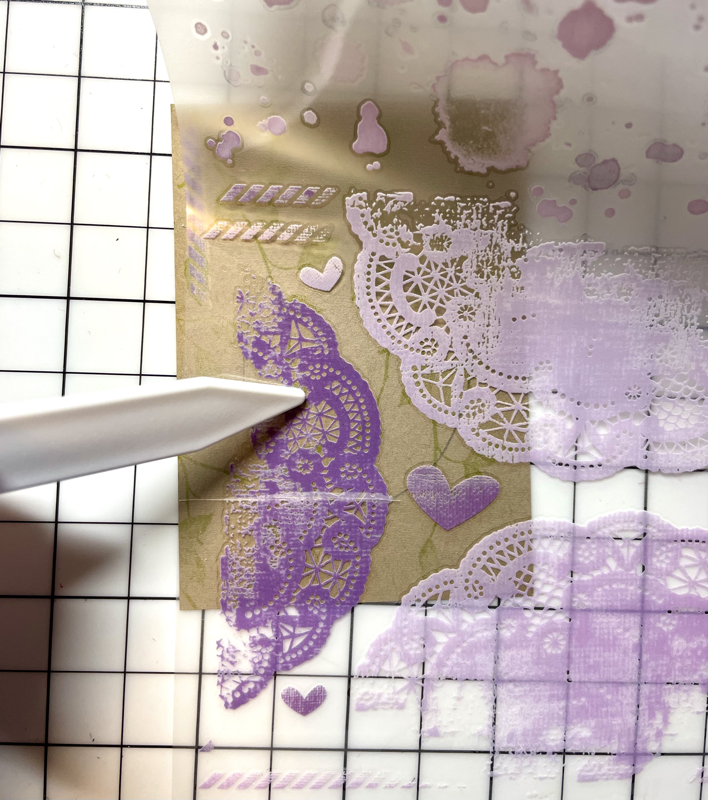
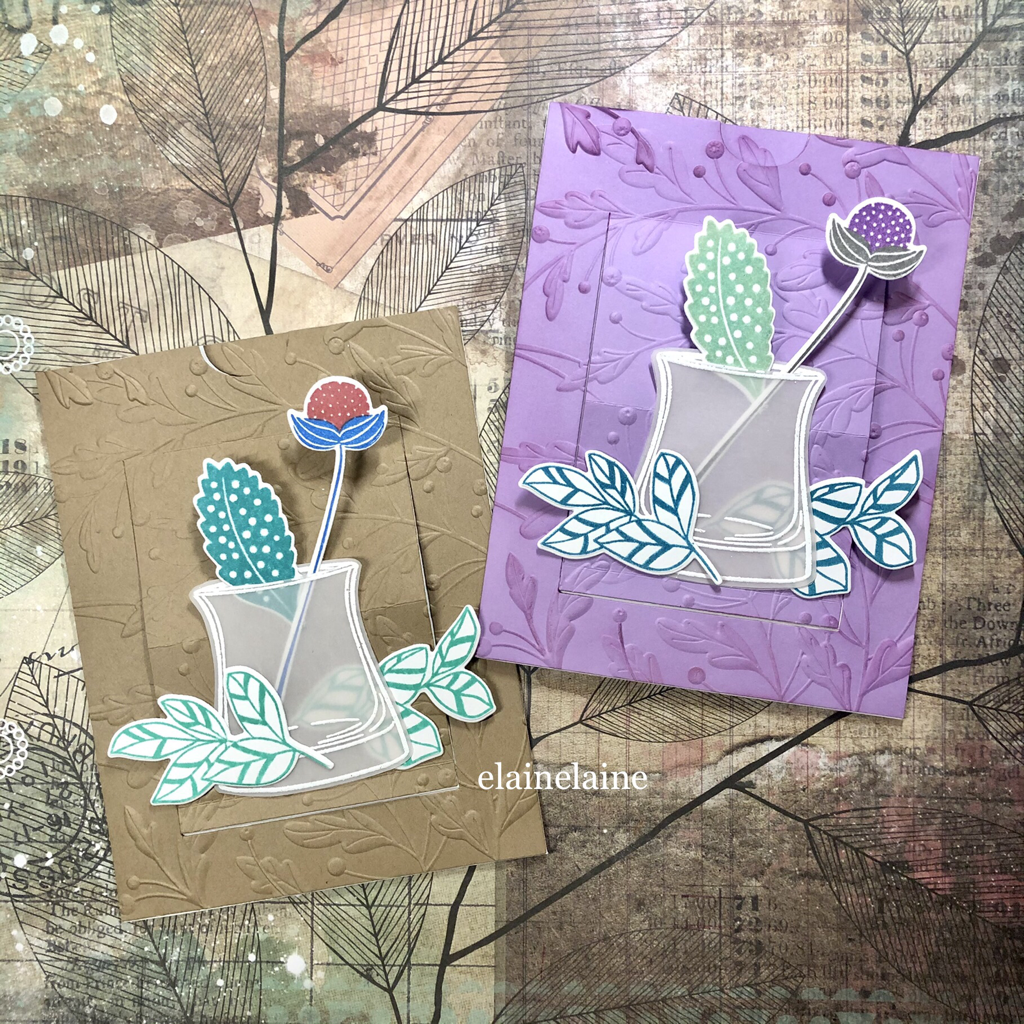
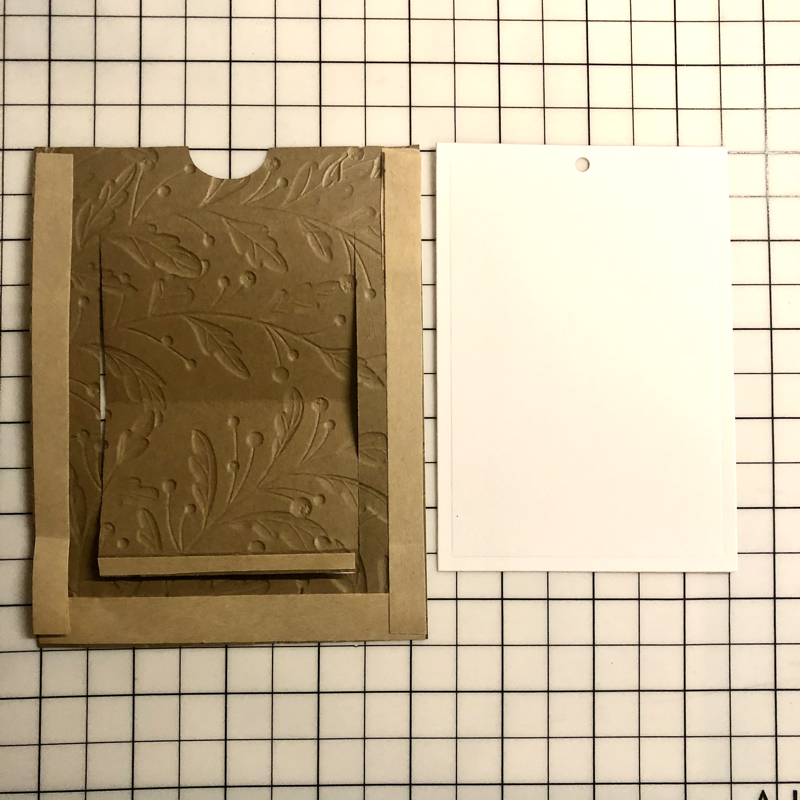
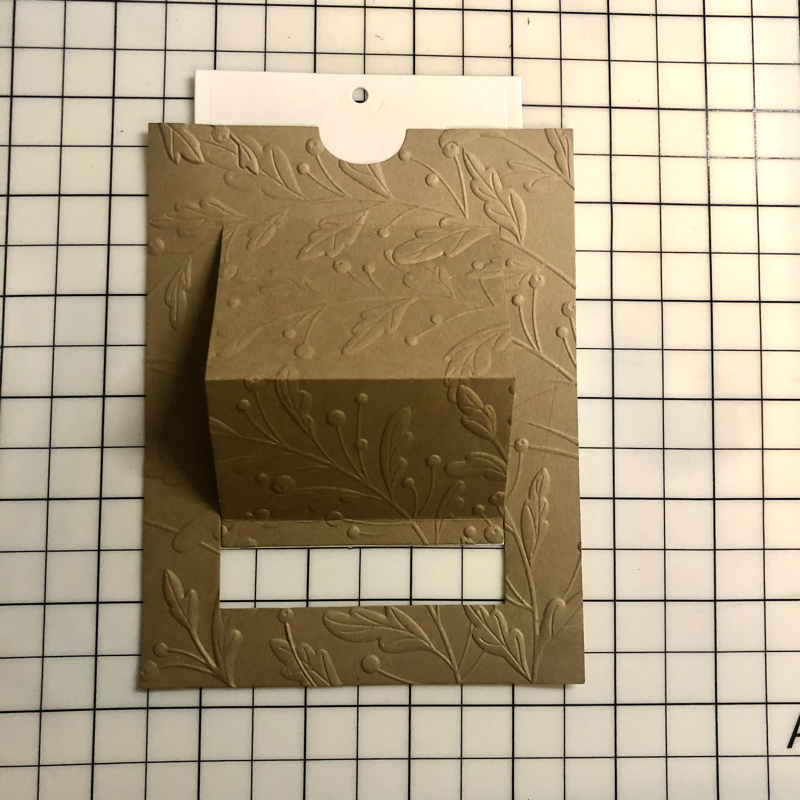
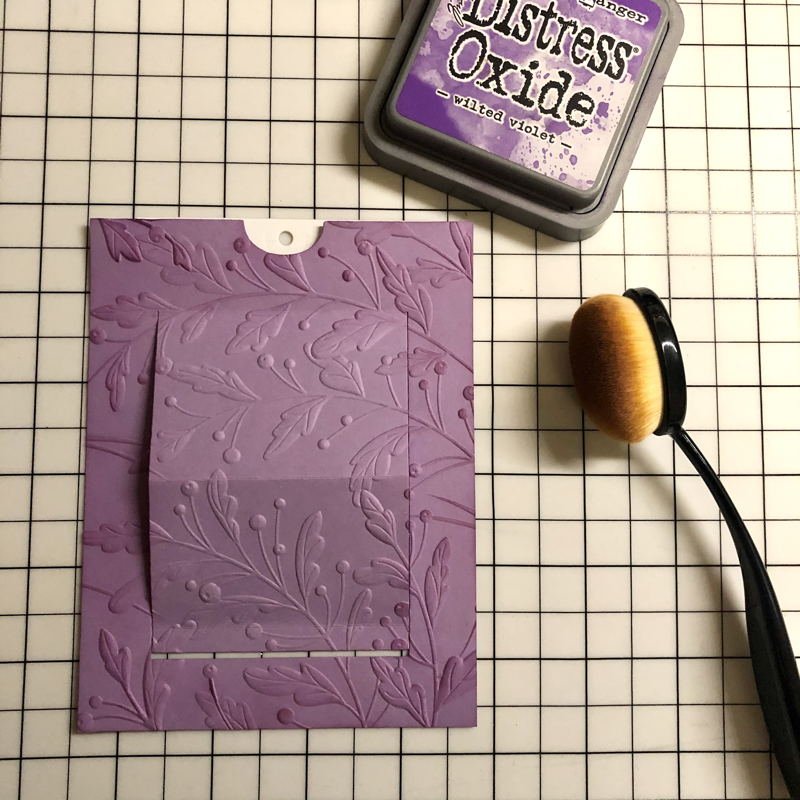
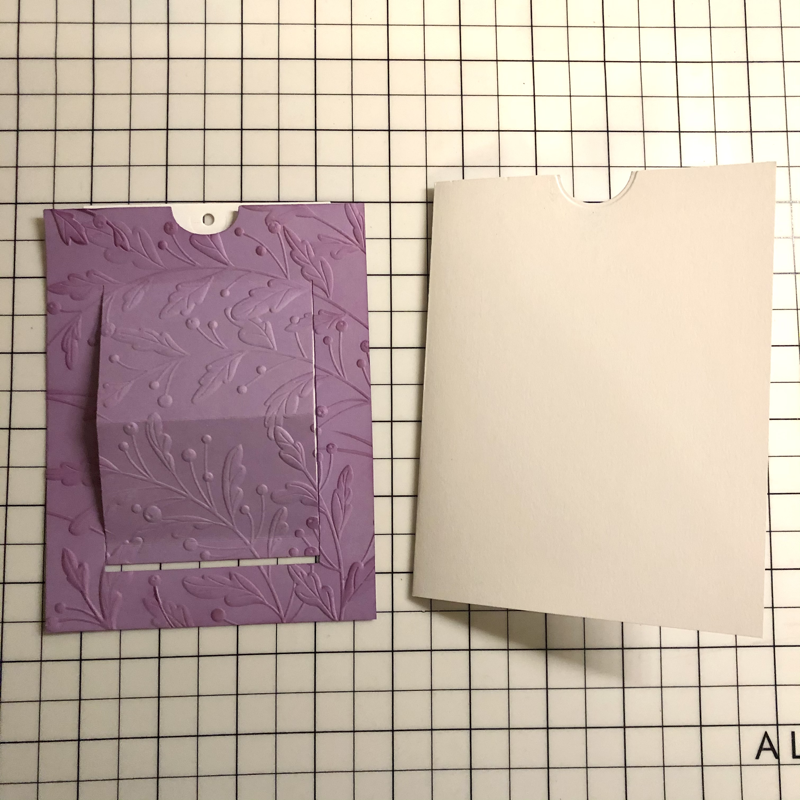
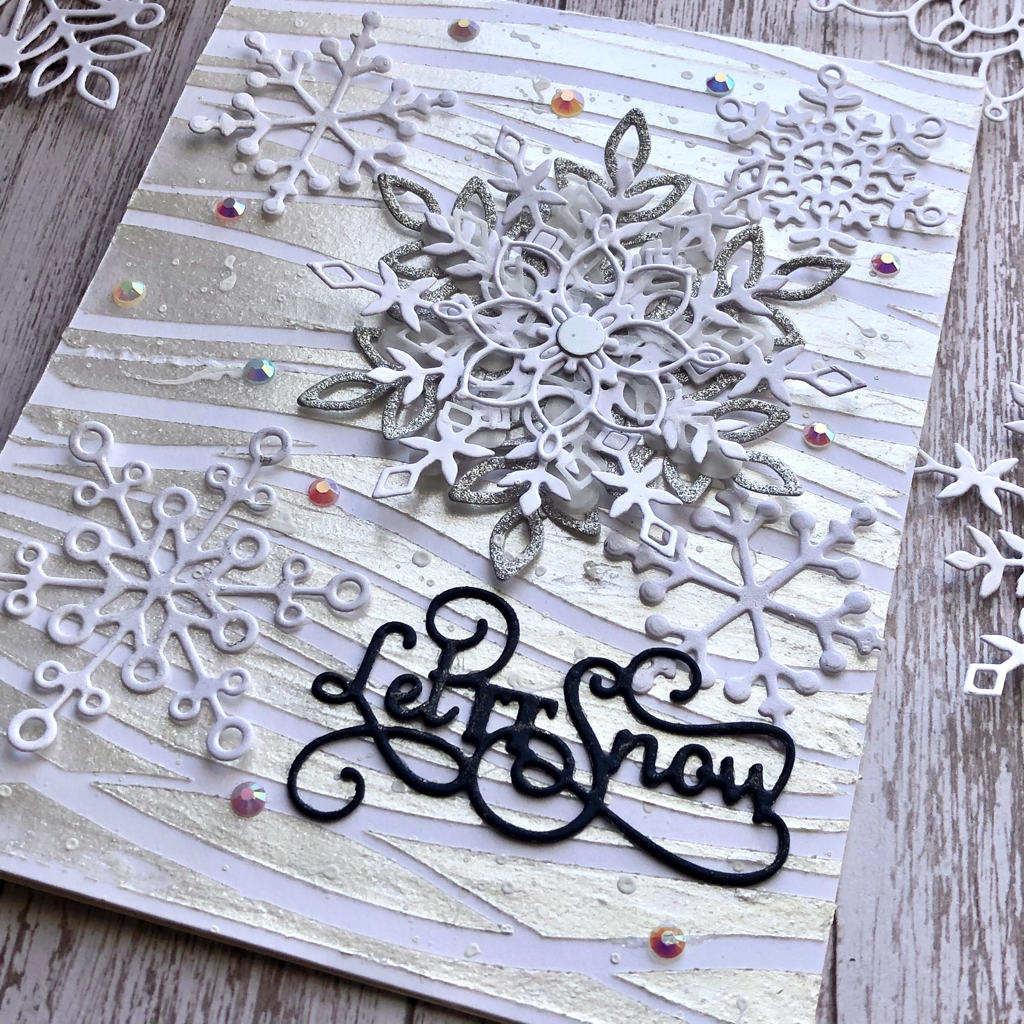
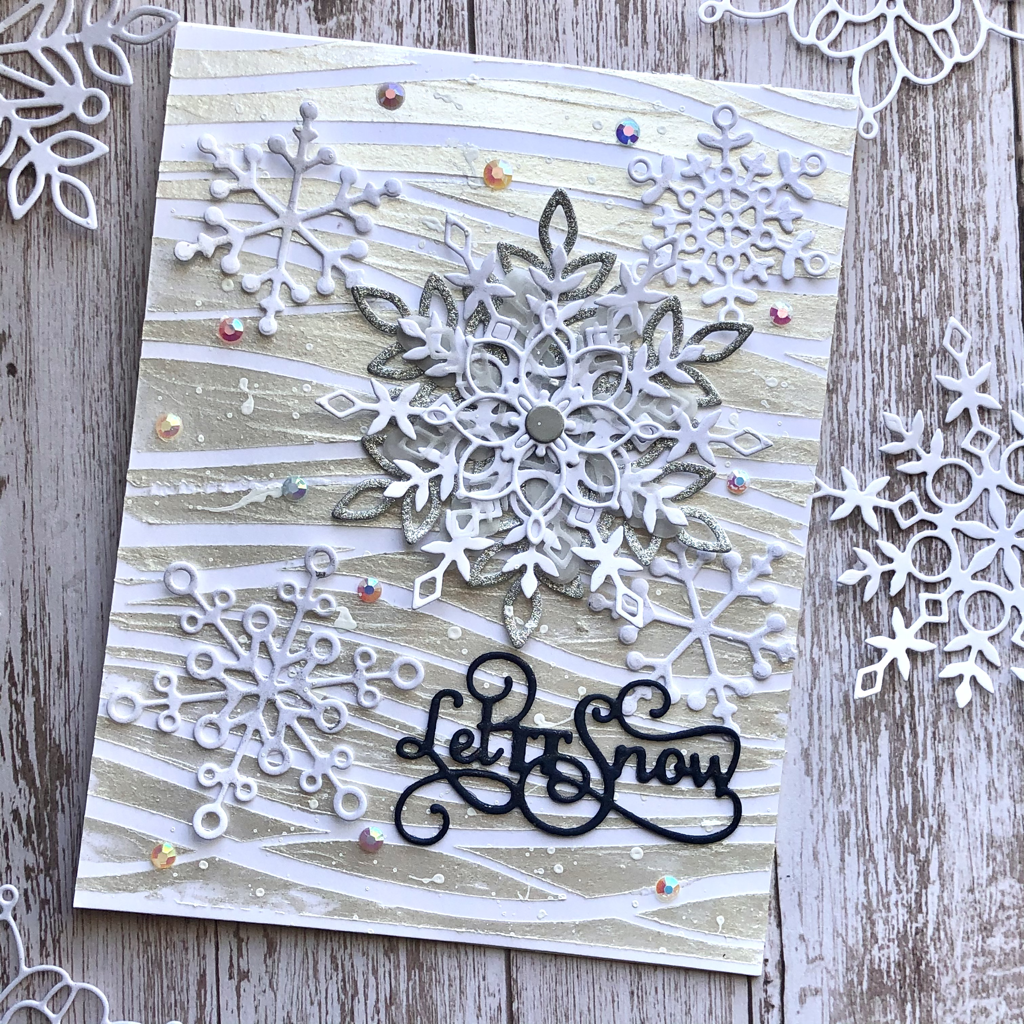
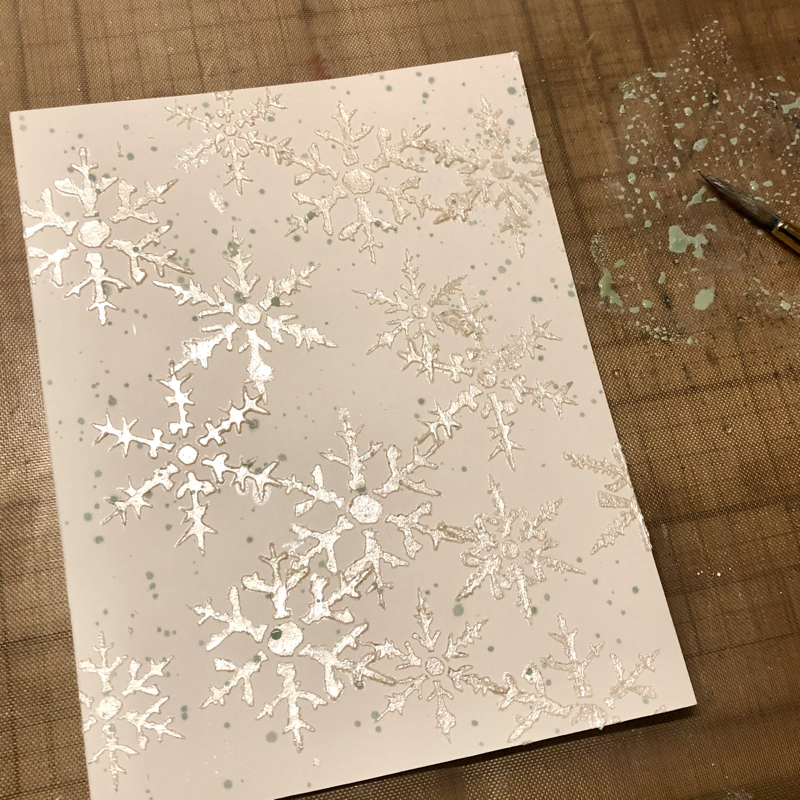
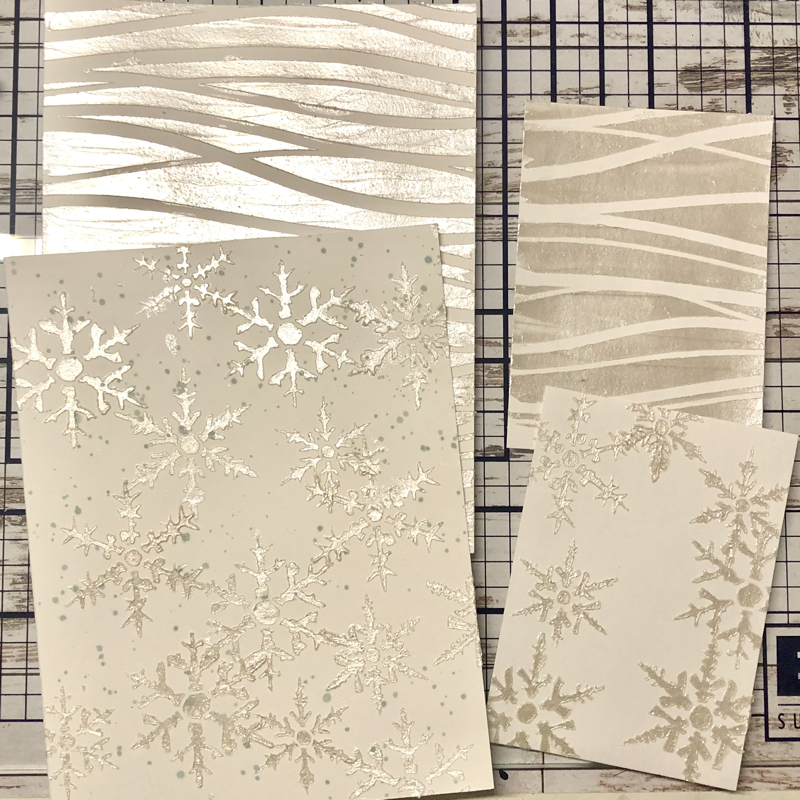
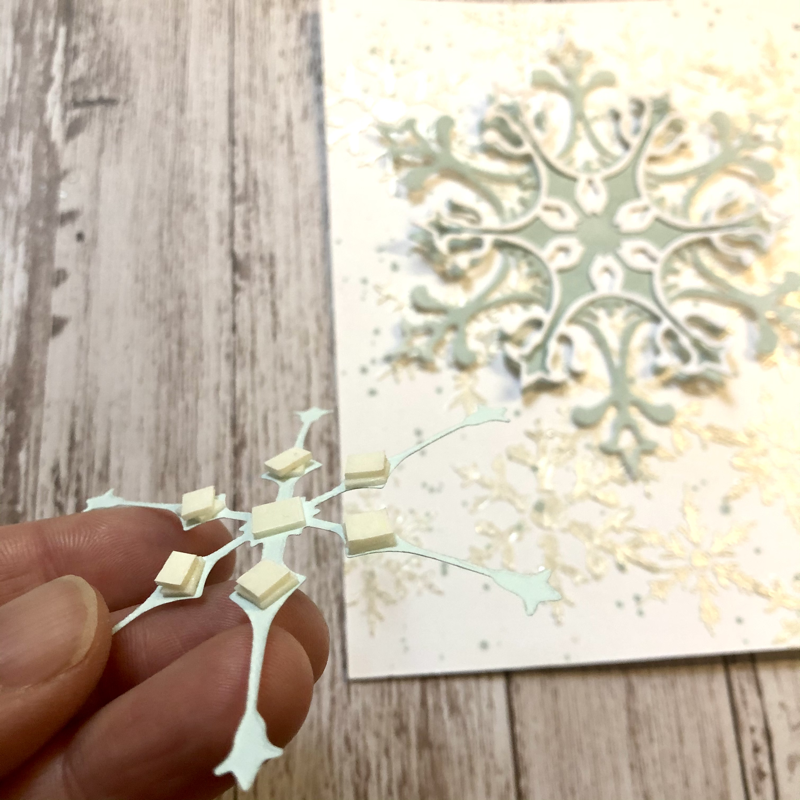
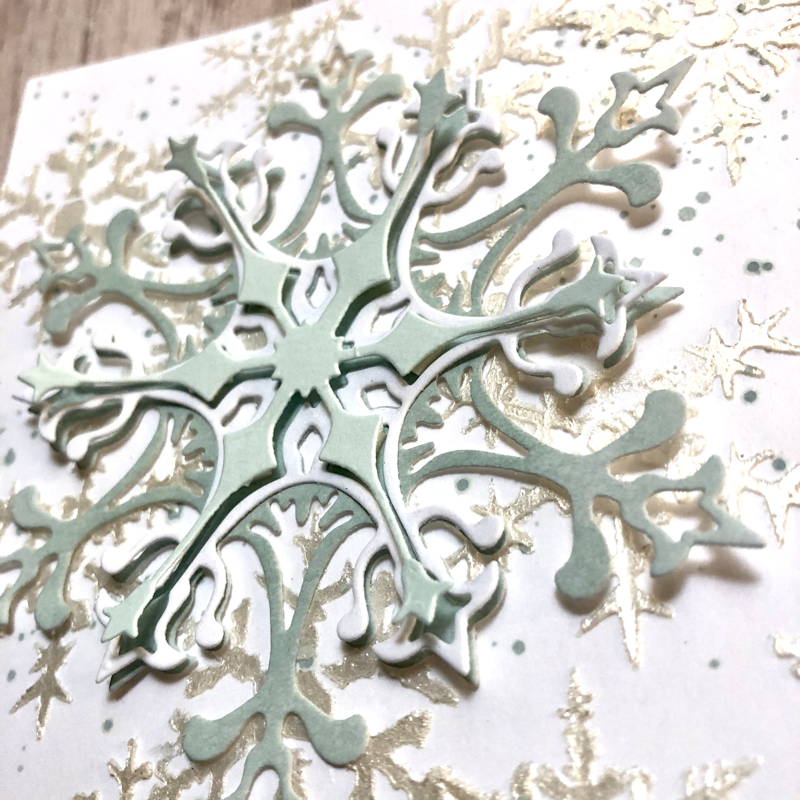
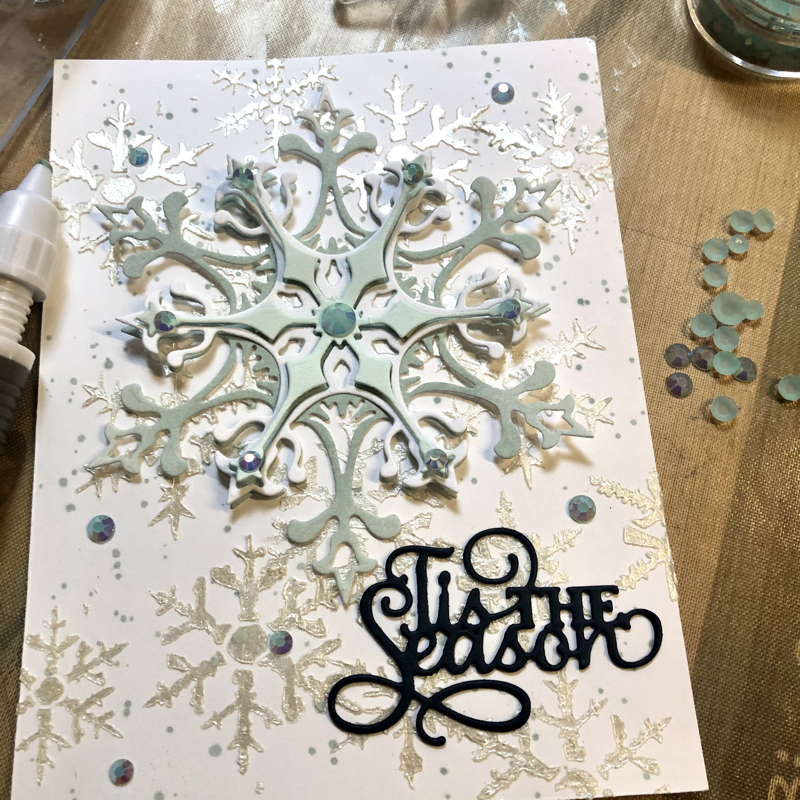
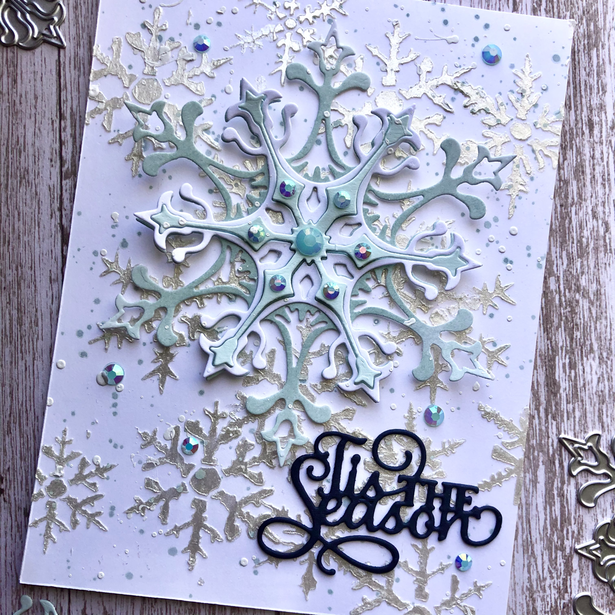
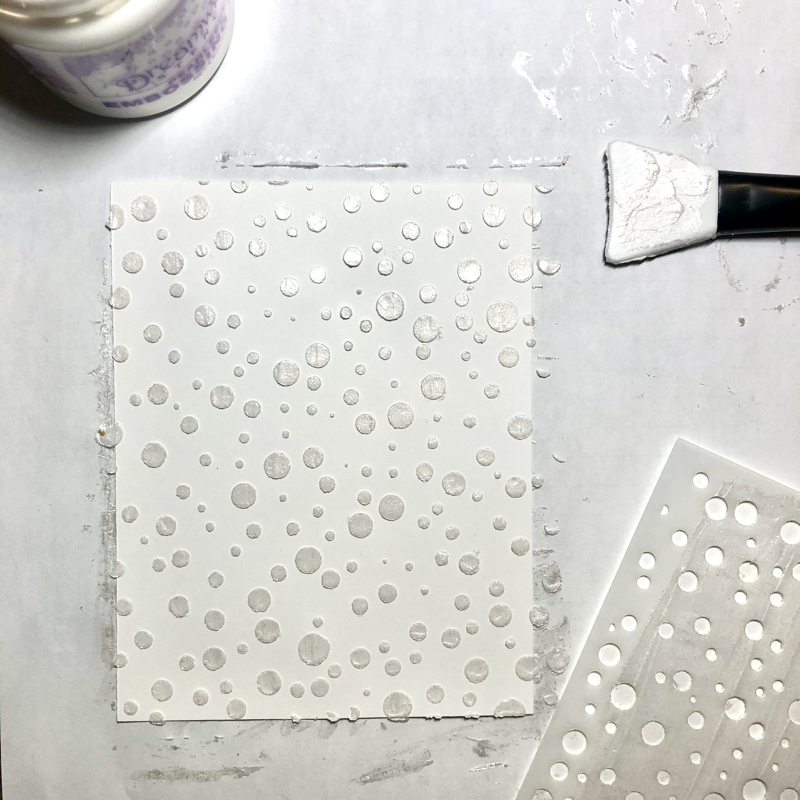
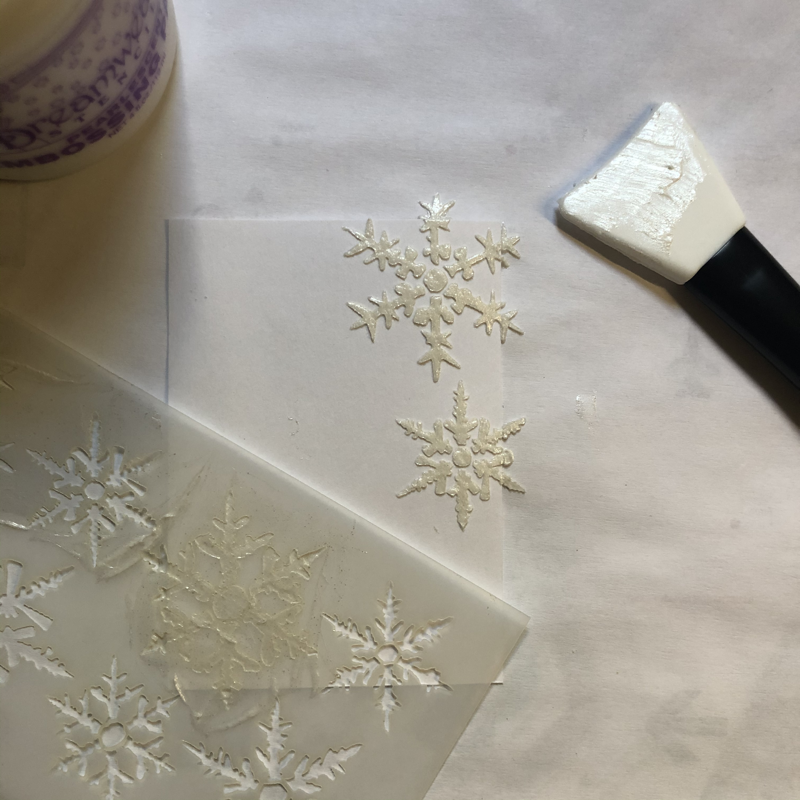
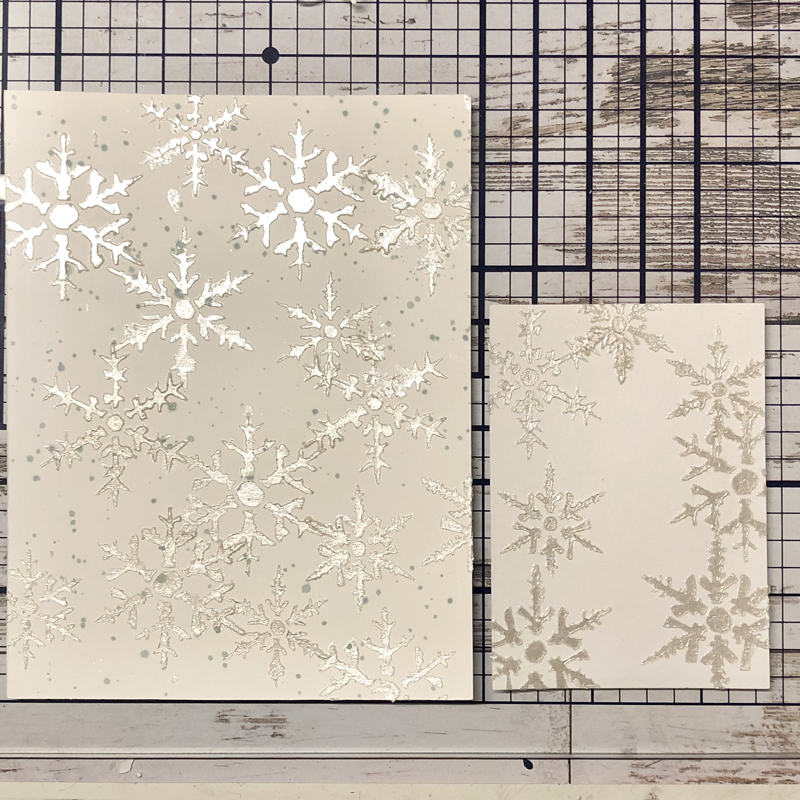
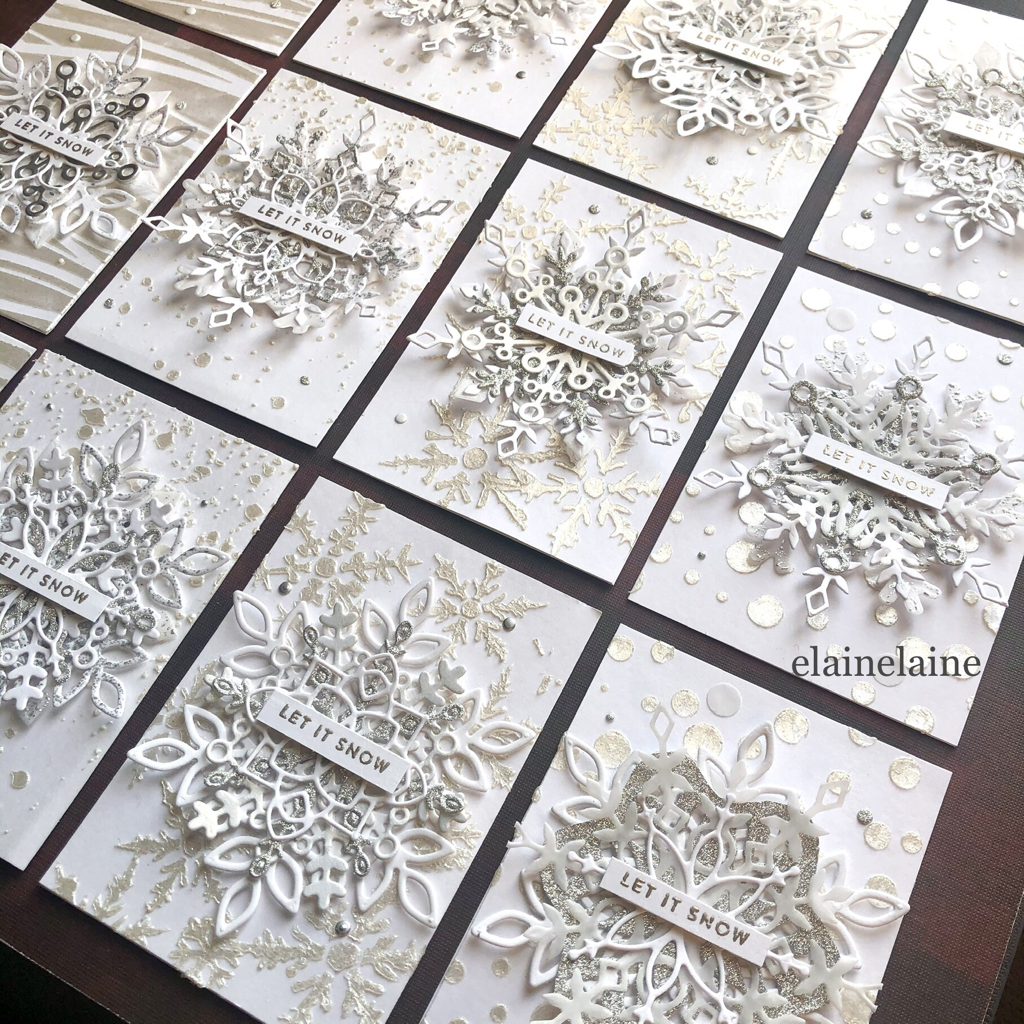
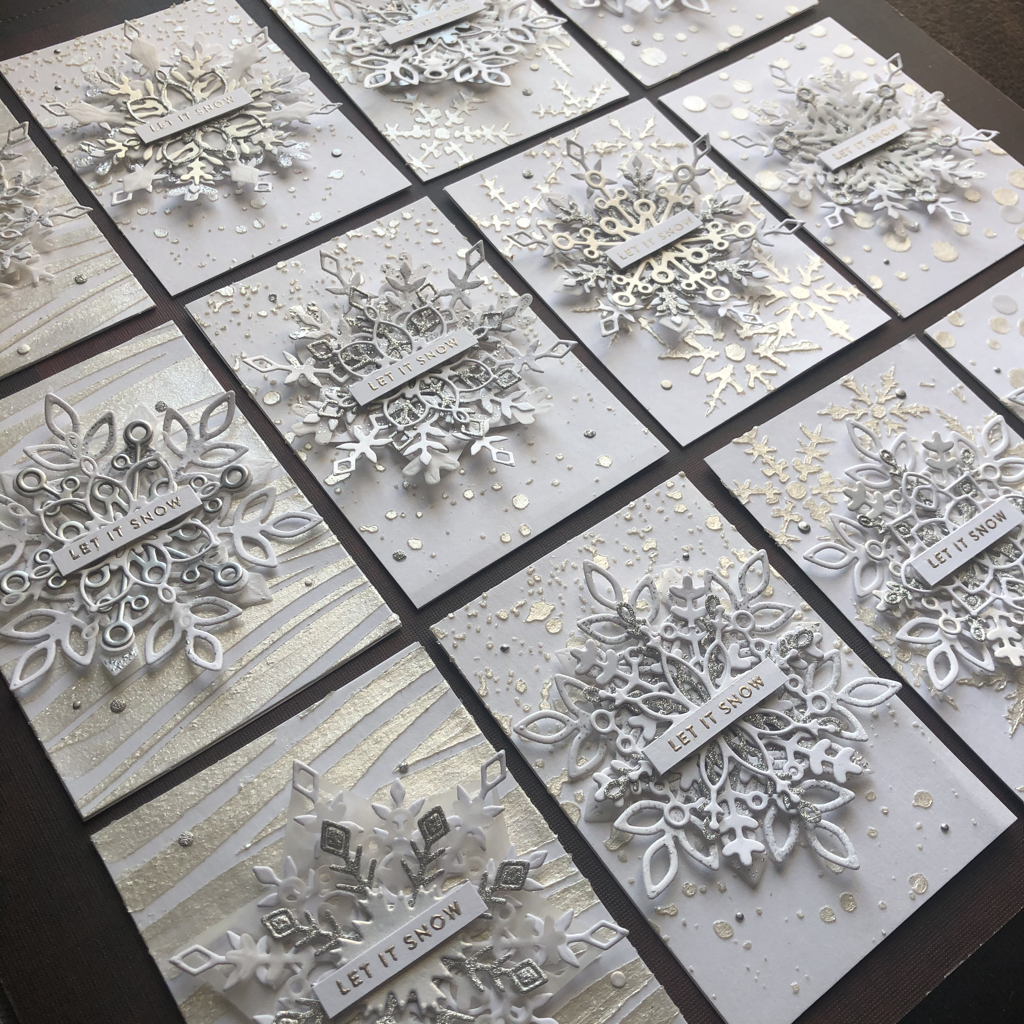
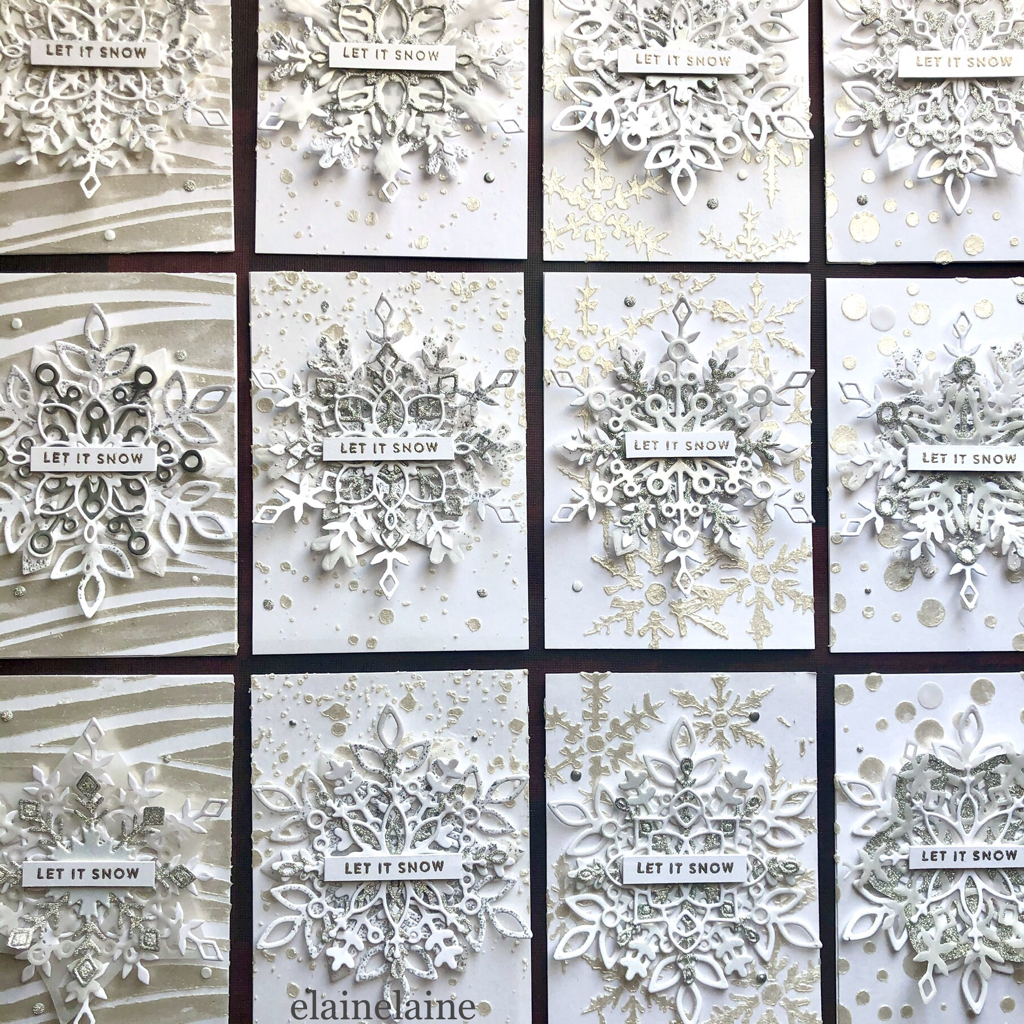
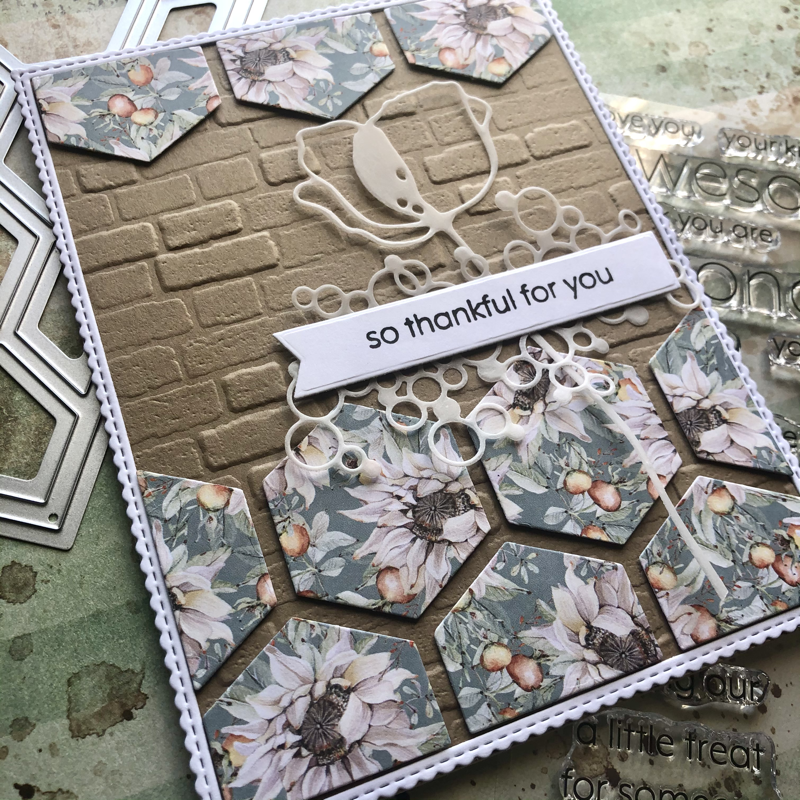
For the background, I blended the panel using the distress oxide ink in the color Wilted Violet with a blending brush, and then splashed some white dots on the panel using white acrylic paint as snow. After that, I positioned the girl and unicorn on the panel, and then I arranged the snowflakes to make it look like the snow was about to fall on their tongues.

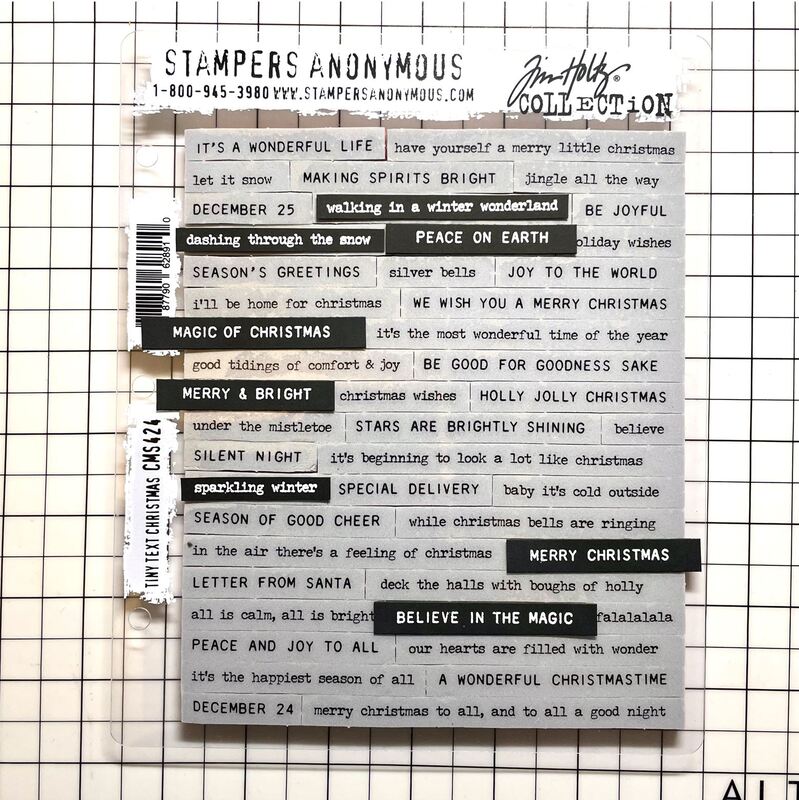
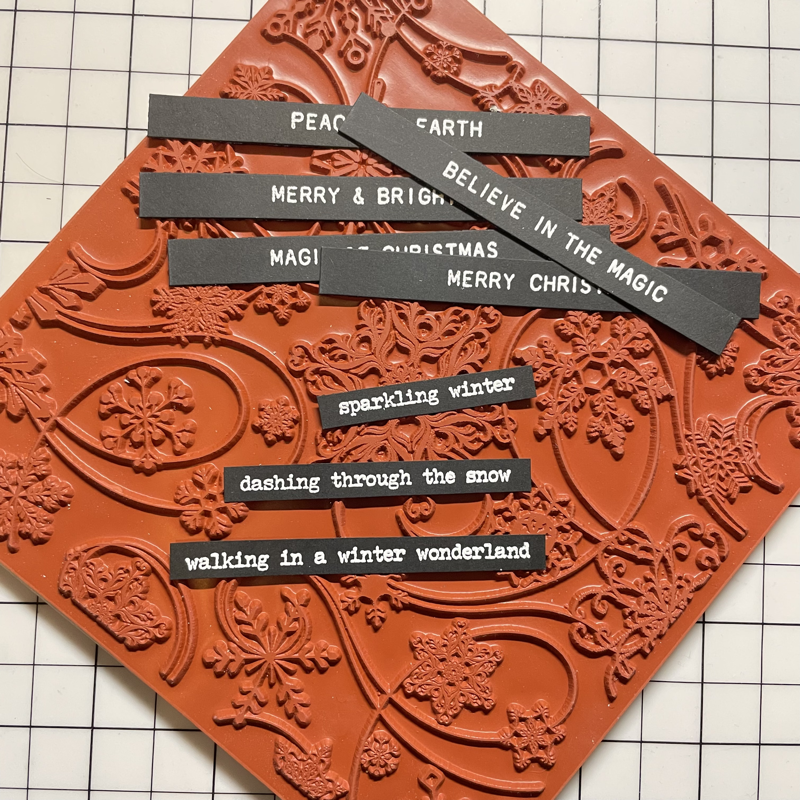
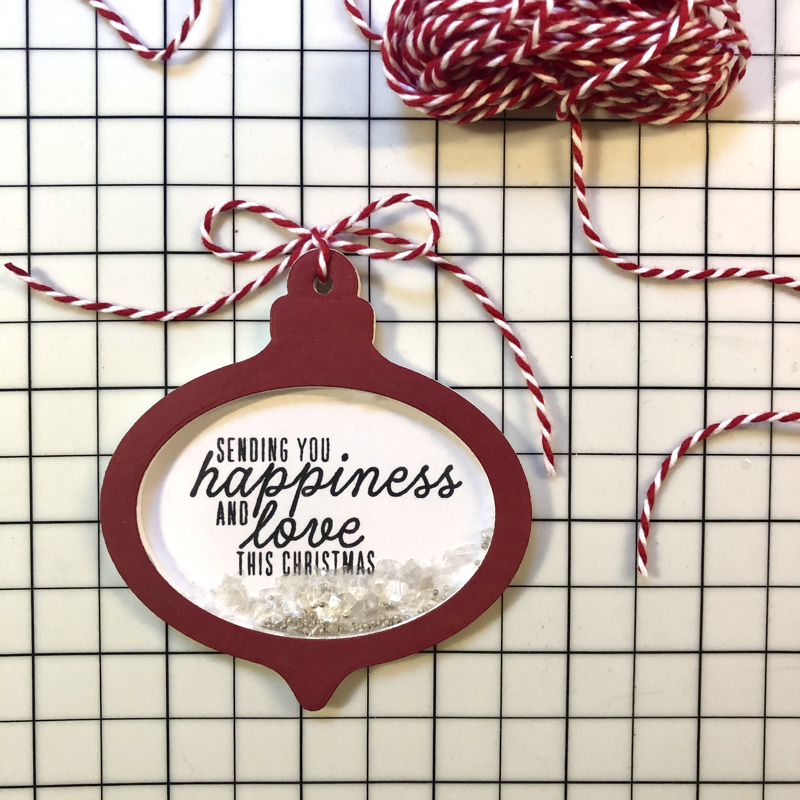
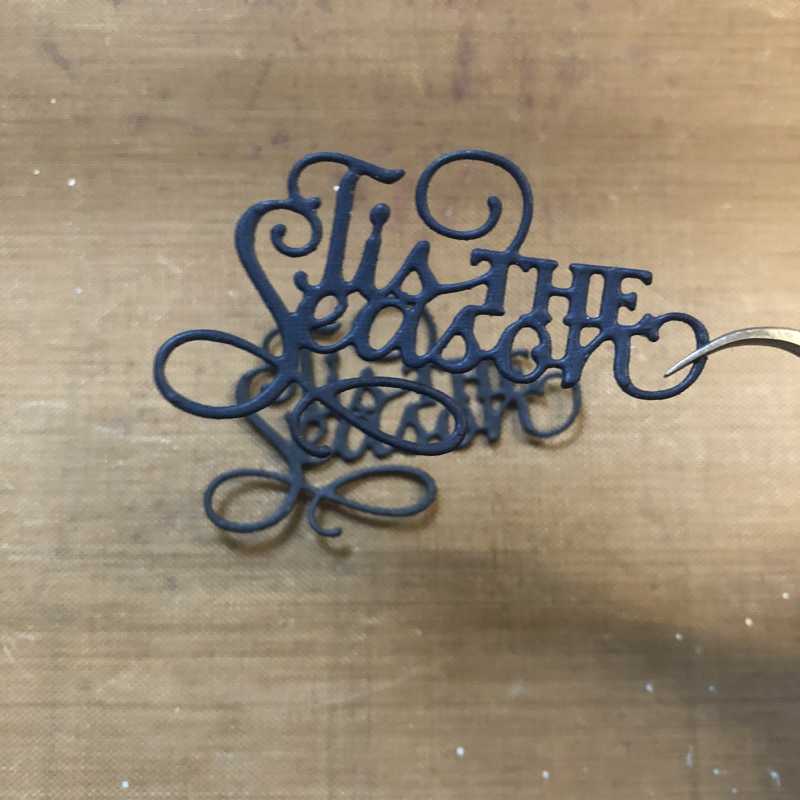
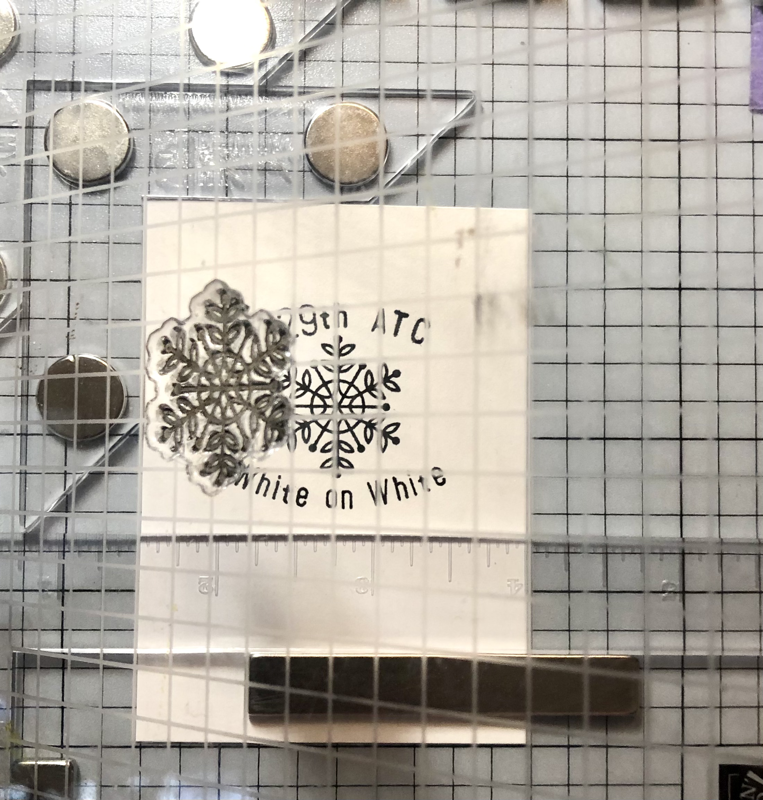
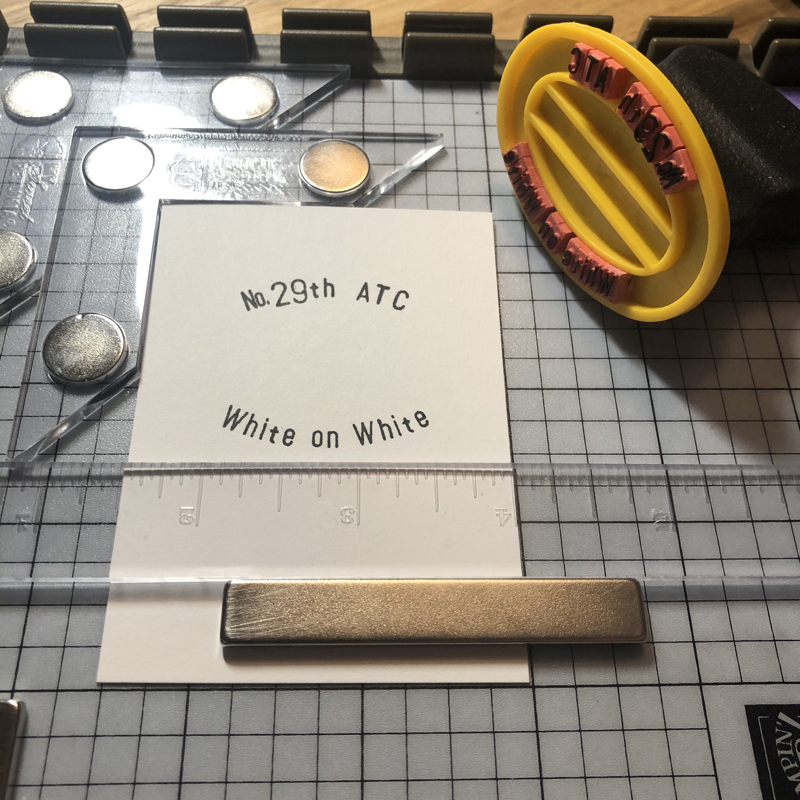
I chose the "Magic of Christmas" sentiment for the card from the Tim Holtz's tiny text Christmas stamp set. The sentiment was heat embossed with white embossing powder and then cut into strips.

Supplies:
Whimsy Stamps Favorite Flake clear stamp set
Stamper Anonymous Tim Holtz Collection Tiny Text Christmas cling stamp
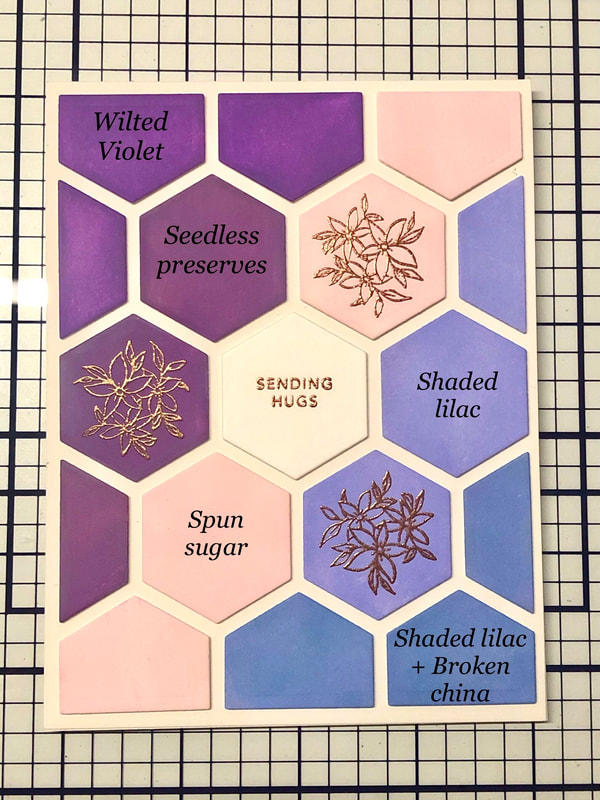
Tim Holtz distress oxide ink pad- Wilted Violet
Dina Wakley heavy body acrylic paint-white
Hero Arts white embossing powder
Whimsy Stamps Favorite Flake clear stamp set
Stamper Anonymous Tim Holtz Collection Tiny Text Christmas cling stamp
Tim Holtz distress oxide ink pad- Wilted Violet
Dina Wakley heavy body acrylic paint-white
Hero Arts white embossing powder
Thank you for visiting~ Happy Crafting!


 RSS Feed