這次使用柔和的顏色來呈現這一張卡片,希望給予一種溫暖丶柔和丶寧靜的感覺。
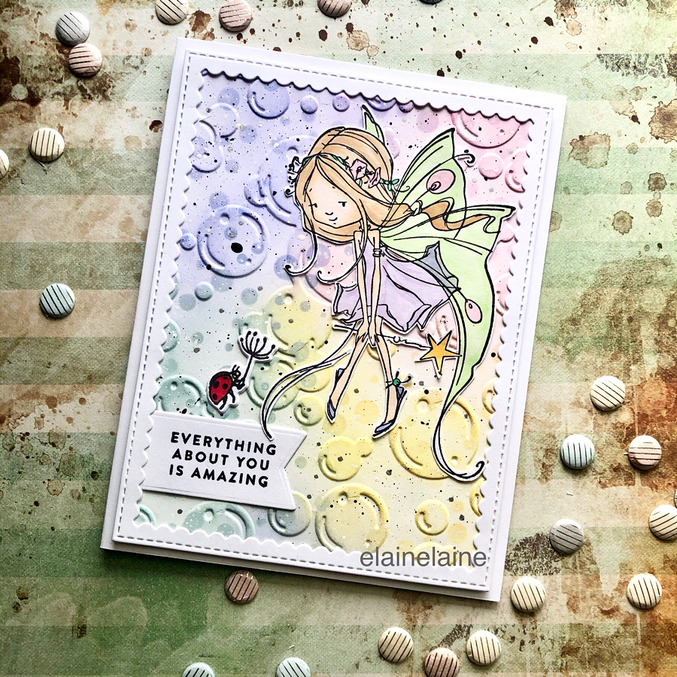
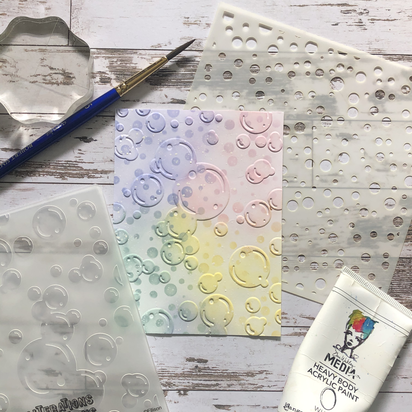
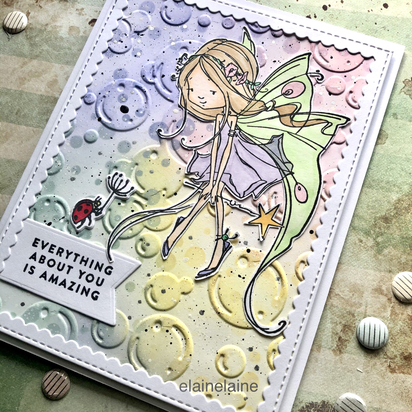
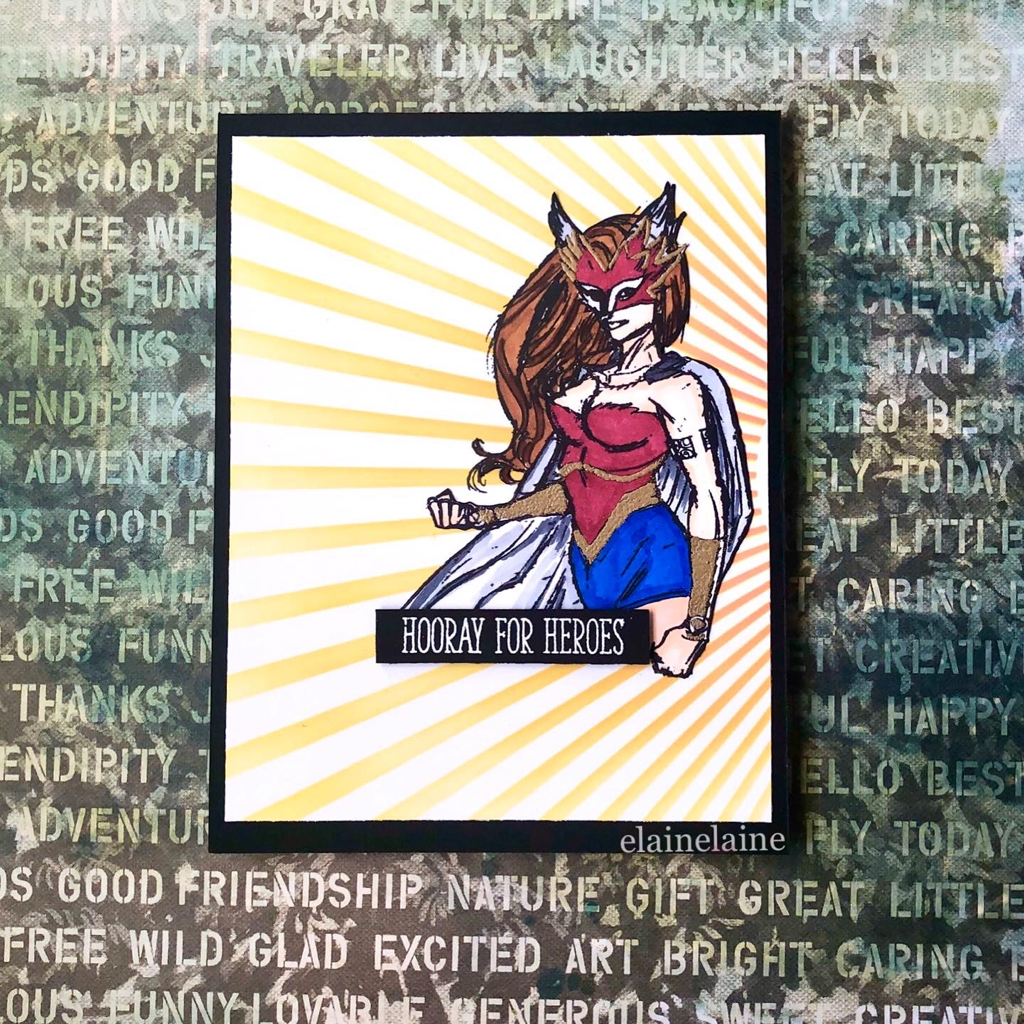
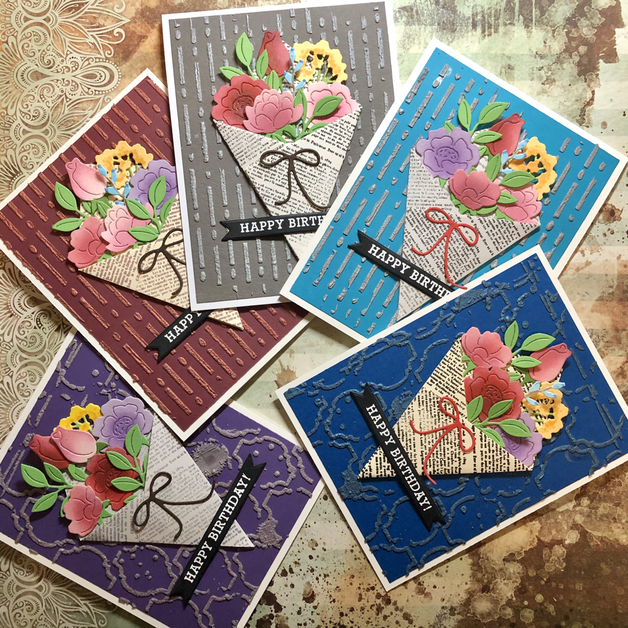
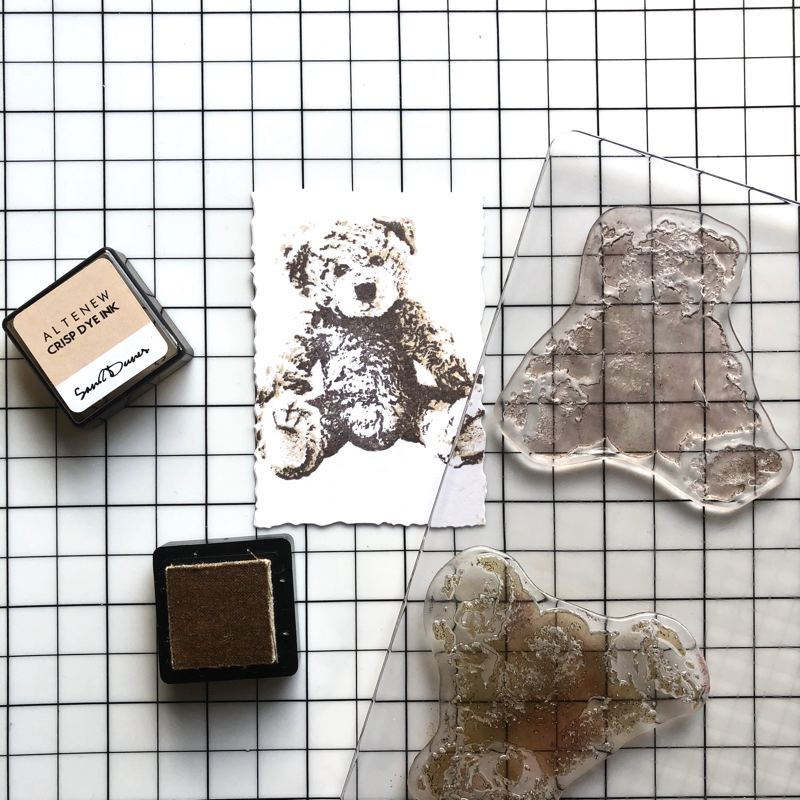
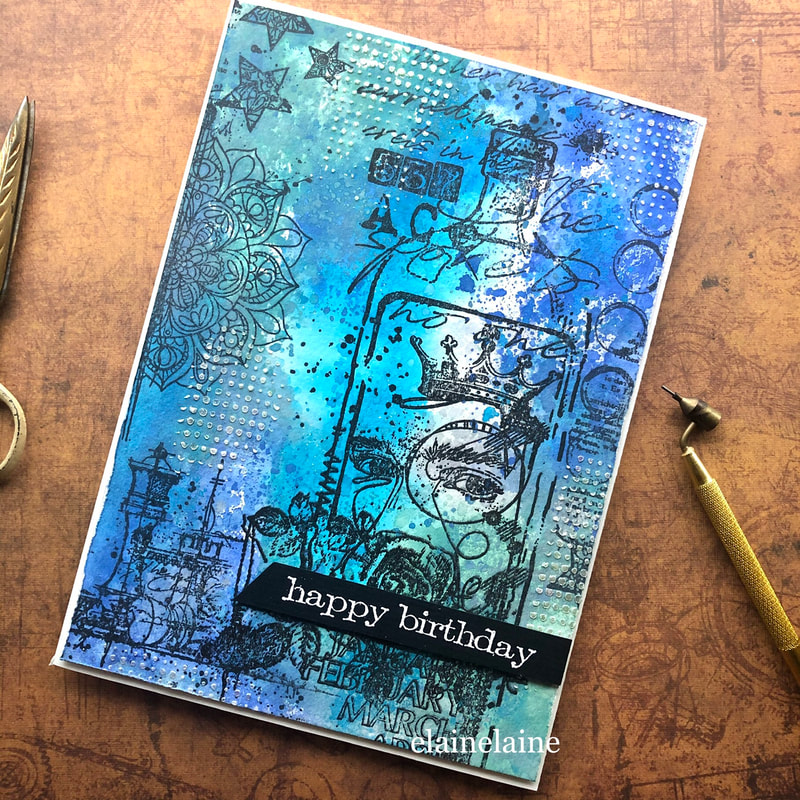
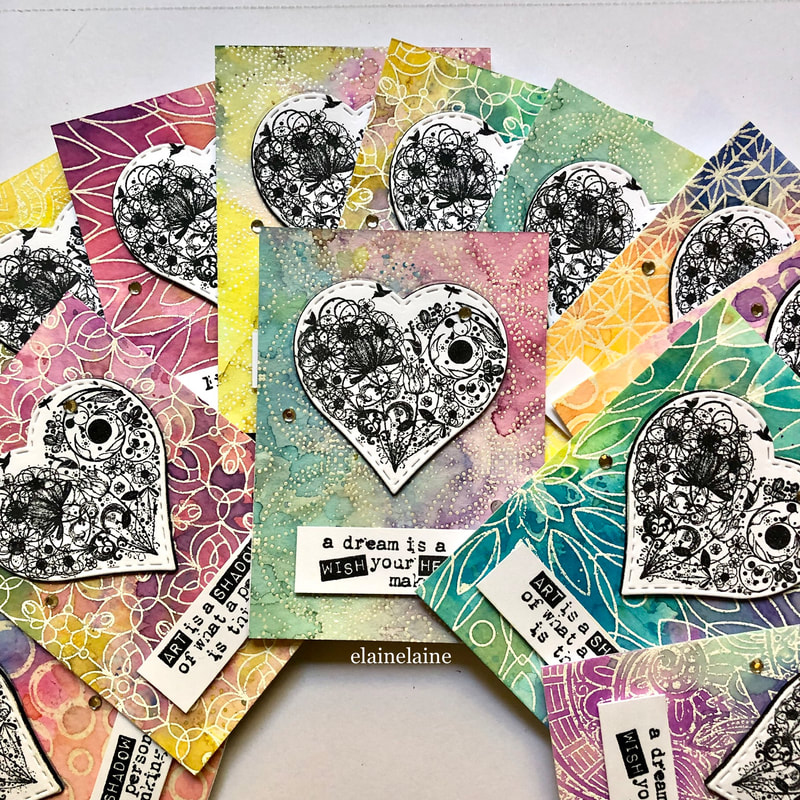
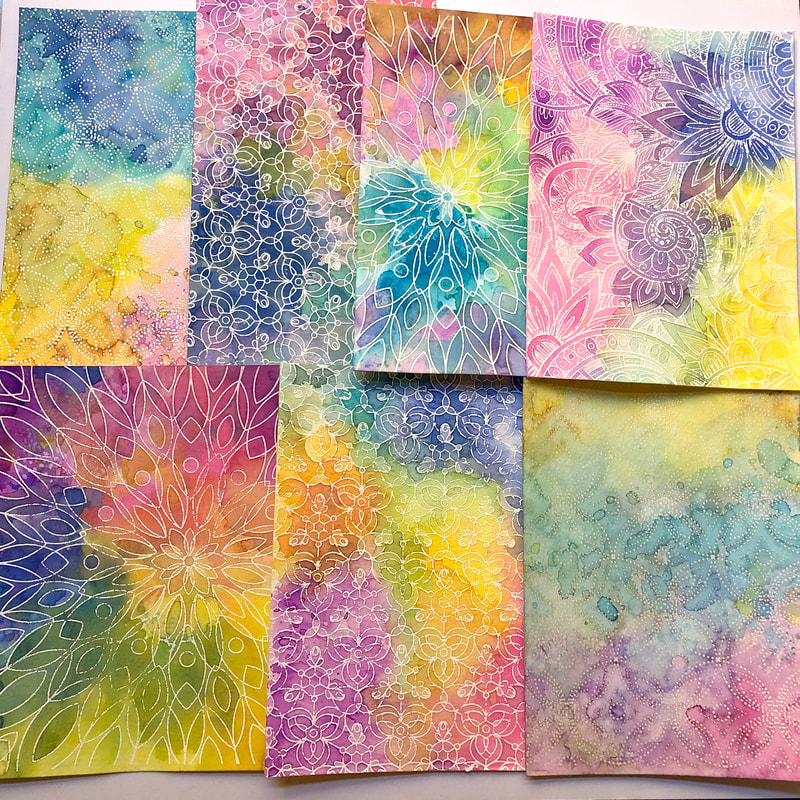
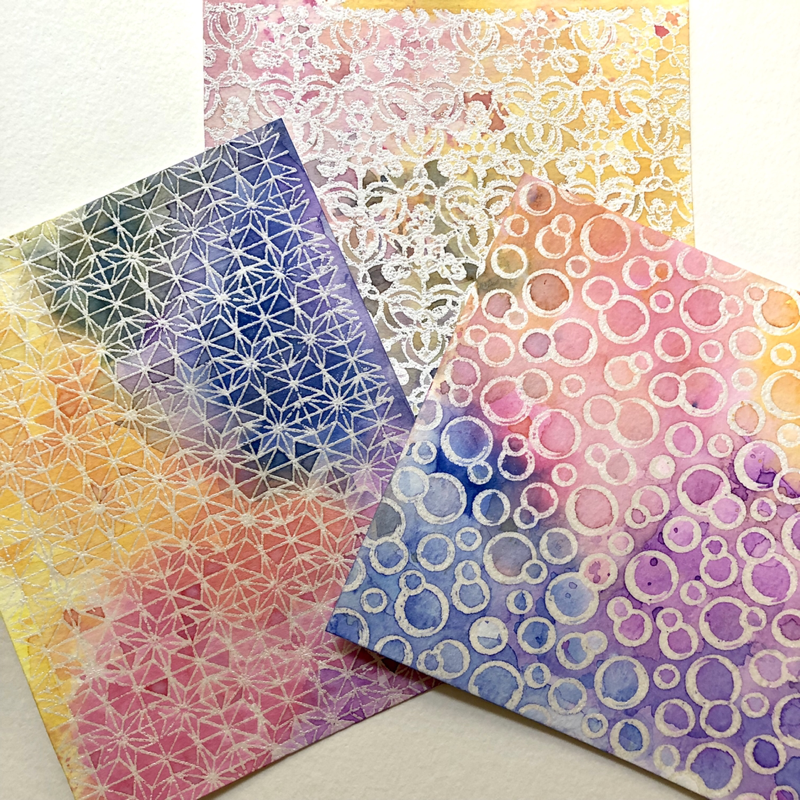
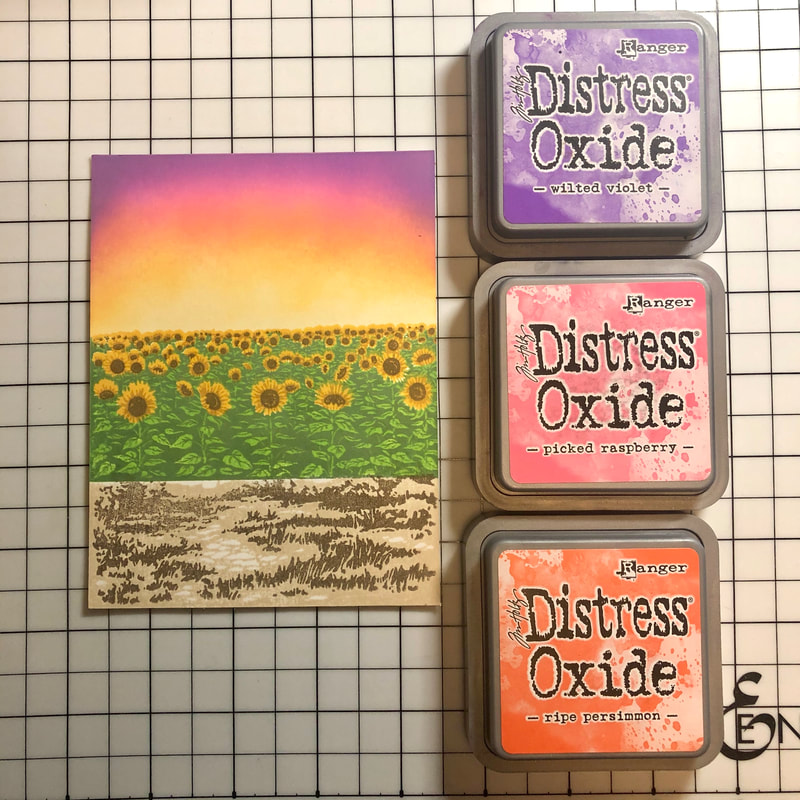
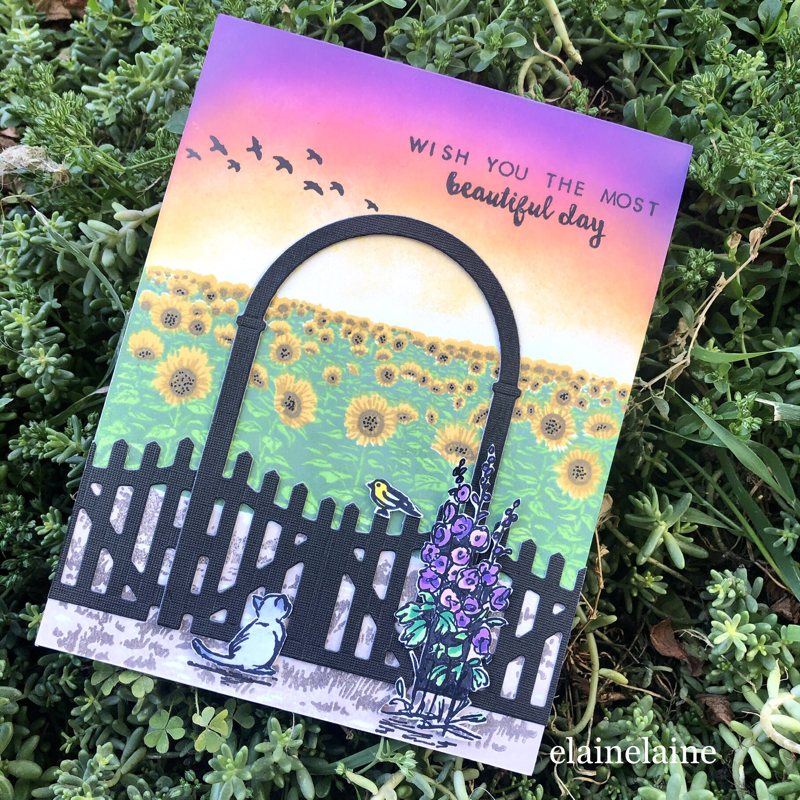
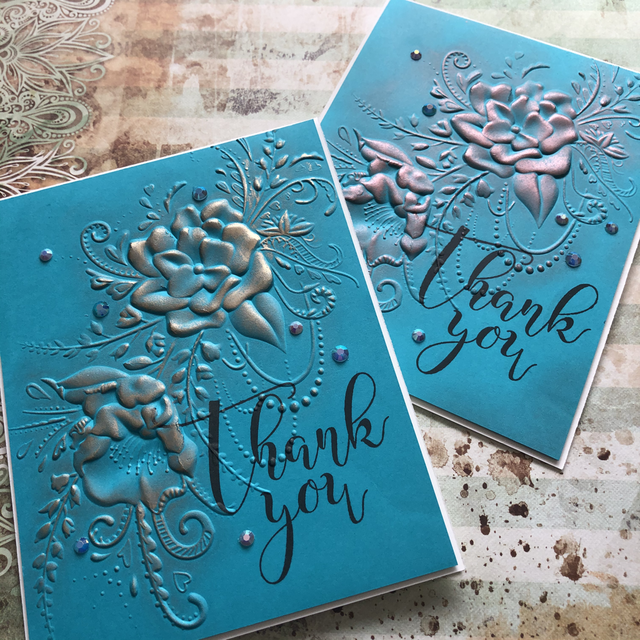
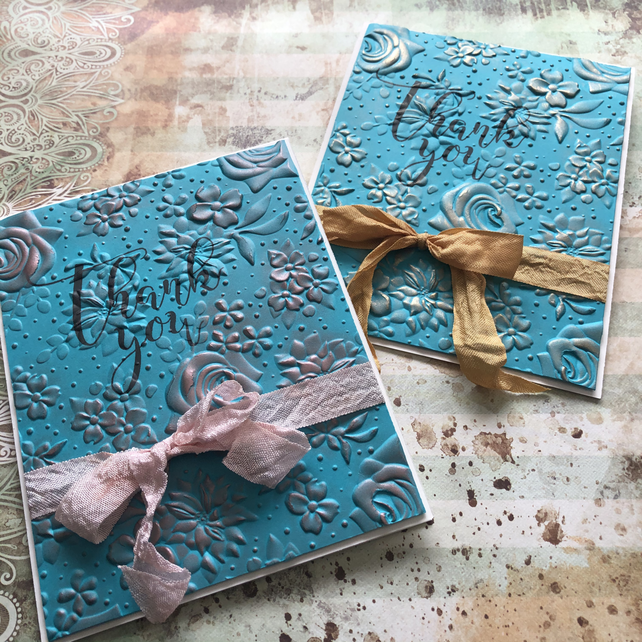
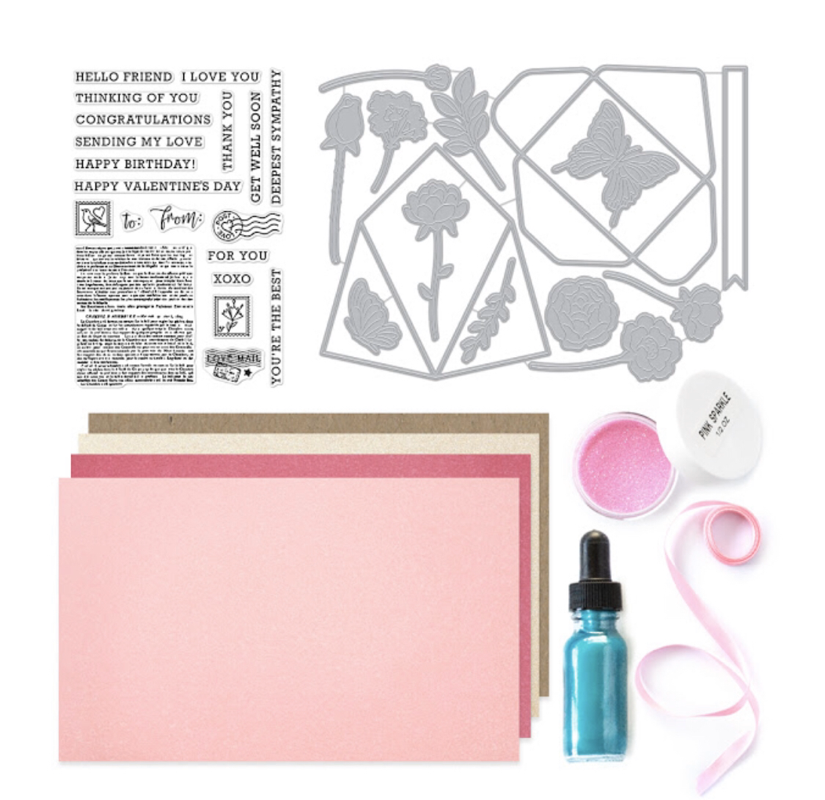
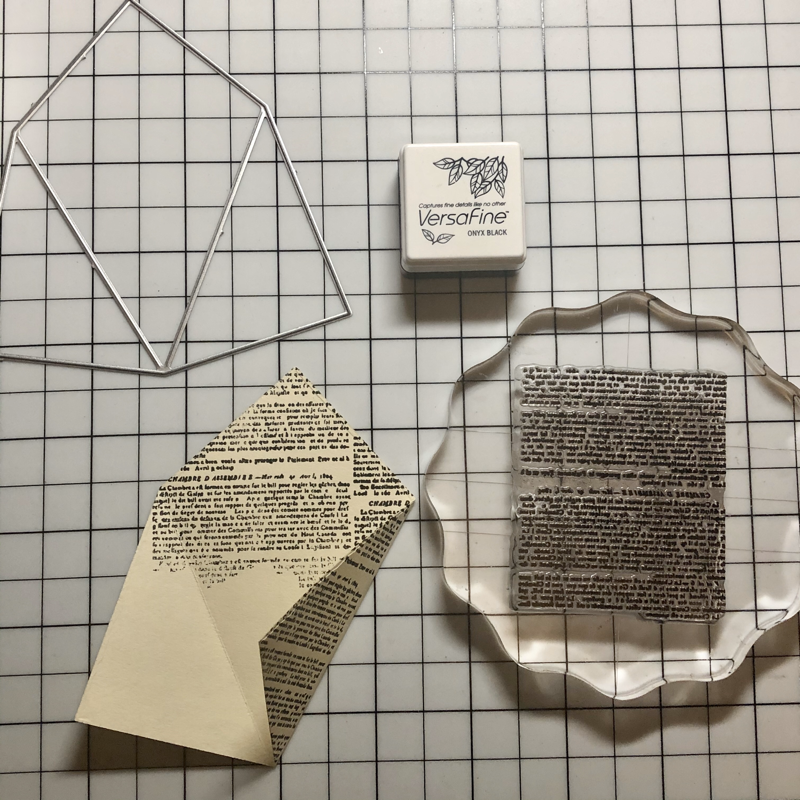
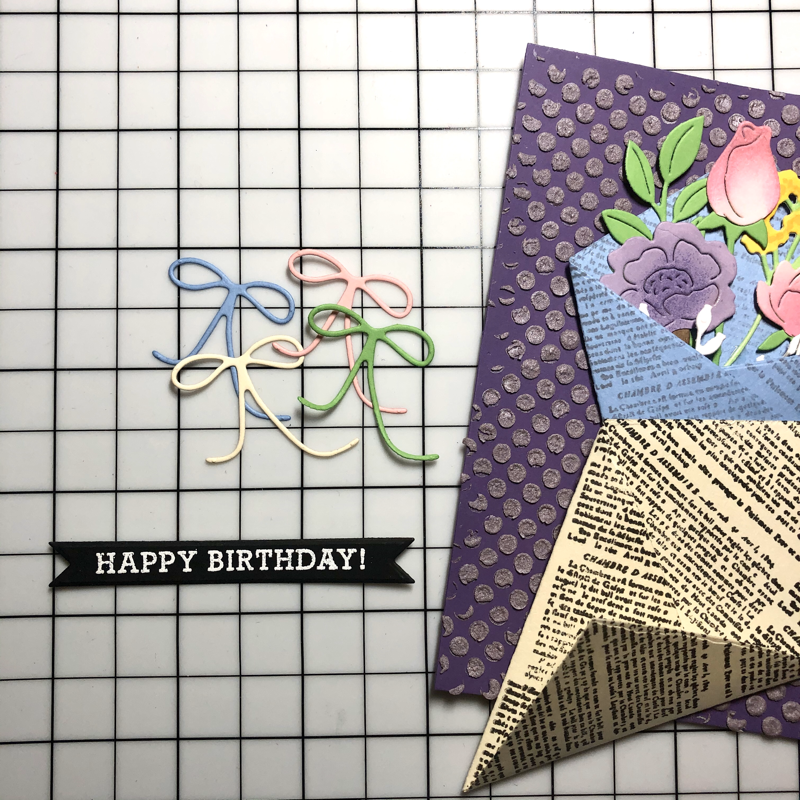
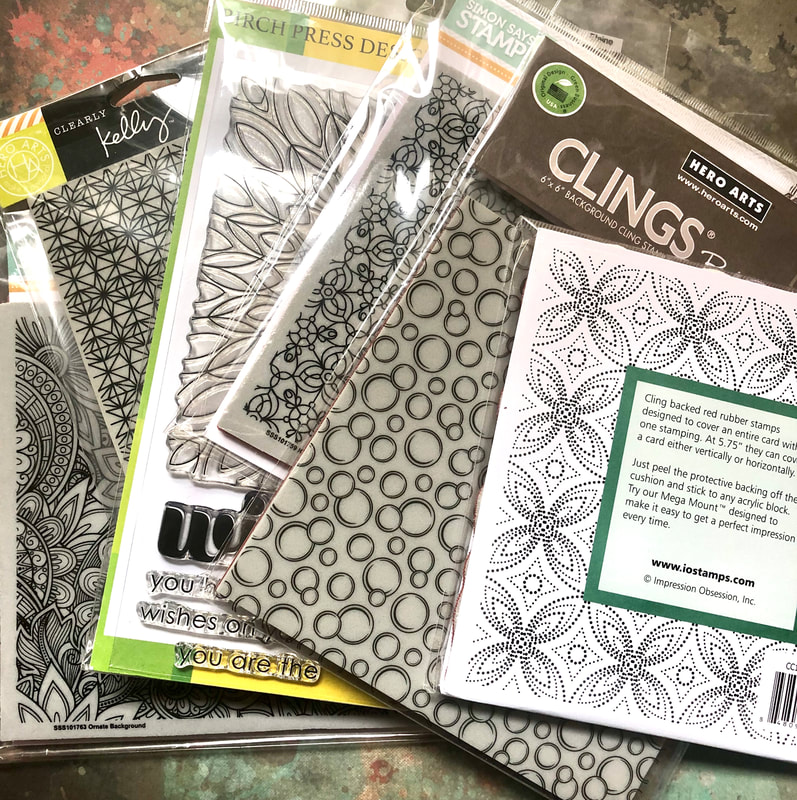
This card has very soft tone using bubble embossing folder and tiny bubble stencil to create the background. Then adding fairy and her friend ladybug to complete the card. 這次使用柔和的顏色來呈現這一張卡片,希望給予一種溫暖丶柔和丶寧靜的感覺。 Supplies:
0 Comments
This is another set of sunflower field birthday card using Hero Arts sunflower field heroscape stamp set along with Grace's garden stamp and die set from Stampin Up. Supplies:
Hero Arts Sunflower Field Heroscape stamp set CM411 Hero Arts Tulip Field Heroscape stamp set CM412 Hero Arts my monthly hero January kit 2019- Bicycle stamp and die Hero Arts Stamped Just For You CM353 Stampin Up Grace's Garden Stamp Set 151513 Stampin Up Garden Gateway Dies 151512 Today I am sharing a country style birthday card with cottage gate and sunflower view. Using Hero Arts Sunflower Field stamp and garden fancy die. Inside of card, you can see the whole view of Sunflower field. Behind the cottage gate, you can see kitten chatting with bird. On the back of card, I have add a mini envelope to include wishes to the recipient After finish stamping, die cut a square that will fit inside of card. And before adhesive onto inside of card, temporary positioning it at the front, so I can tell where I should cut out the window. Supplies: Hero Arts Sunflower Field HeroScape Stamp Set CM411 Hero Arts Garden Fancy die DI594 Stampin Up Grace's Garden Stamp Set 151513 Poppystamps Whittle Birds Craft die 2190 Thank you for visiting~
I used the same stamp set: color layering waves, and layering sea & sky from Hero Arts to make an A6 card, which you can reference right: here. This time, I have decided to challenge myself by using a different card size to make the same scenery card. This is a slimline card, a larger card size of 4“ by 8.5“. Even though I had to hand make the envelope for it, this size of card could fit the scene of the sky and ocean all in one place perfectly. Hope you enjoyed the card like I did. 這一次決定嘗試做一張4x8.5寸的長尺寸卡片。現在算是蠻夯的一個尺寸。從來沒有做過,原因是⋯⋯沒有信封可以買XD. 所以特地為此手工做了信封給它。完成之後發現長尺寸卡片非常適合風景卡可以囊括所有景觀,有興趣的朋友可以試試。 I have used embossing powder on the word "Hello!" and on the edge of the wave to add more texture. The cloud was stamped in, the color, "Mustard Seed" was inked on close to the Sun. "Picked Raspberry" at the middle and then "Wilted Violet" towards the outer sky. The only thing I think I will change is to add some orange color around the Sun. After I finished the card and had polished it with distress micro glaze, I had realized that it is too late to change it. :( 特別用燙凸粉顯示沙子的視覺感摸起來也很像,非常好玩。唯一不足的是應該在夕陽再加上橘色系會更有層次。但因已上了distress micro glaze,要更改是不太可能了,就當作下次再做一張的理由吧! This card is entered in Stay Crafty with Hero Challenge #10 Supplies list: Hero Arts My monthly Hero June Kit 2018 or Hero Arts CM316 color layering waves stamp set Hero Arts CM317 color layering sea & sky stamp set Bicycle stamp and die from my monthly hero January kit 2019 Ranger distress oxide ink: Salty Ocean, Wilted Violet, Picked Raspberry, Mustard Seed, and Antique Linen Altenew crisp dye ink: Ultramarine, Eastern Sky, Sea Glass Seth Apter baked texture Dirty Sand Ranger embossing powder Flurries Speckle Thank you for visiting~
謝謝觀賞 Today I am showing a card with a vintage vibe. It is simple and easy to make. Hope you enjoyed it. 1. Ink the embossing folder (the valley side) with distress oxide ink in "Hickory Smoke." 2. Die cut the layering flower, leaves and geometric shapes. 3. Love the look of the old vintage vibe. Finally, add the sentiment. Supply list: Sizzix 3-D texture fades embossing folder 662716-botanical Altenew Fantasy Floral die Altenew Crystal Frames die Ranger distress oxide- Hickory Smoke Thank you for visiting~
謝謝觀賞 This is the second post that I use an embossing folder to make card. The first post was inking on the card that was already embossed. The link for the first post, Embossed 3D thank you card, is at the end of today's post. This time I am using the ink then emboss technique which has created the unique look. 利用壓凸板上色是一個非常特別的技巧,有別於先壓凸再上色,這次直接上顏色在壓凸板上效果非常特別 First, stamp the ink on the vally side of embossing folder, then sandwich white card stock in between and run it through the machine. If some area was missing the ink, the same process can be repeat untill you get the look you desire. In my case, I have it done twice. 利用壓凸板平滑的那一面(圖案下凹面)上顏色,在過機器時直接將顏料像蓋印的方式印在紙張上也同一時間壓凸,效果非常特別。這個過程可以重複進行直到顏色達到你想要覆蓋的面積。 Supplies: Altenew Painted butterflies stamp set Altenew Beautiful Day stamp set Stampin Up 3D embossing folder Country Floral Simon Says stamps and dies Thanks and encouragement mix set -Believe in you The first post for embossing folder technique: Embossed 3D thank you card Thank you for visiting~
This is a quick and simple card to make but the effect is amazing. All I need is a 3D embossing folder, color card stock and Finna Bair metallique wax. Supplies: Sizzix 3D textured impressions embossing folder 662455 Stampin Up 3D embossing folder Country Floral Thank you sentiment from Altenew Flower Arrangement Prima Marketing metallique wax white gold and rose gold Thank you for visiting!
Salute to the healthcare workers💕They are the front line of defense in combating covid-19 pandemic. Hooray for doctors, nurses, paramedics and caregivers around the world. “May the 4th be with you!” Supplies:
Stampers anonymous the art of Brett Weldele BMC016 Jenny Sparrow Whimsy stamps wss104 Sun Rays stencil Copic marker and distress oxide ink These are the cards that I made for friends who’s birthday is in Spring. By the meteorological calendar, March to May are the Spring season. To welcome the arrival of Spring, my cards showcase flowers and vibrant color. 三到五月是回暖的春季,為歡迎春天的來臨,特別製作和花有關的生日卡。春天是萬花盛開的季節,祝福壽星們生日快樂,春風滿面~ ~~~<製作過程>~~~ I simply used Altenew 4.5" wide washi tape to cover entire cardstock. By using different color cardstock, it showed very different look with the same washi tape. I have die cut some flowers and leaves from Alexandra Renke and sentiments from Simon says stamp. 這次決定使用Altenew大篇幅的紙膠帶,一張卡剛剛好一整面,再利用不同顏色的卡紙加上紙膠帶會有全新不同的面貌。再裁切一些Alexandra Renke的花刀模和SSS的生日祝福句子,就可以進行組合了。 For the background, I chose some leaves and pattern background stamp and used distress oxide ink to create more subtle look. After that all I need was assembling. 在組合卡片時發現框邊白色過於單調,所以找了一點葉子和圖紋的背景章,用復古氧化印台蓋印若隱若現的圖案,加強了卡片的整體表現。 Here are the completed cards, side by side showing the same washi tape with different color cardstock. 並排三組使用同一款紙膠帶加不同底卡色完成的卡片,效果完全不同。 Thank you for visiting~
謝謝觀賞 These are the card that I made for charity. The card will be send to the people who have done contribution to the children in need. By the meteorological calendar, March is the first month of Spring season. To welcome the arrival of Spring, my cards showcase flowers and butterflies. 三月是春季的開始,為歡迎春天的來臨,特別製作和花與蝴蝶有關的萬用卡。春天是萬花盛開,群蝶飛舞的日子,希望收到卡片的人春風滿面、喜悅洋溢。 <製作細節> I have die cut the butterfly from concord and 9th which is the perfect size for A2 card. First I color them either using copic or color card stock. Then adding glitter paint on top to gain more shine. 將裁切好的蝴蝶用 Copic上色也可直接用有色紙來裁切,之後再上亮粉壓克力顏料加強亮度。 For the flower, I have used wreath builder from Gina k design. I used two stamp sets for the background. One is Kaisercraft and the other is Gina K. 使用Gina K design wreath builder以及蓋印器將事先選好的印章圖案,順時針方向蓋印一圈。我是很隨性的蓋,蓋好蓋滿就可以囉! I have decided to use Altenew dotted swirls debossing cover die on the background to add more texture. After that using the “ you are amazing” sentiment and die cut it in contrast color to butterflies. Finally, it is ready for assemble. 使用Altenew的背景刀模增加花紋並裁切字刀模,卡紙選擇與蝴蝶對比色的紙張。接下來就是組合了~ Supplies: Altenew dotted swirls debossing cover die Concord and 9th butterfly card die Alexandra Renke you are amazing sentiment die Kaisercraft CS729 Lilac Avenue clear stamp Gina K design wreath builder stamps and templates bundle Thank you for visiting!
I have joined a group sometime last year, where all the members can make birthday cards for other members who's birthday are at that month. These are the cards that I've made for my crafty friends. Sending birthday cards to crafty friends and receiving birthday cards from your crafty friends is awesome. Let me tell you, this is as much fun as you can get. The details I’ve decided to use Hero Arts monthly hero kit, February kit, for birthday card. I absolutely love this kit, you can make many different cards. First, I die cut a paper and stamp the newspaper background on the front and the top portion of the paper to create newspaper-like wrapping paper for the bouquet. Second, embossing the happy birthday sentiment with white embossing powder onto black card stock and then die cut it into sentiment flag. Finally, die cut some bows for the decoration. For the bouquet, I've die cut the flowers and leaves using color cardstock then applied the detail with sponge and ink. After that, simply glue the flower to the stem. The rest is easy assembly, in no time the bouquet is ready. Finally, I've made some background A2 cardstock using stencil and Nuvo expanding mousse. The texture definitely adds some dimensions and interest to the card. I am very please with the outcome. I hope my friends will like them as well. Thank you for visiting~
第二十場的ATC交換題目是熊熊,當下是想到習維尼😂不過不是我的菜所以就想些別的,說到熊印章我也不少但要走可愛風還是經典風,就讓我考慮了很久🤔後來是在路上看到櫥窗展示擺了一隻泰迪熊🧸才決定就是他啦!最經典的泰迪熊~ 這個就是我看到的櫥窗展示,是不是跟我做的蠻接近的XD 我希望製造出一張好像是貼紙貼在紙上的感覺,如果説先上色再剪下來貼上去也是可以有貼紙的感覺,但我希望是有貼紙的亮面材質感,我應該怎麼做呢?繼續看下去吧⋯⋯ 看圖說故事 這次使用Stampin up baby bear 章組,層次蓋印的方式來處理泰迪熊的絨毛,第一層使用深咖啡色把深色影子先勾出來,再用淺色打光一下~ 最後面積最大的章本來應該是用更淺的顏色蓋印,我改成蓋浮水印台加透明凸粉,再使用熱風槍燙凸整隻泰迪熊 利用Emboss resist 這樣子泰迪熊就看起來像亮面材質了,但是還不夠立體,emboss resist的好處就是燙凸之下的圖案會被保護,外面做什麼都不會被影響,決定使用格子型版刷色,讓整體看起來更經典,刷完之後再用乾布或乾紙巾將泰迪熊擦乾淨,顏色很自然地從燙凸表面去除。之後再把事先蓋印及剪好的紅色緞帶和字句放上去就完成囉!做完之後還真有點捨不得送出去,還好有多留給自己,收到的人希望你也喜歡。💕 泰迪熊大合照 Thank you for visiting~
Unlike CAS card, this card has no white space, completely cover with ink and other medium. First, entire watercolor paper was filled with distress oxide ink using blueprint sketch, mermaid lagoon, hickory smoke and evergreen bough. Then stamped the image using AALL & Create #54, #60 and #115. Wait for the ink to dry then spread some dreamweaver pearlescent embossing paste using palette knife with Tim holtz mini stencil THMS006 dotted design. Finally, distressing the paper to create altered paper edge and a sentiment then was added to the card. Thank you for visiting~
It is a super clean and simple but very eye candy birthday card. All I used was one die and one sentiment stamp to create CAS card. The die is a tear drop shape with decorative design. It can be use as many way, in this case I have used it as a butterfly or petals with some similar color cardstock. And select a sentiment to place or stamp on the open area. Then the card is complete, simple and clean as is. :) Thank you for visiting~
第十六場的ATC交換題目是愛心,好久沒有使用大片背景章和拖染技法,所以利用這次需要做大量ATC的機會好好的復習一下。 這次選出來的心章,背景章以及ATC卡背面的章如下,背景章真的是必備工具。 先在水彩紙上用浮水印台蓋印背景章再使用白色和珍珠色燙凸粉燙凸,之後使用復古氧印台先塗抹在抗熱墊上噴水,再用水彩紙沾抹顔料,同時使用水彩筆加強局部。很多款印台都可用於拖染技法,這次選擇用復古氧化印台,blueprint sketch、cracked pistachio、wilted violet、peacock、squeezed lemonade、spiced marmalade 上色吹乾定色之後,開始裁切ATC大小,臨時決定在中間切心型圖案,原本的設計本來就是要放一顆心在中間,背後一定是遮著看不見的,背景圖案遮著覺得有點可惜所以臨時決定中間圖案切出來就可以做其他卡片。 這個心章就是今天的主角,為了襯托出立體感加切了泡綿,將泡綿用黑色筆塗邊再將心章黏在泡綿上,黑色邊的泡綿看上去很像陰影大大增加了立體感。 在製作之前本來有點擔心,程序複雜會來不及交卷,還好蓋印器幫助不少,Mistic蓋背章章,SU就蓋重覆的小章,加快了蓋印程序。 所有東西都準備好了,切出來的心型和其他剩下的邊條(不要丟喔!)留著可以做其他卡片,接下來就是組裝。 ~再看一下大合照~ 謝謝觀賞!
Thank you for visiting! |
Author
Elaine Lin Archives
February 2024
Categories
All
|