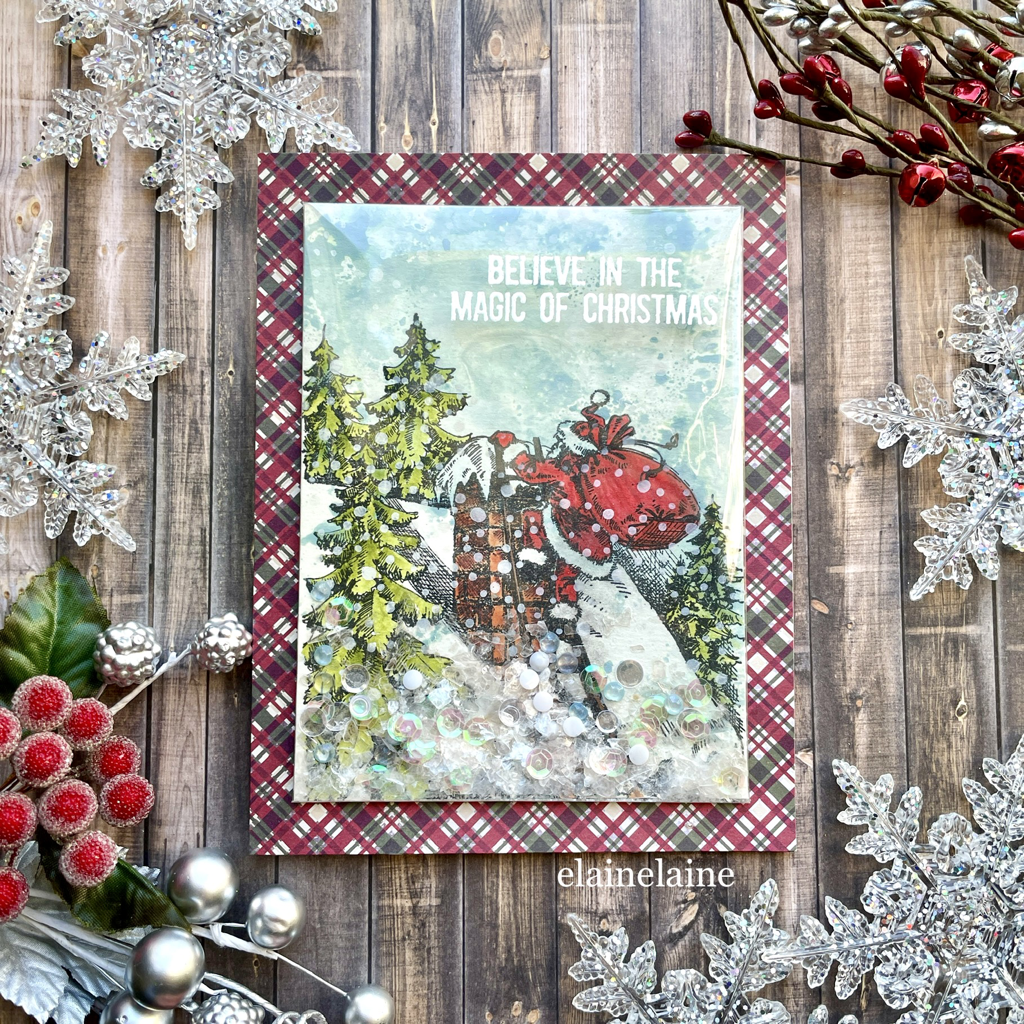
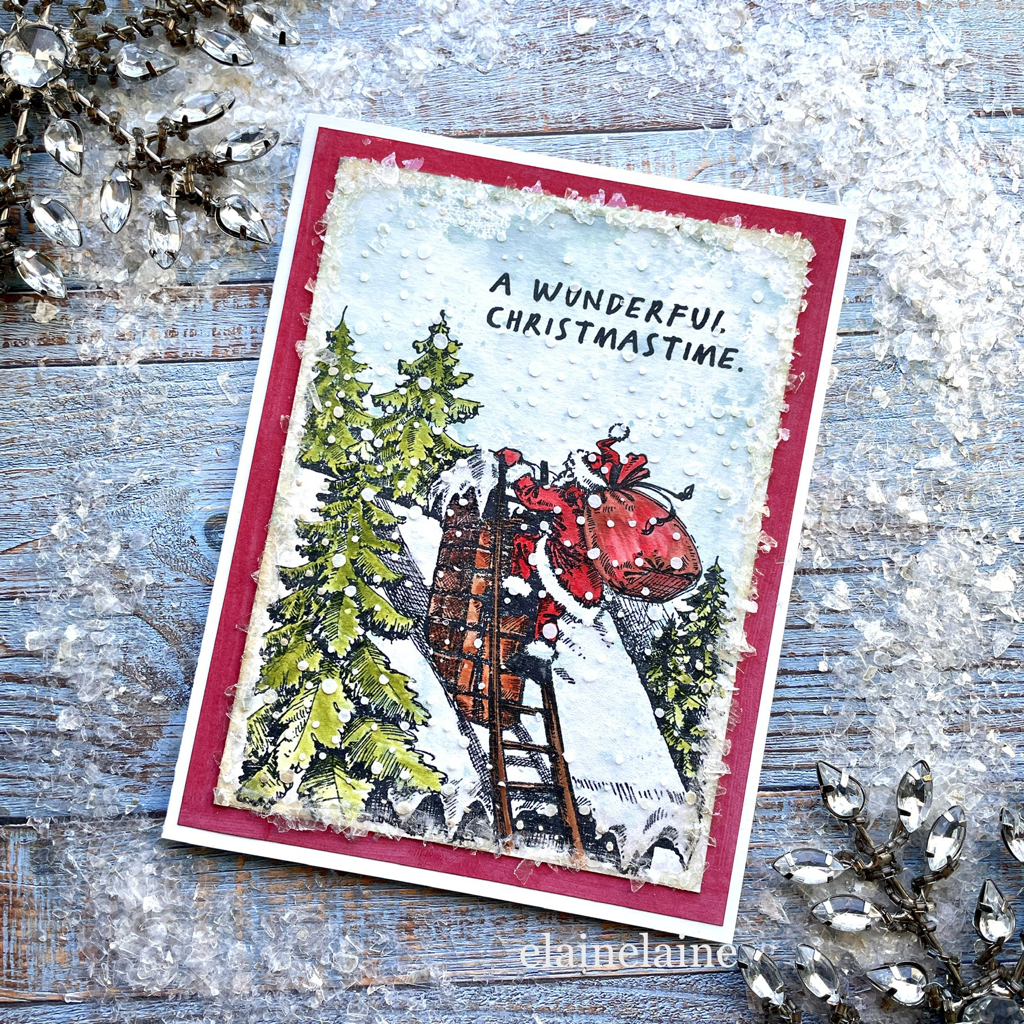
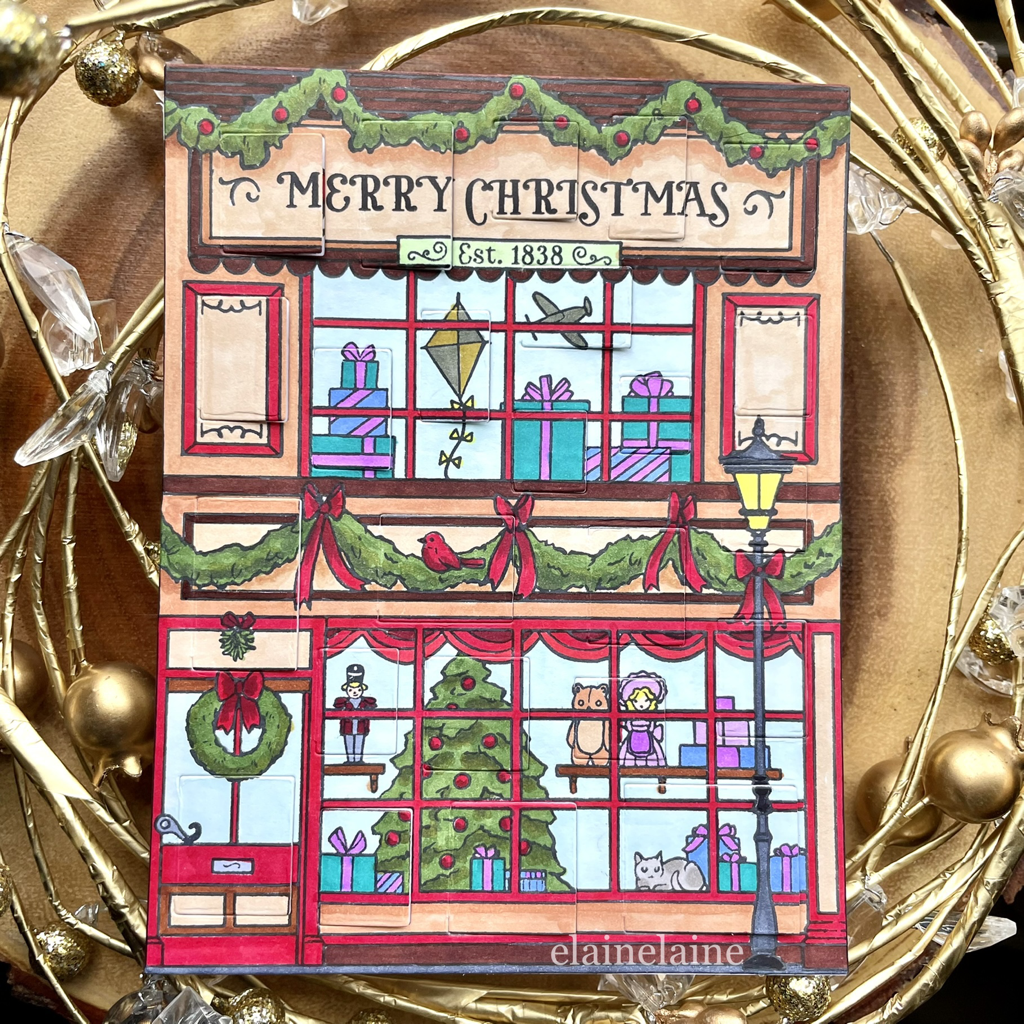
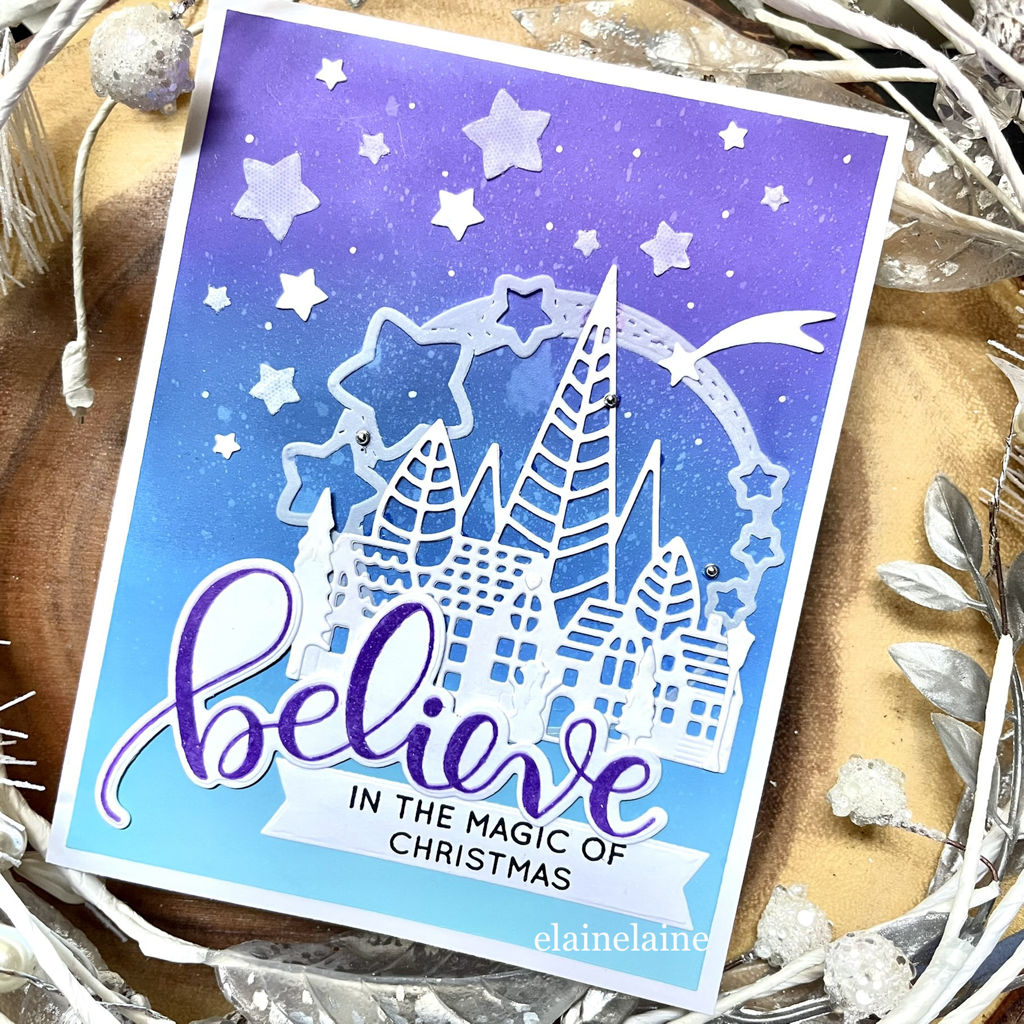
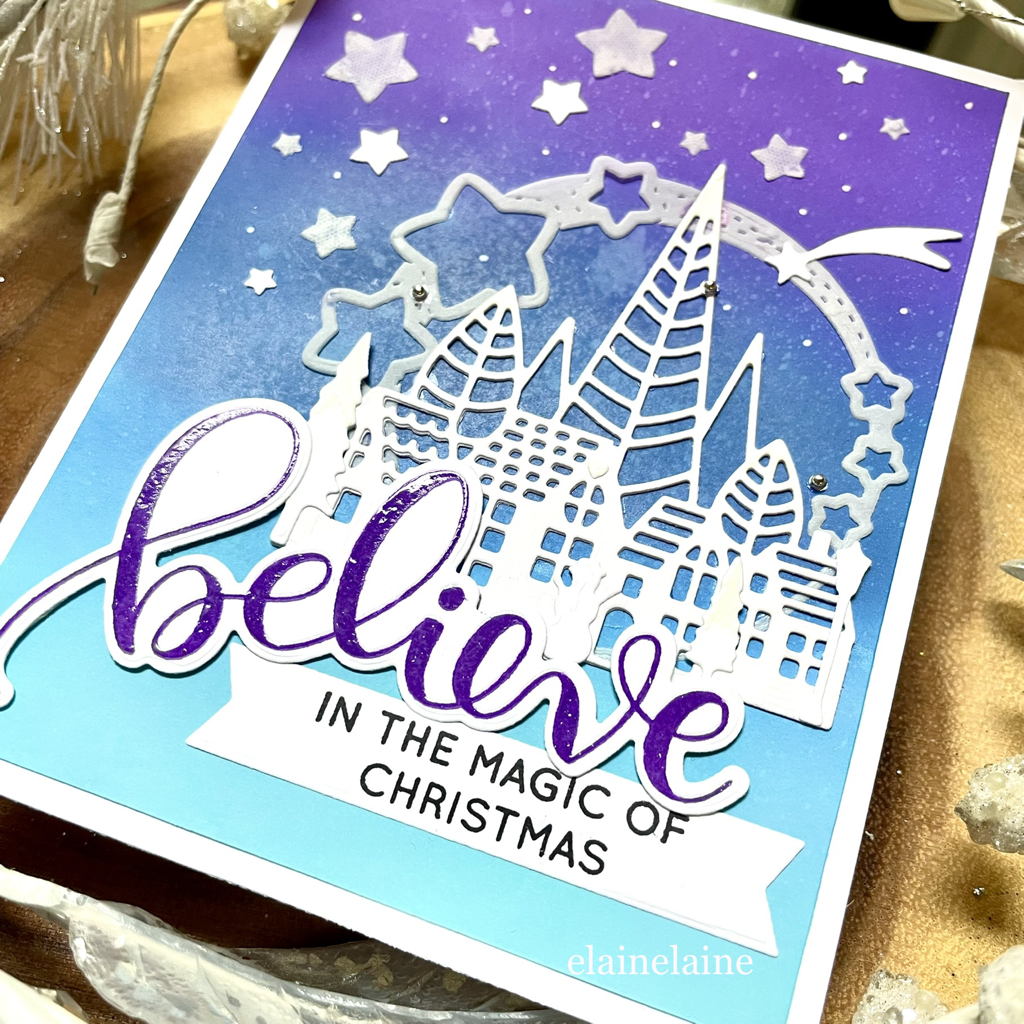
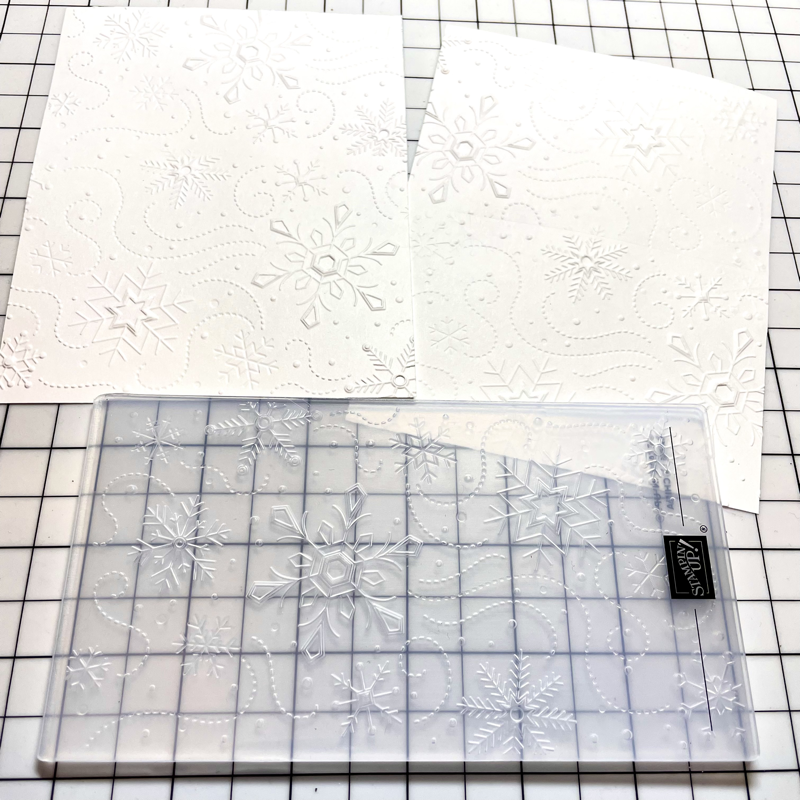
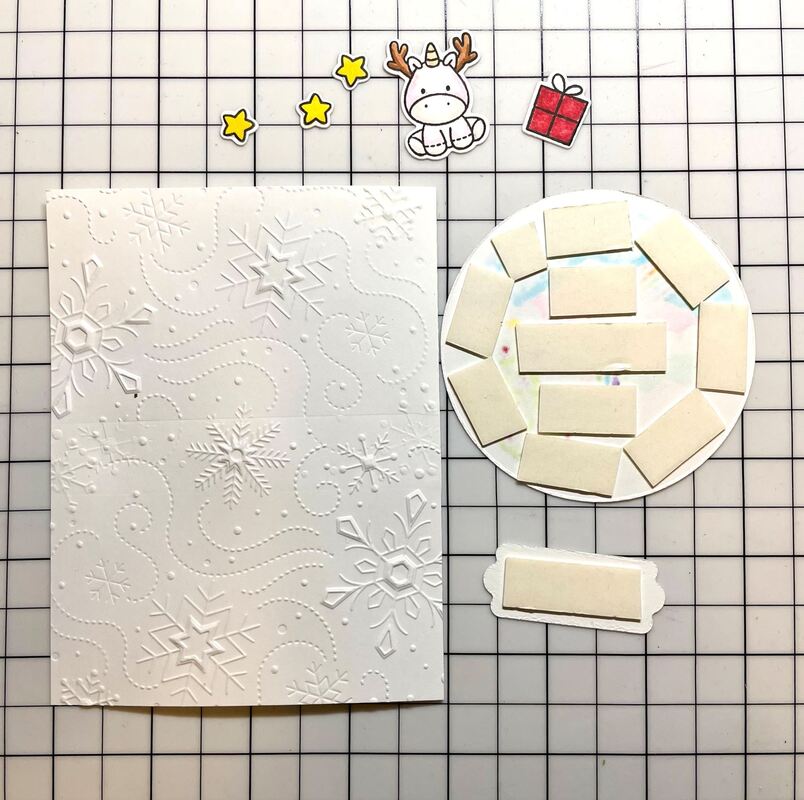
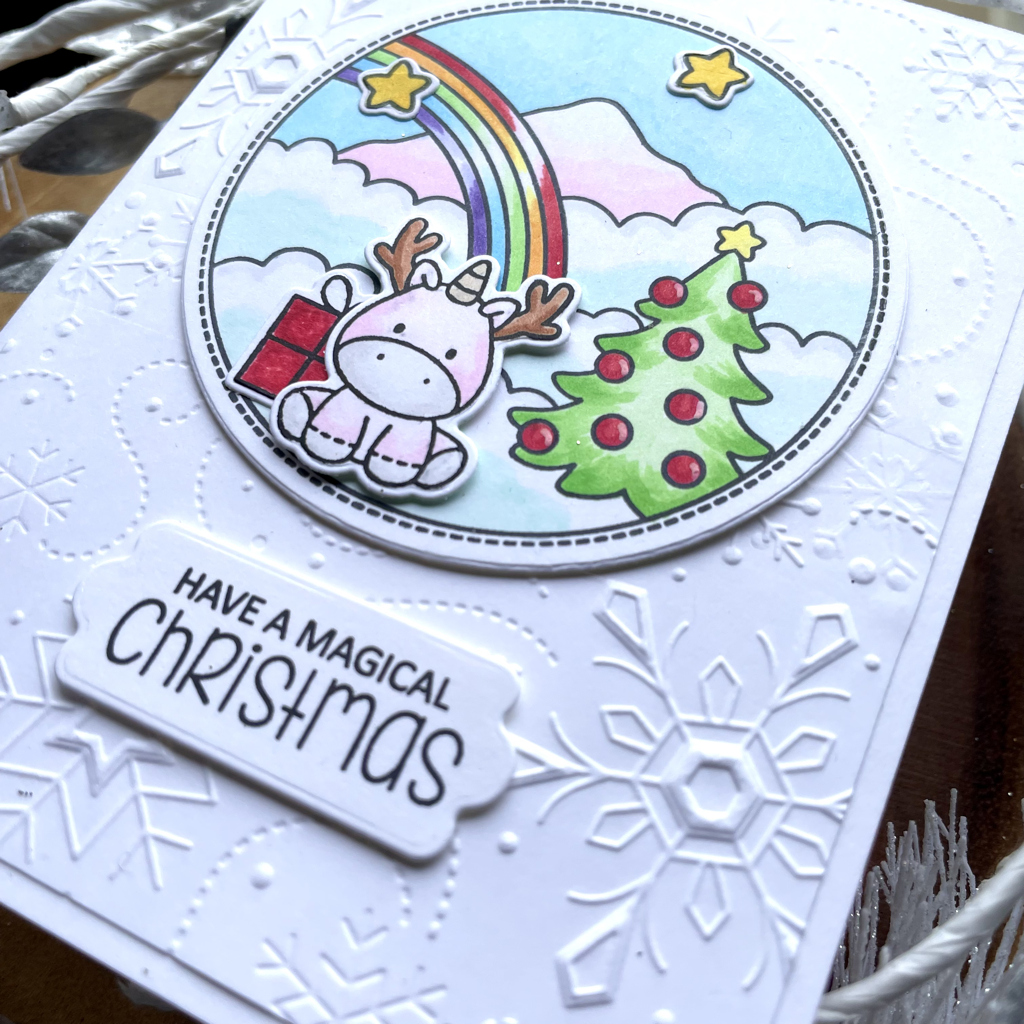
This is the second Christmas card that was created with the exclusive STAMPtember collaboration stamp/stencil set with Tim Holtz from SimonSaysStamp. This is a fun image of Santa climbing up the chimney. I have also created an edge to edge shaker card to add a more whimsical feel. I'm excited to share some inspiration with you!
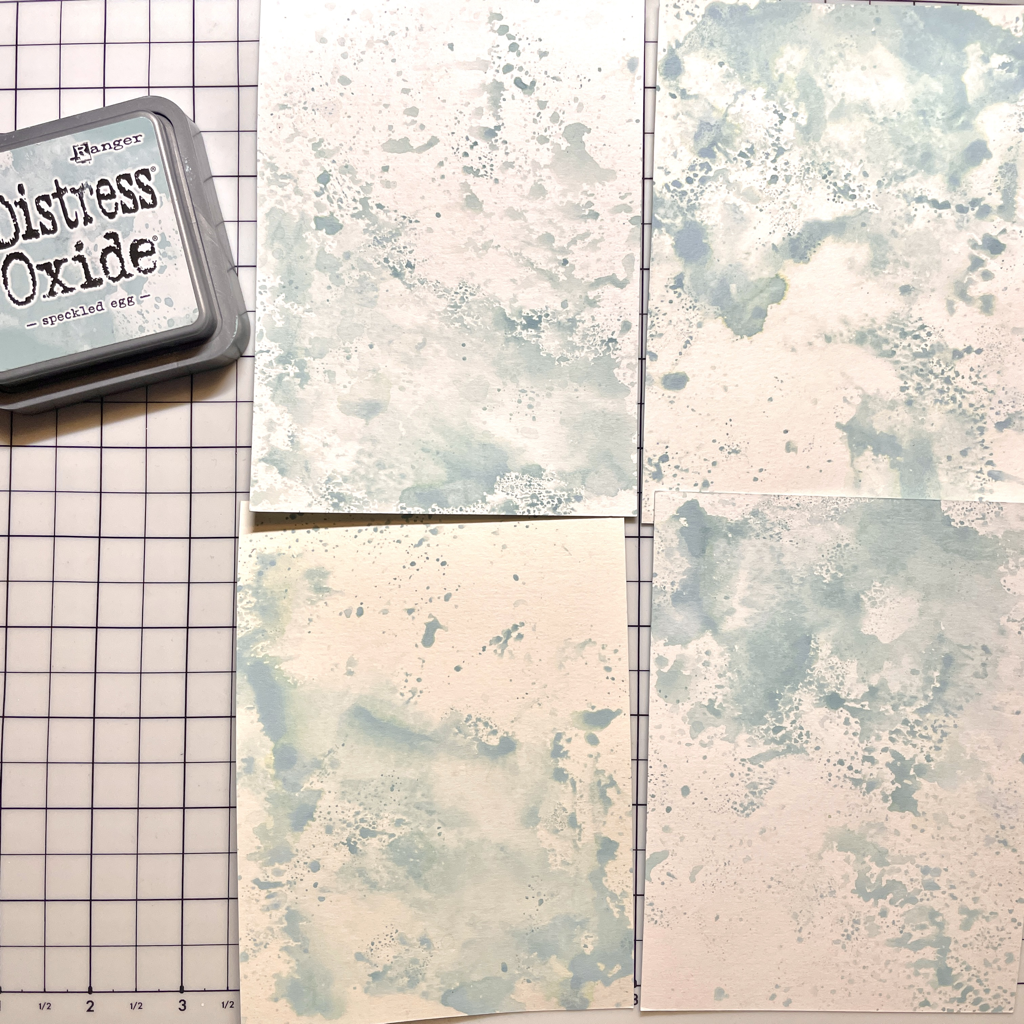
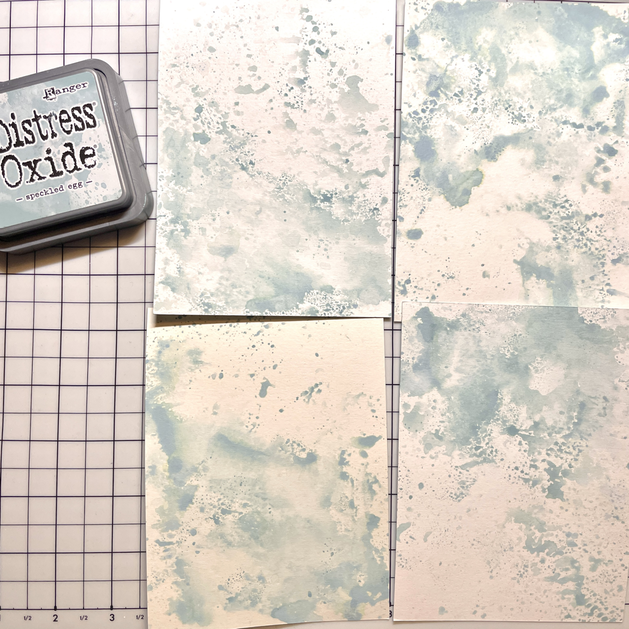
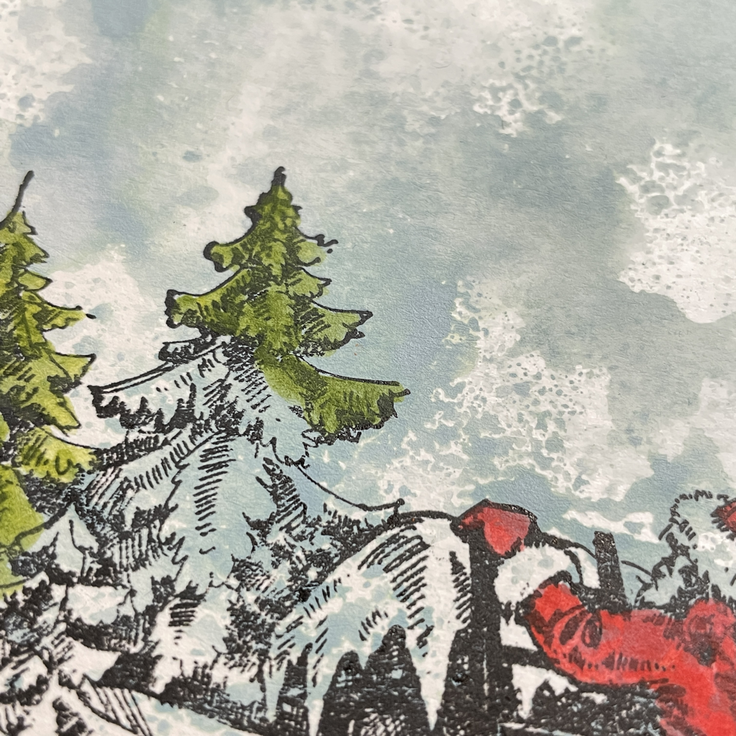
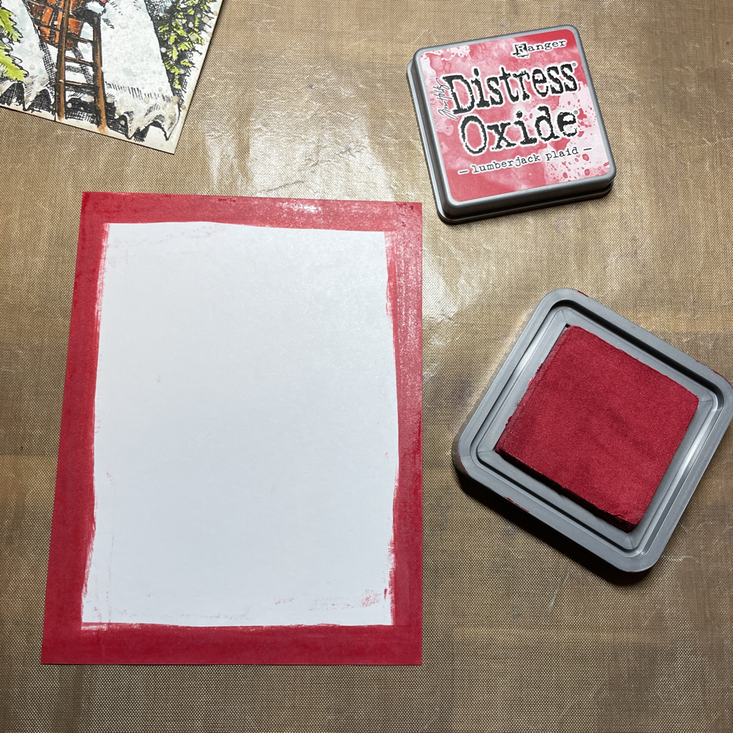
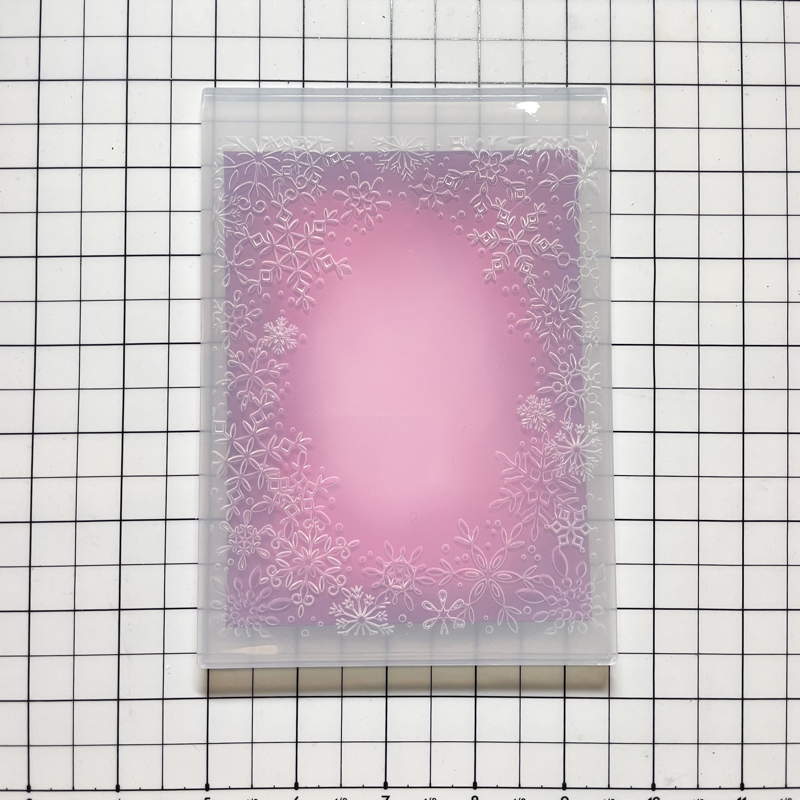
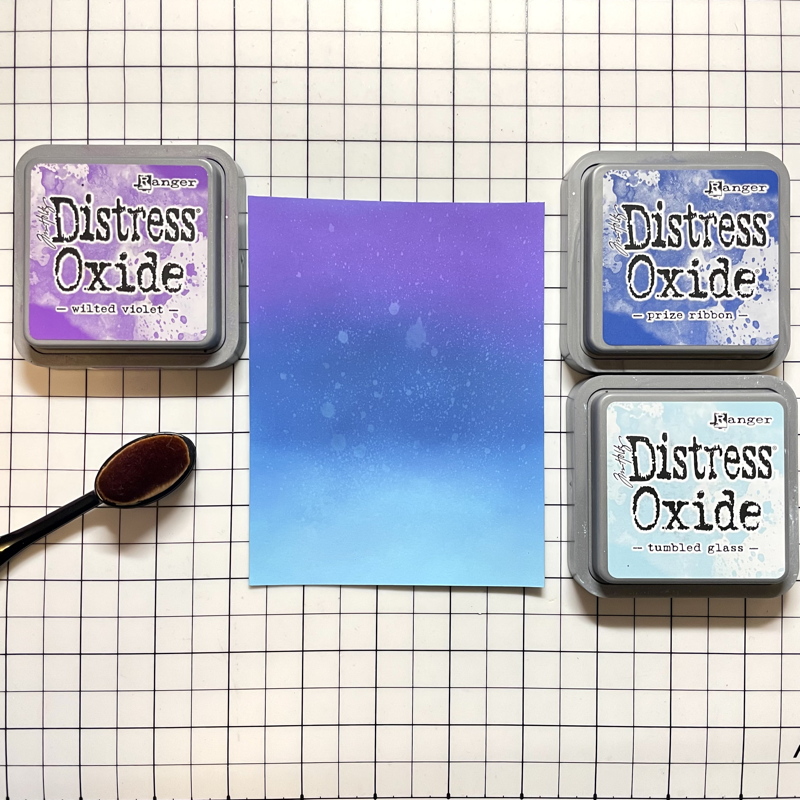
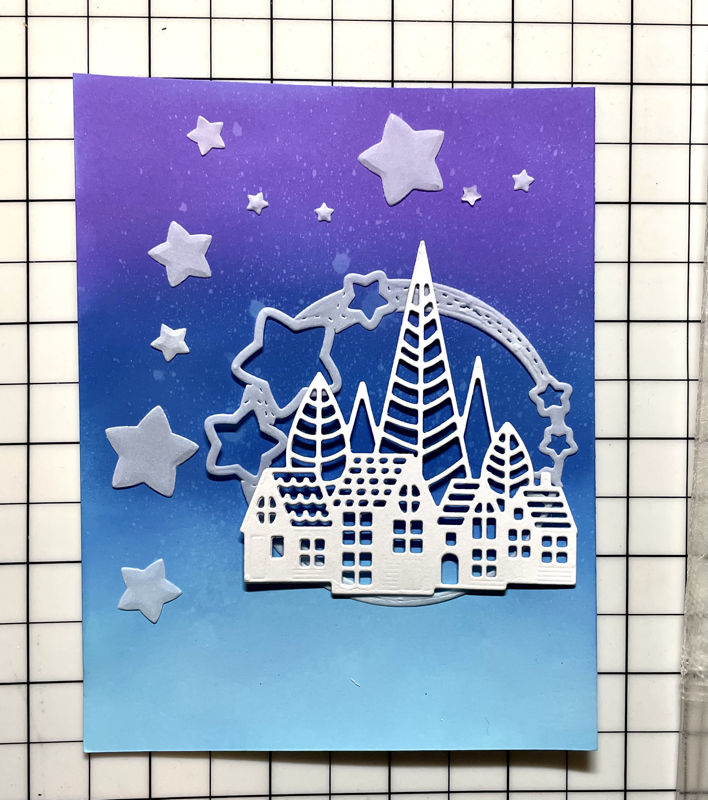
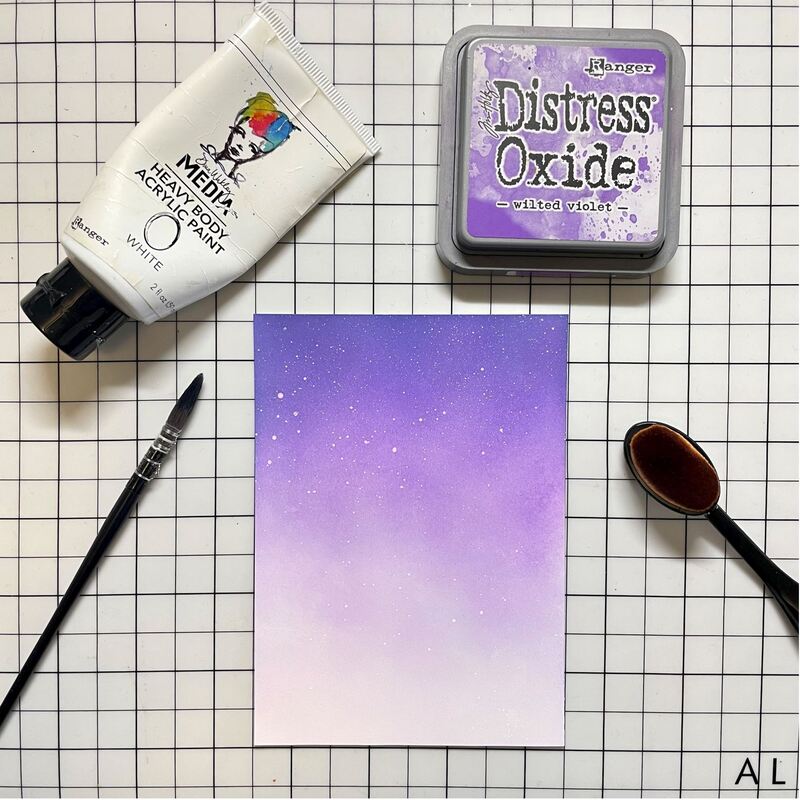
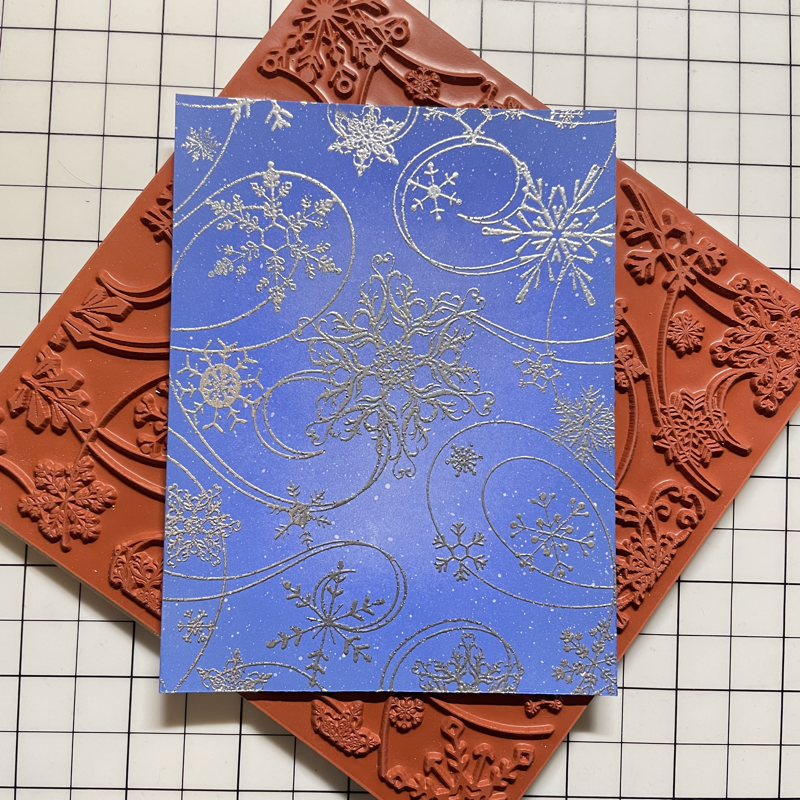
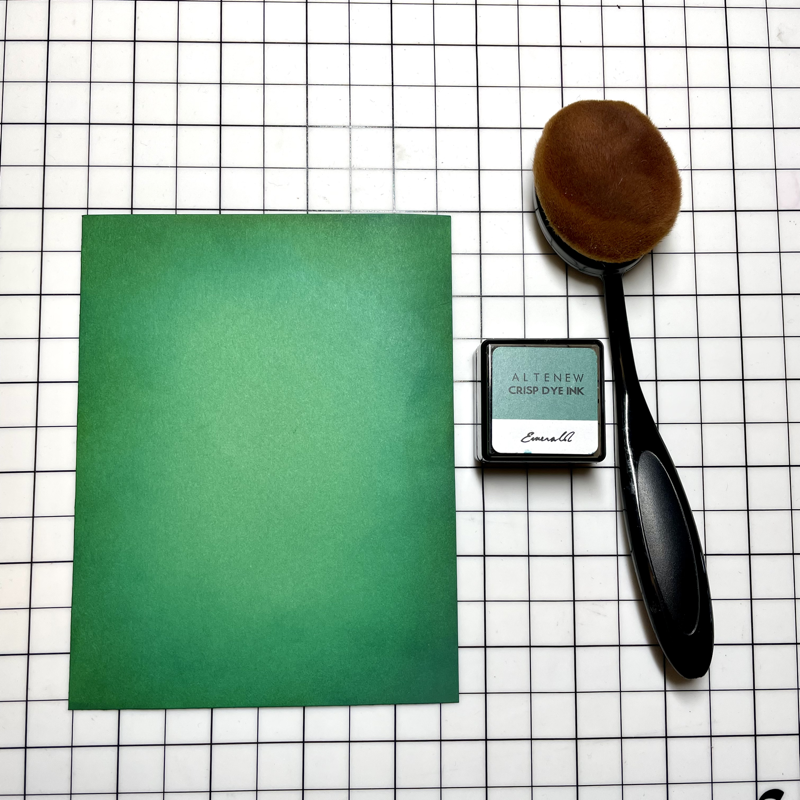
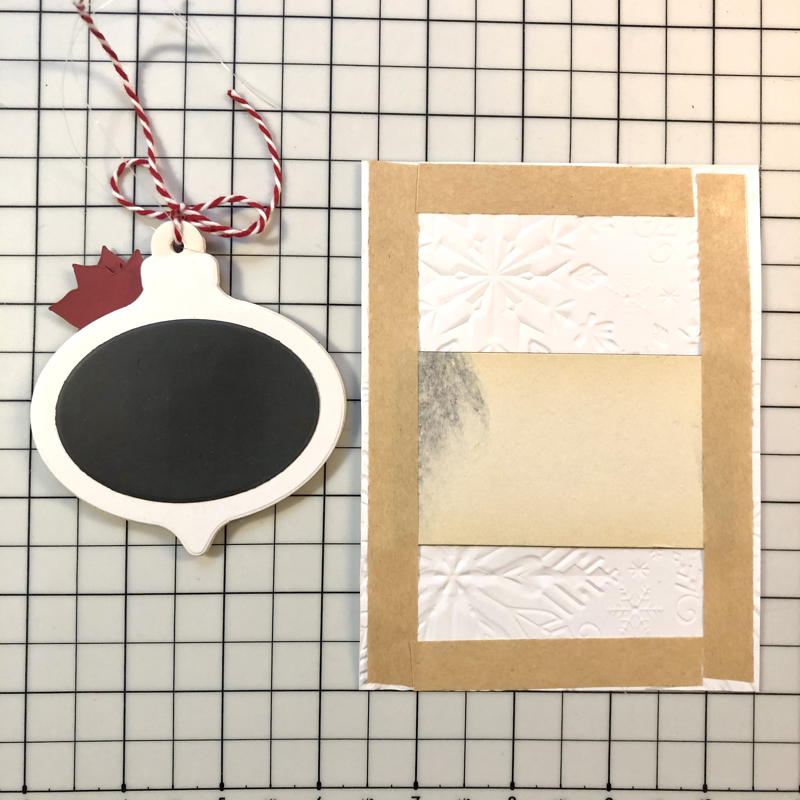
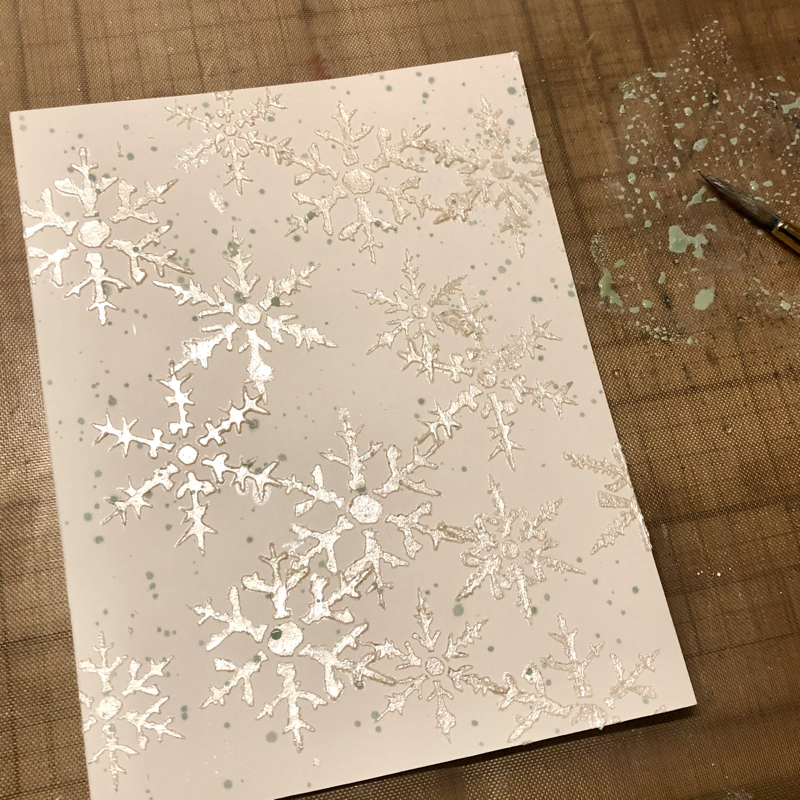
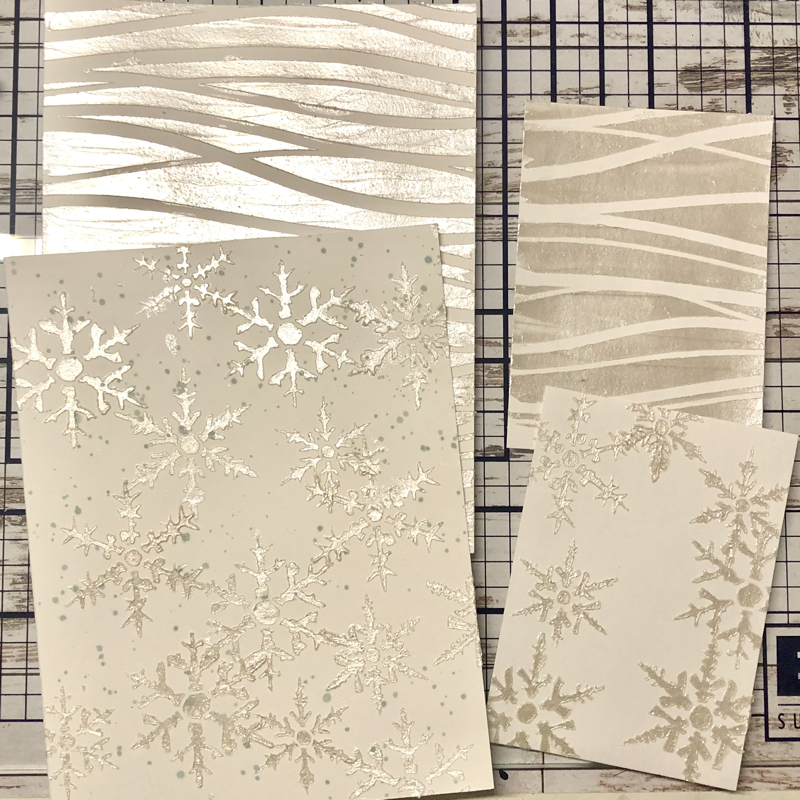
Ink smooshing on watercolor cardstock with a piece of plastic film and distress oxide speckled egg ink pad
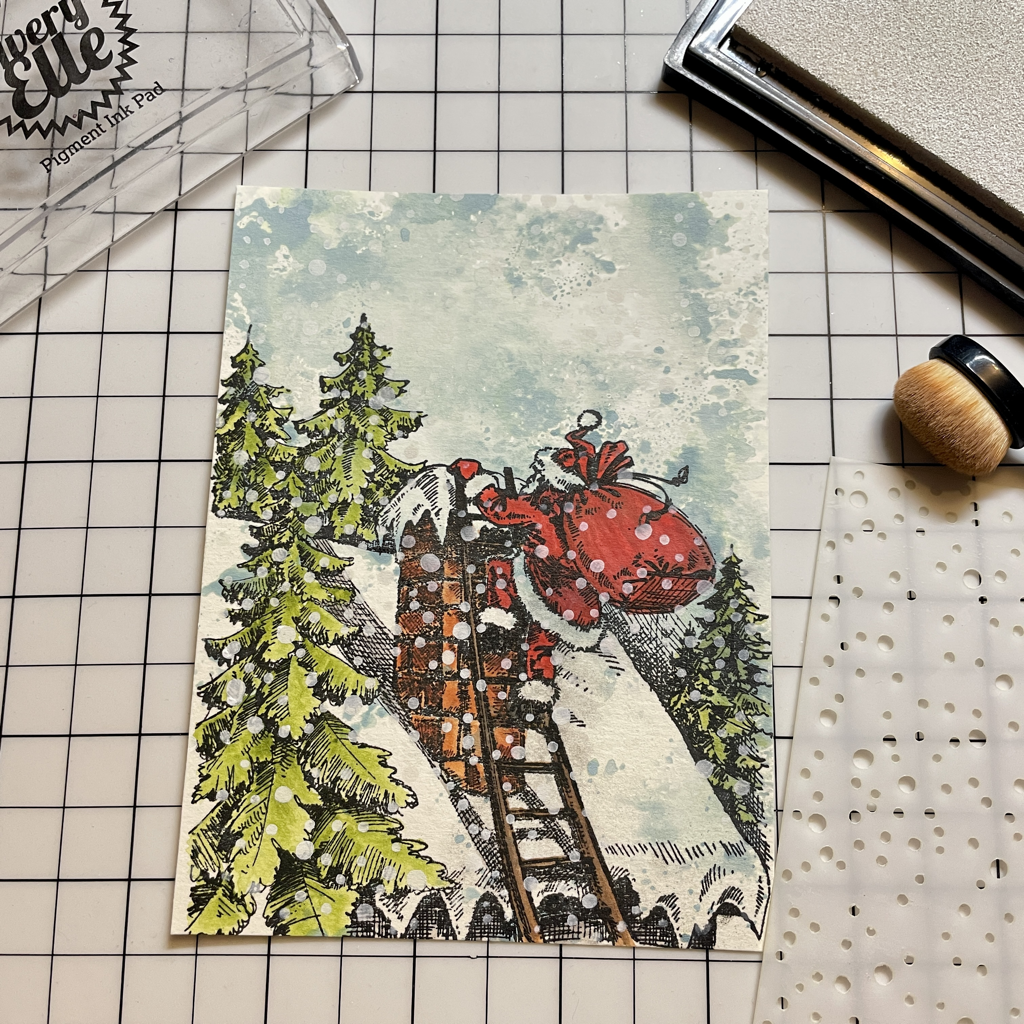
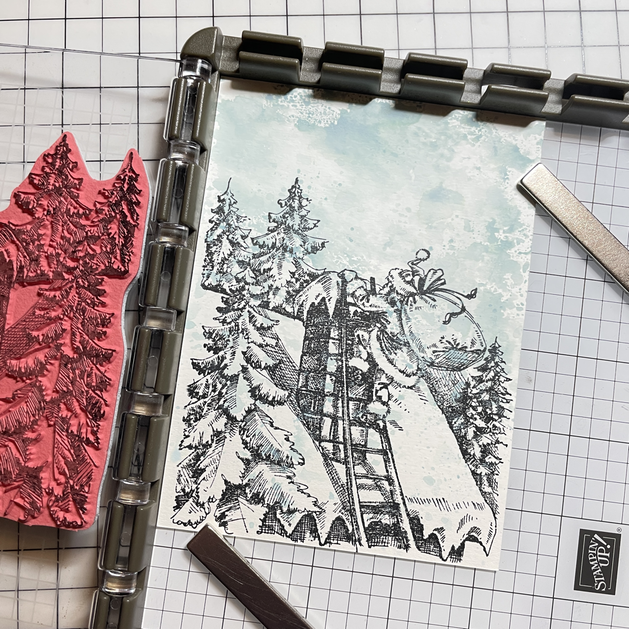
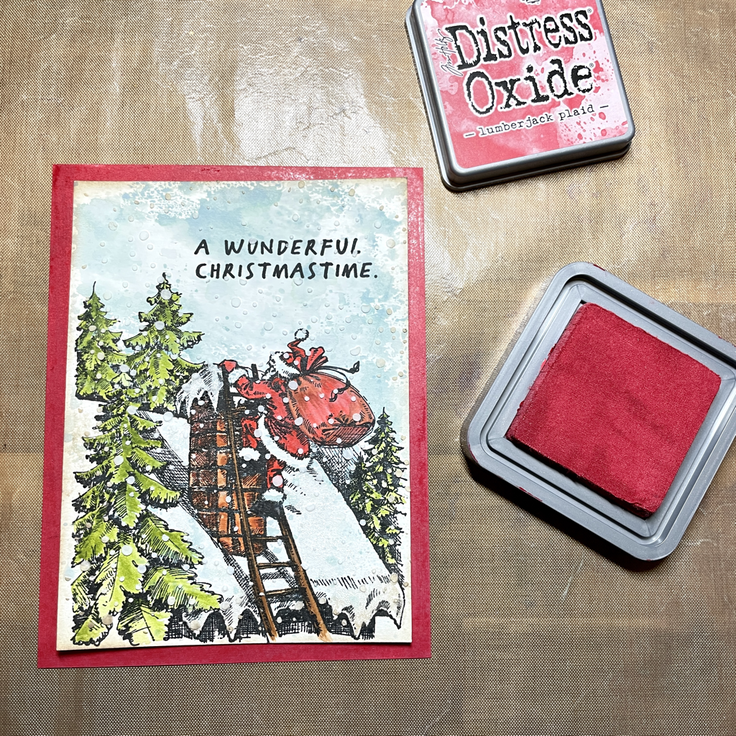
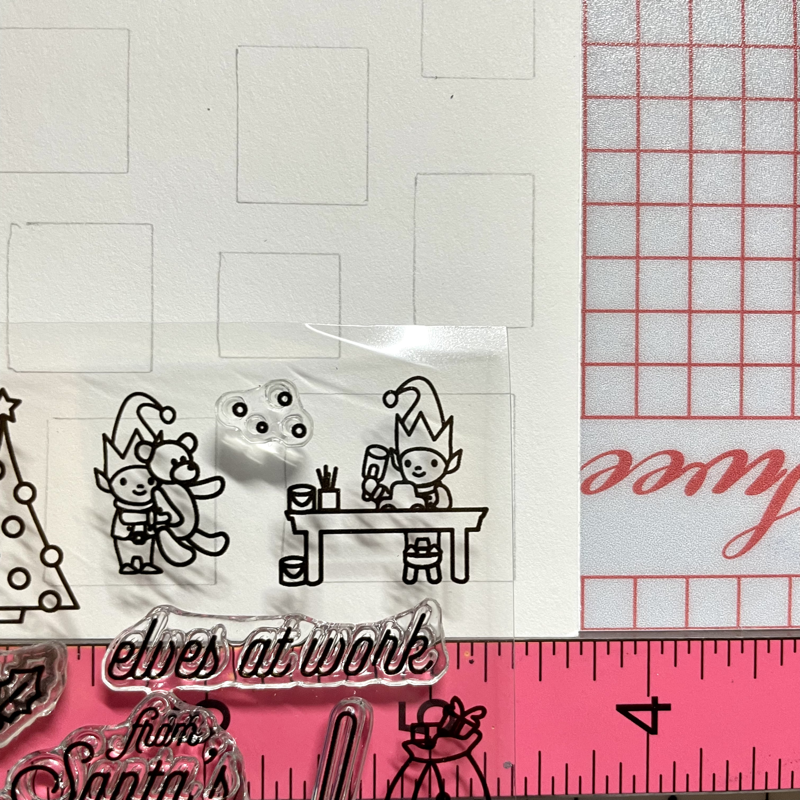
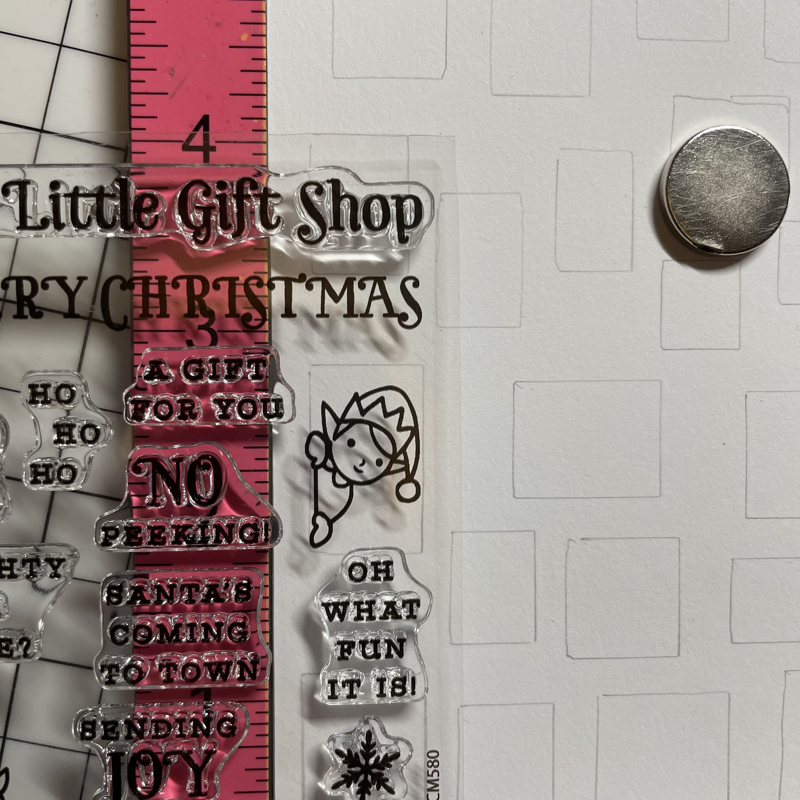
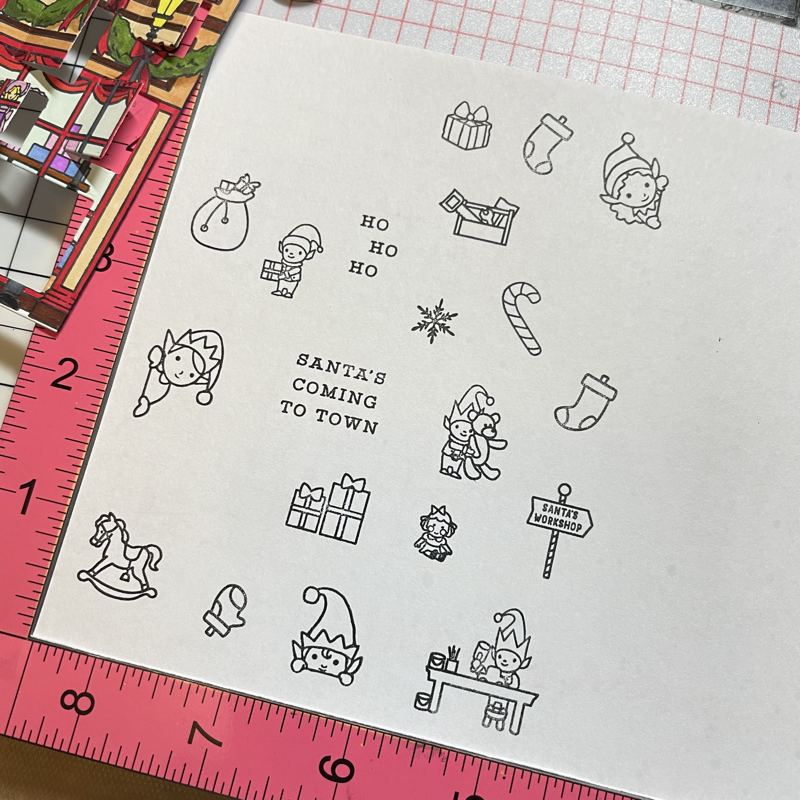
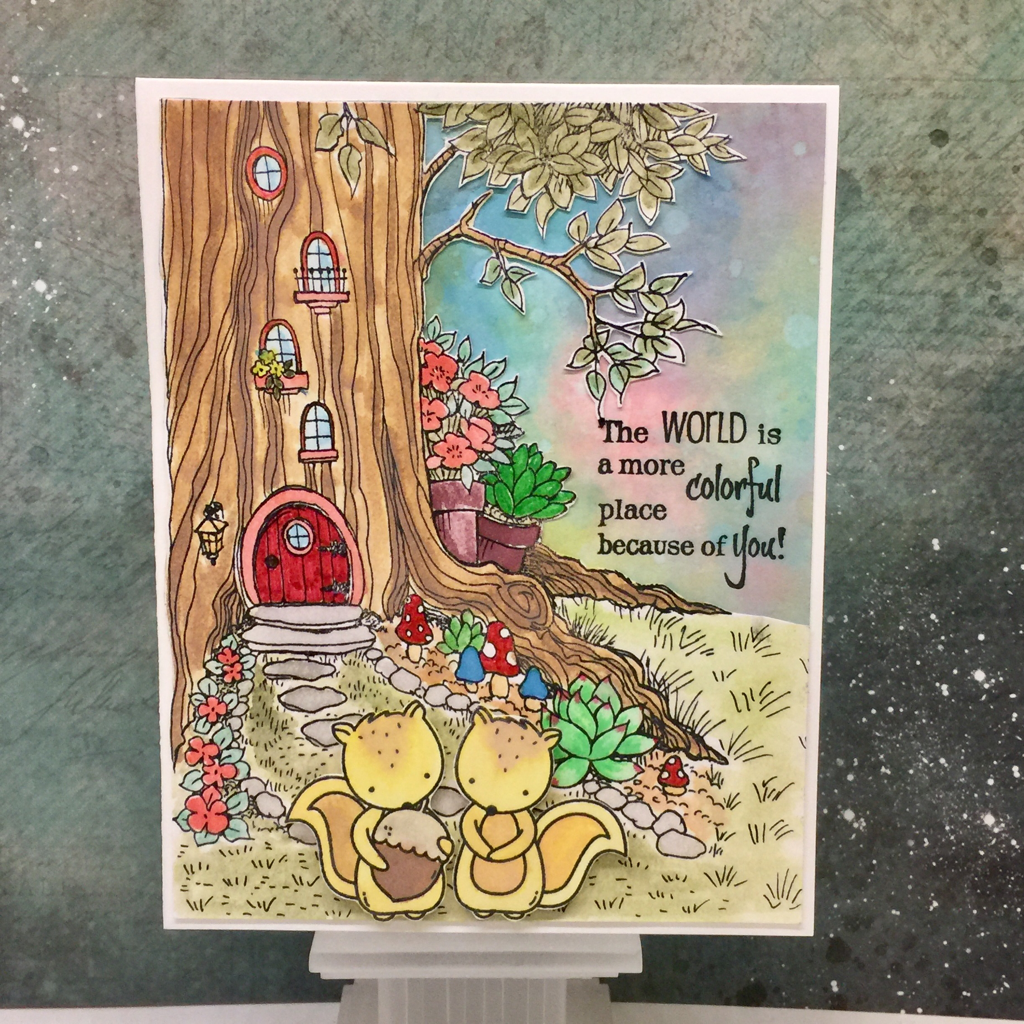
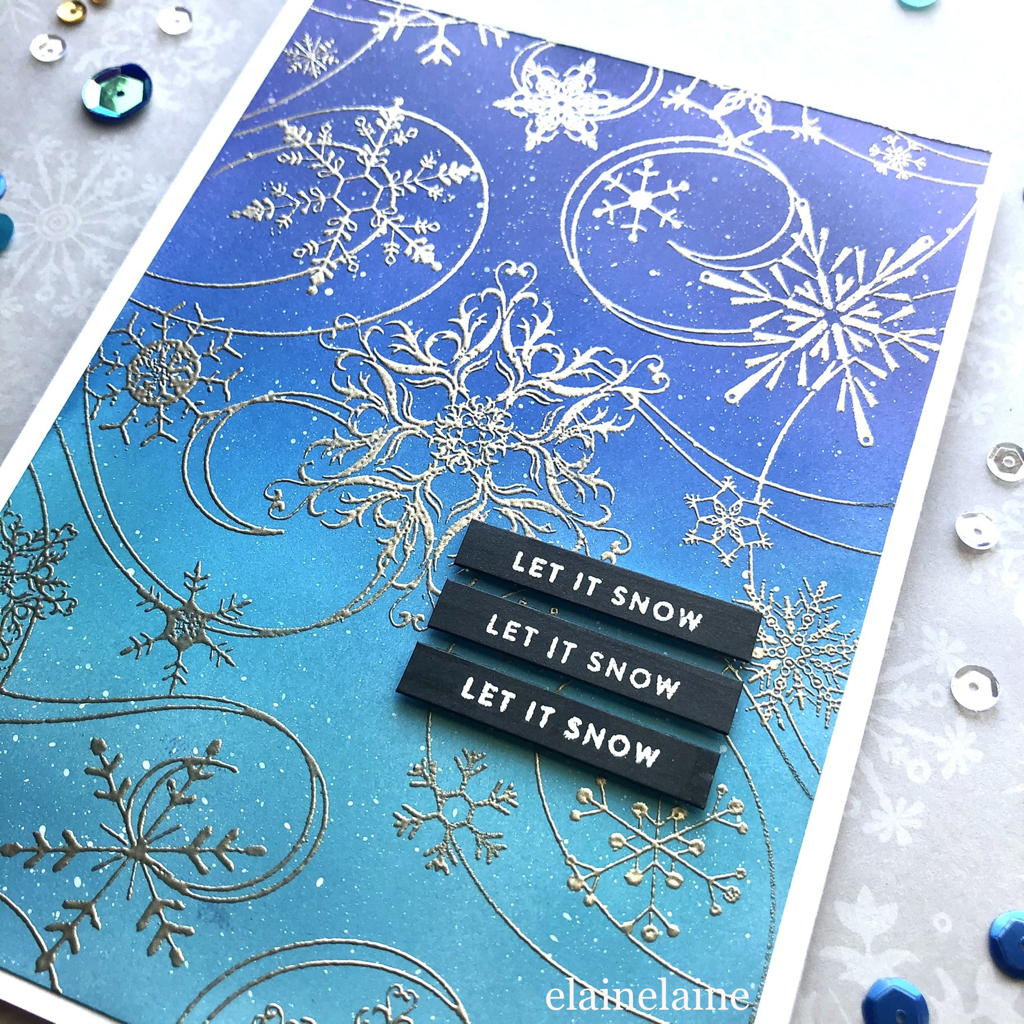
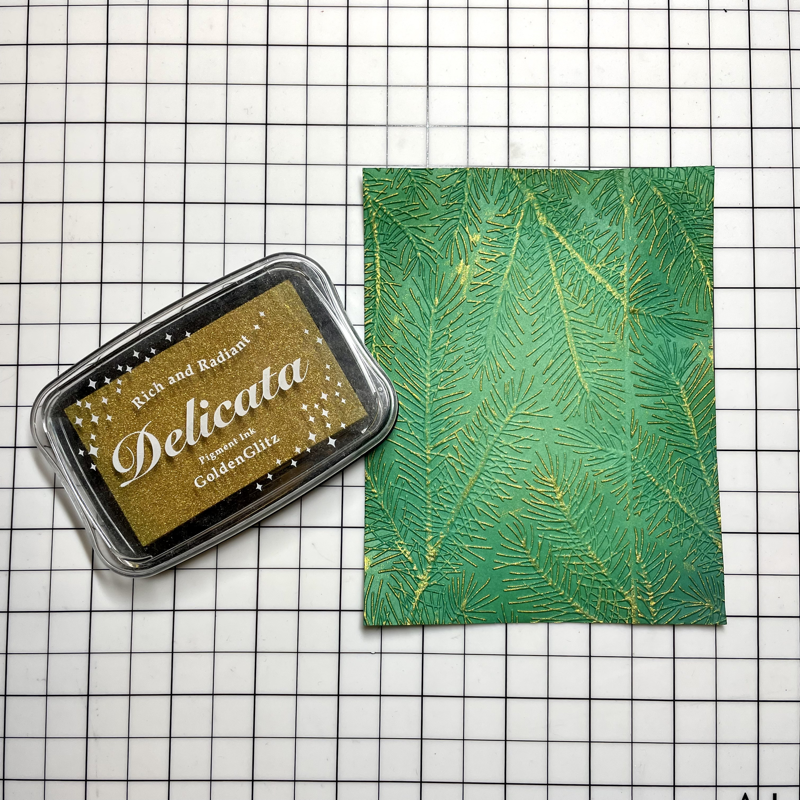
Stamping over watercolor cardstock using Altenew Obsidian pigment ink

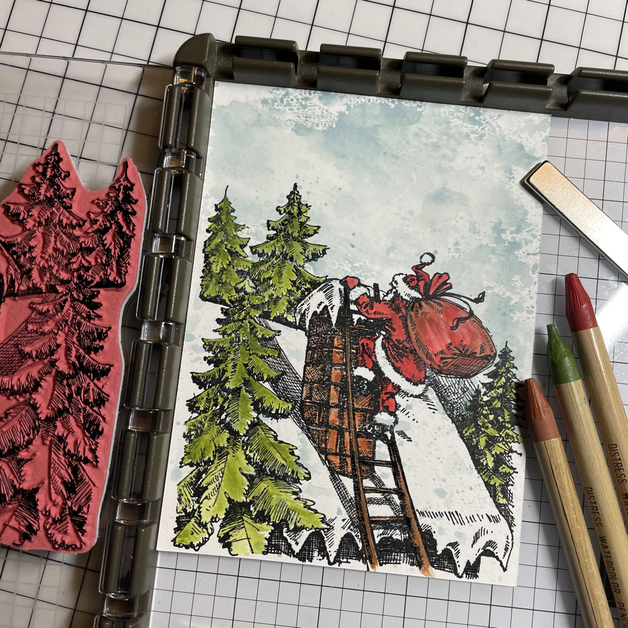
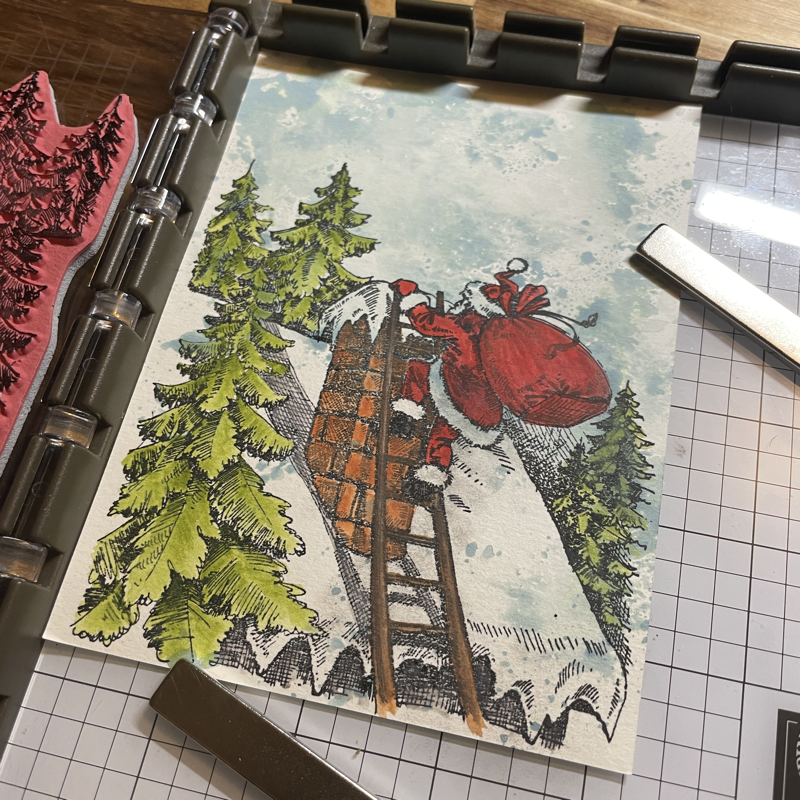
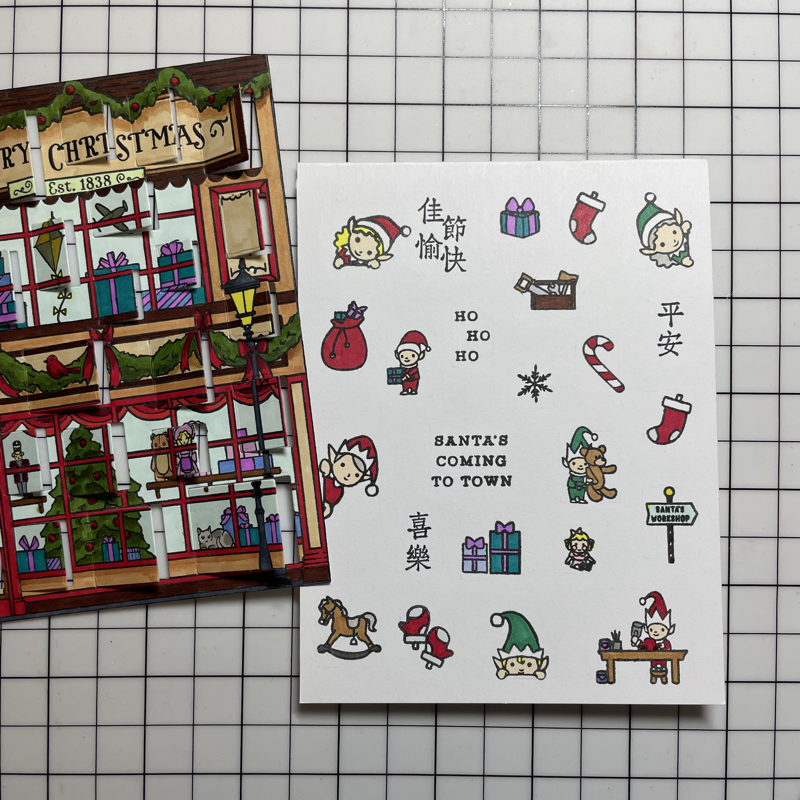
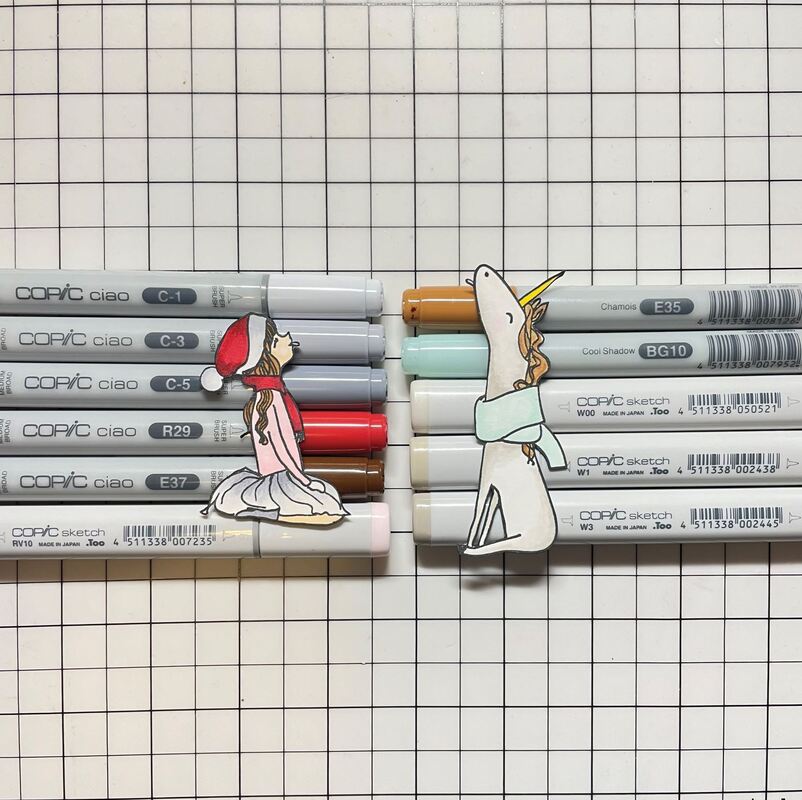
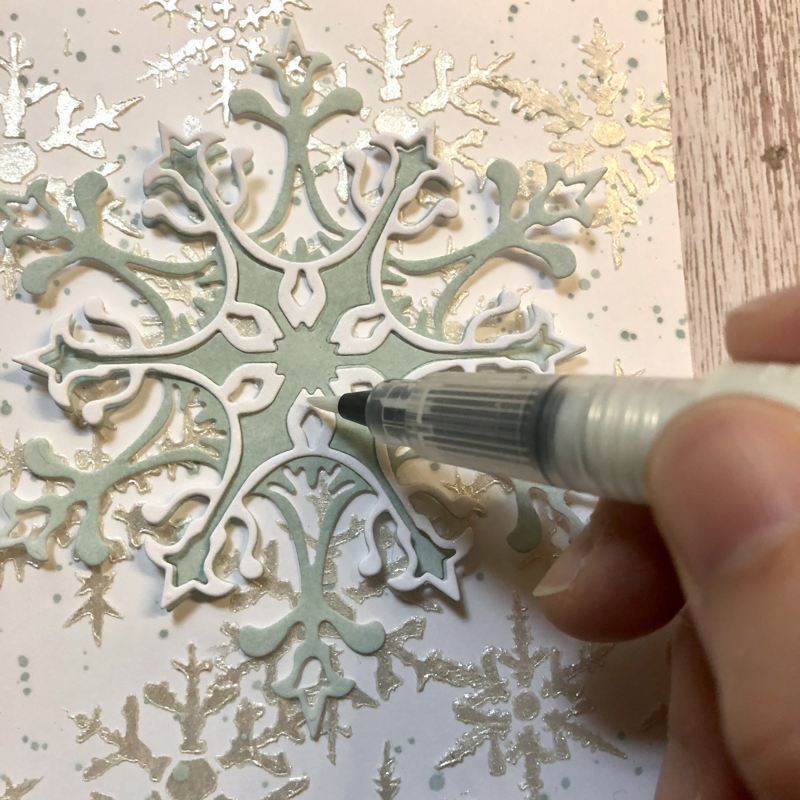
Coloring the image using Tim Holtz distress watercolor pencils

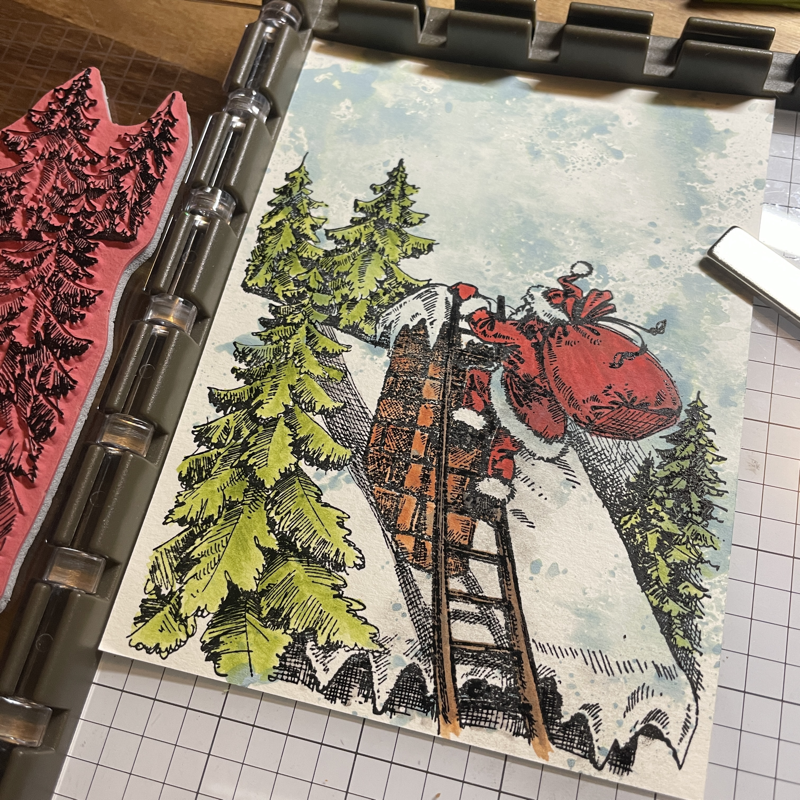
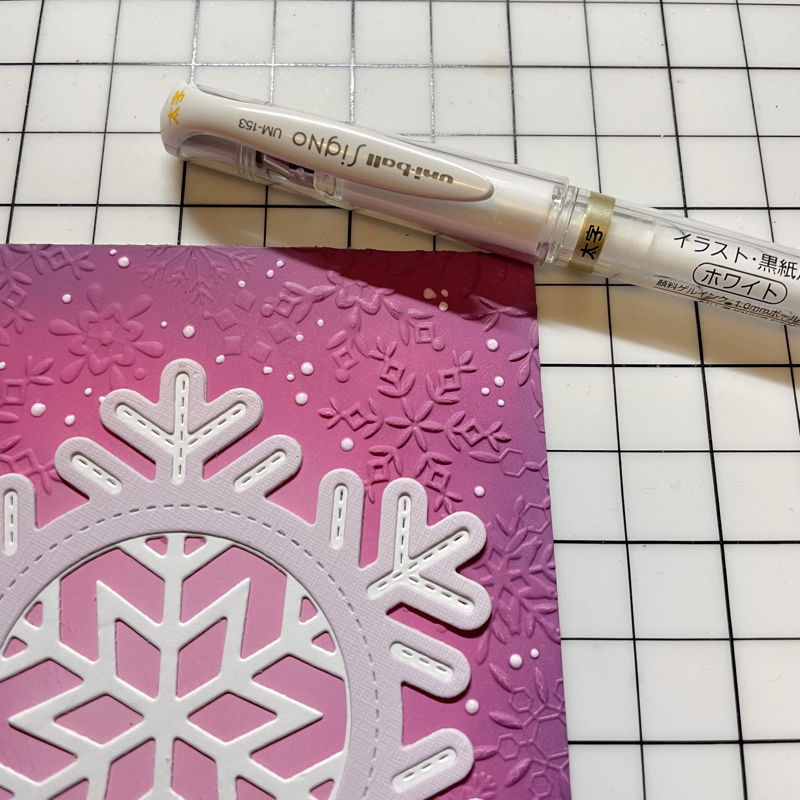
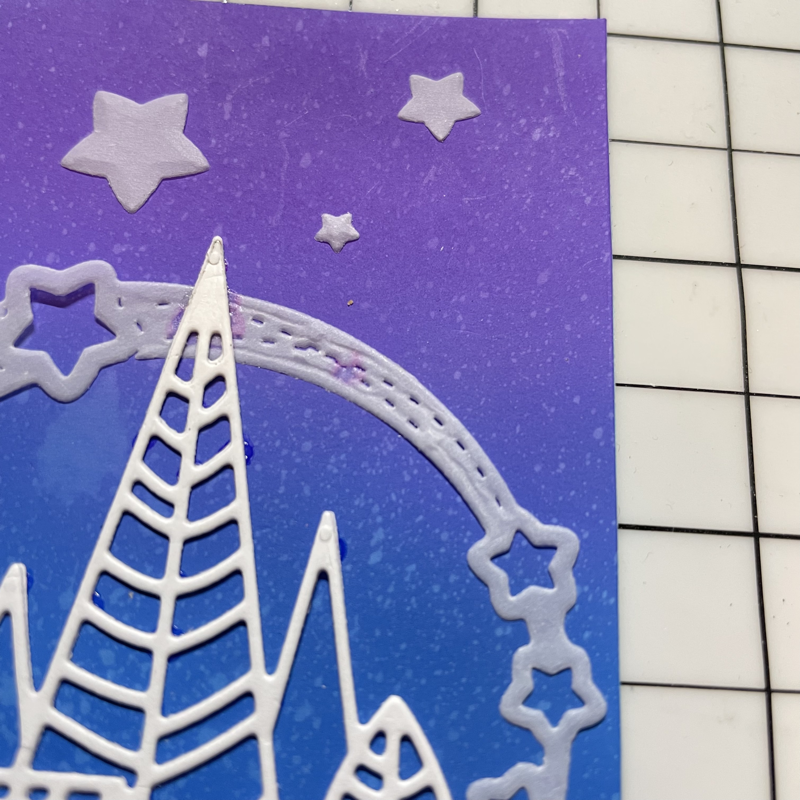
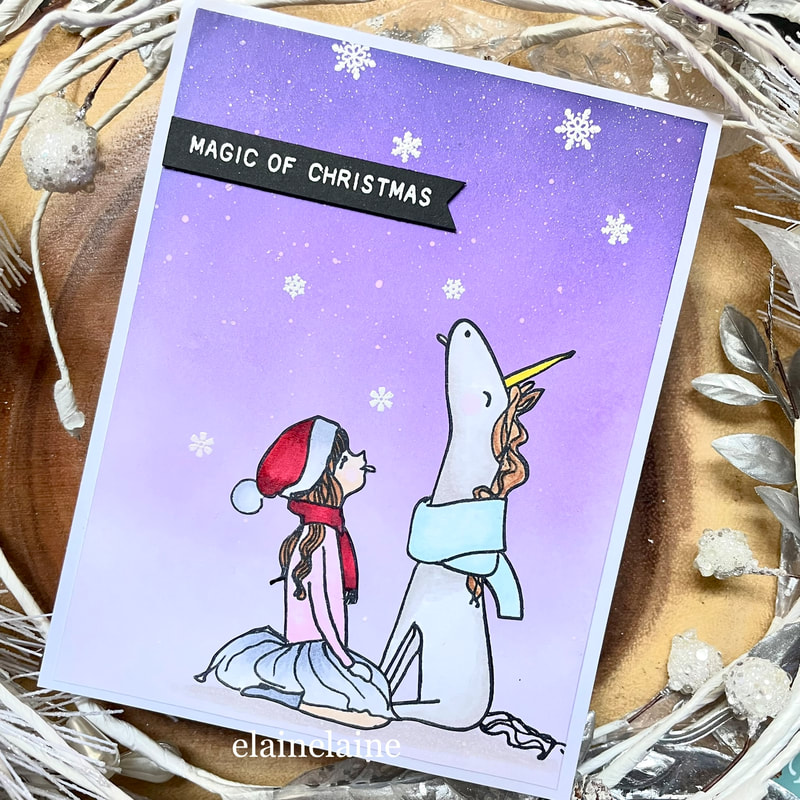
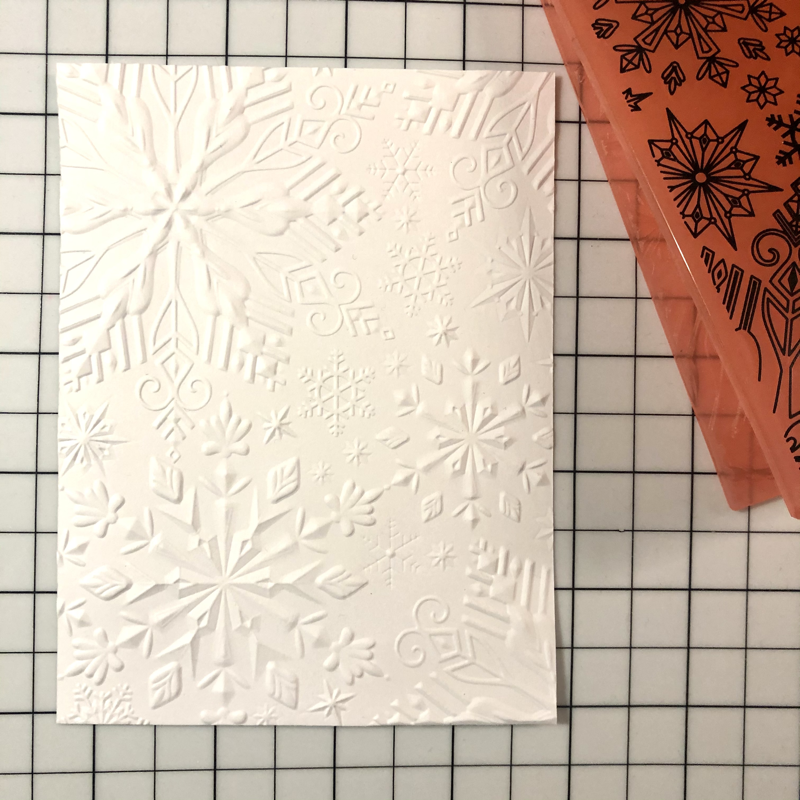
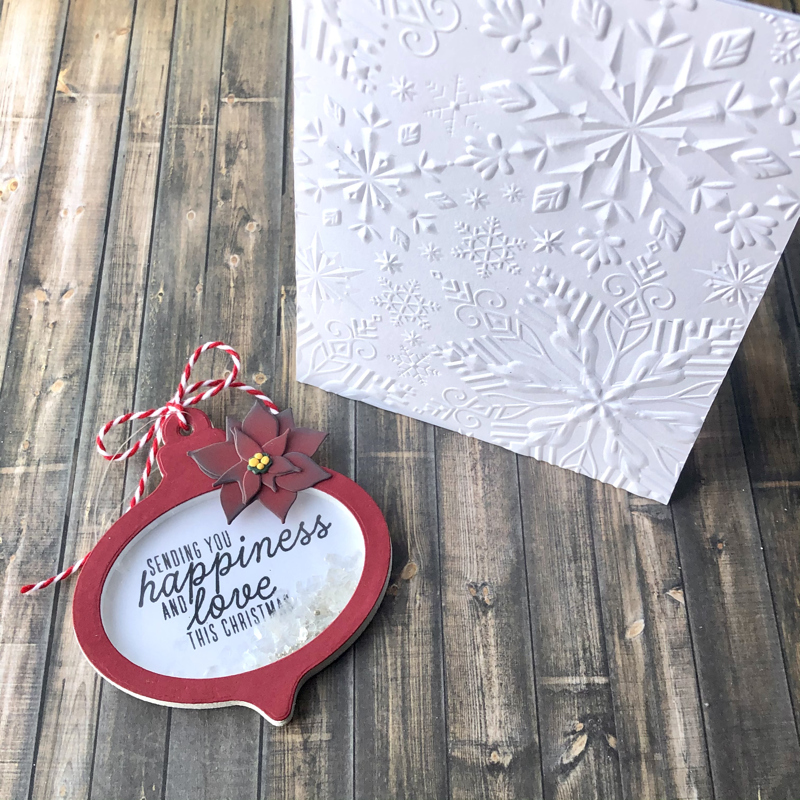
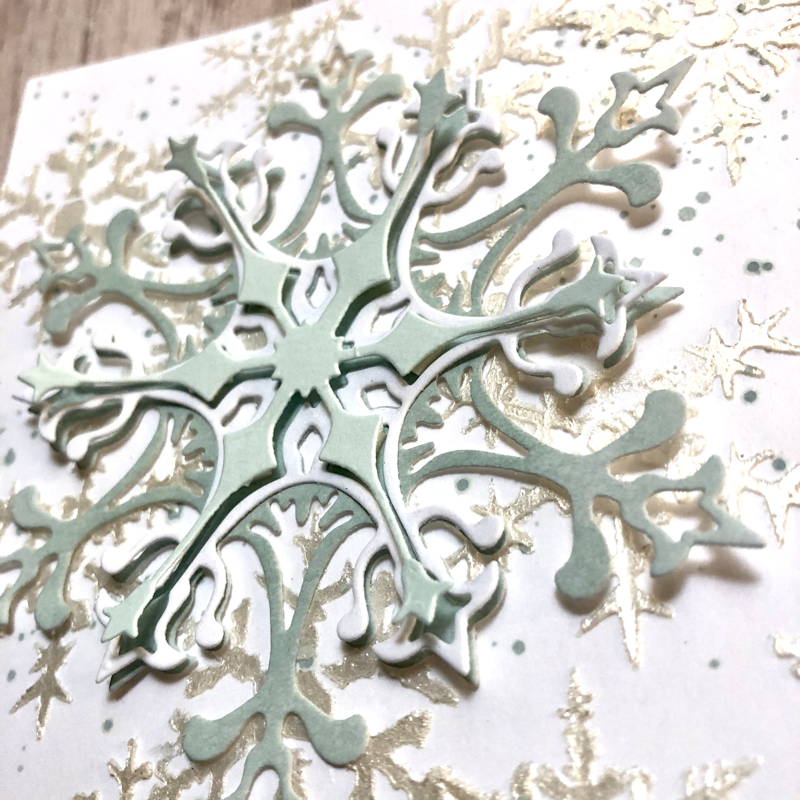
Creating a snowy sky using snowy stencil and Avery Elle white pigment ink pad
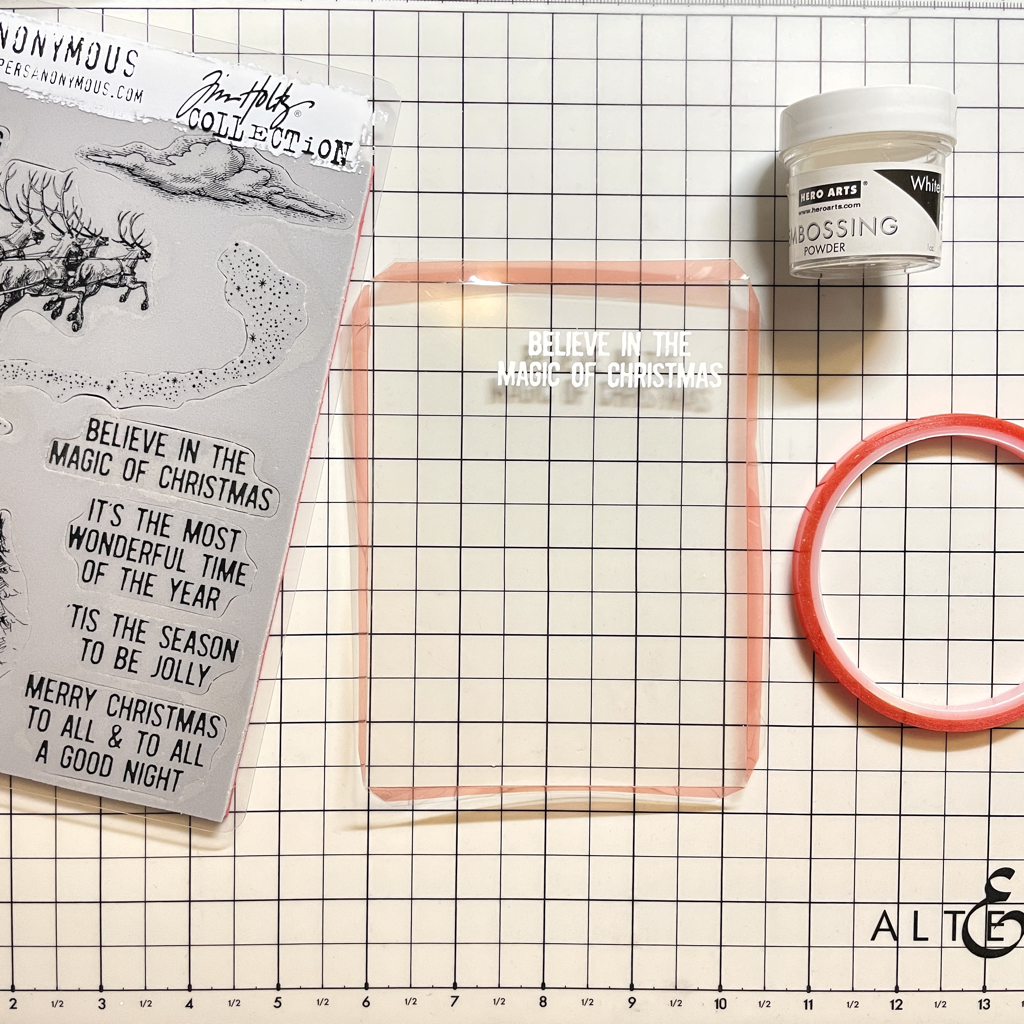
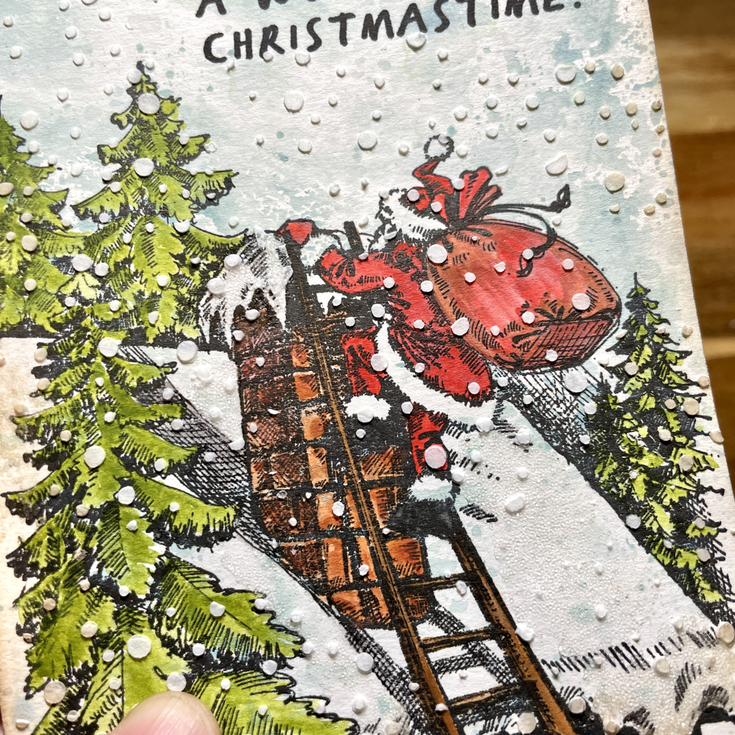
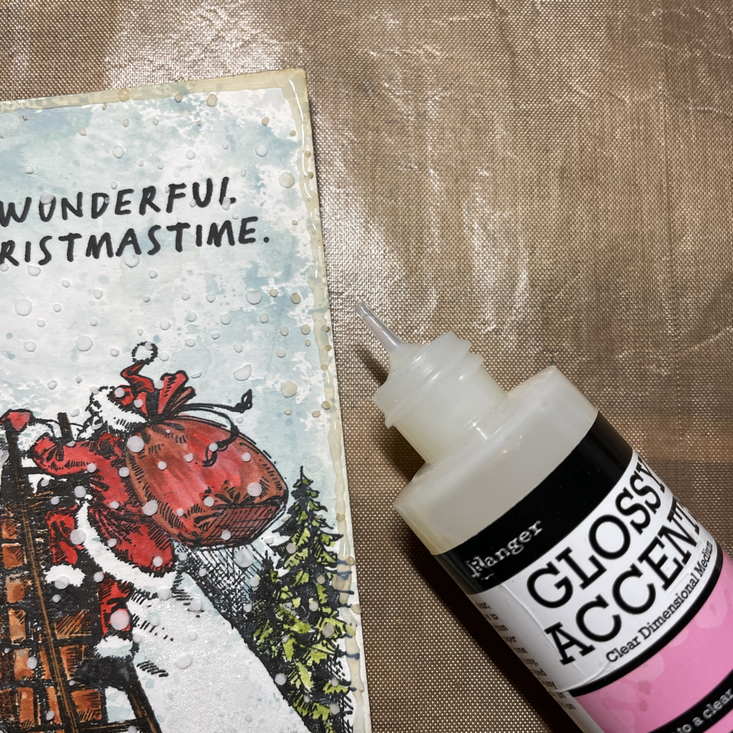
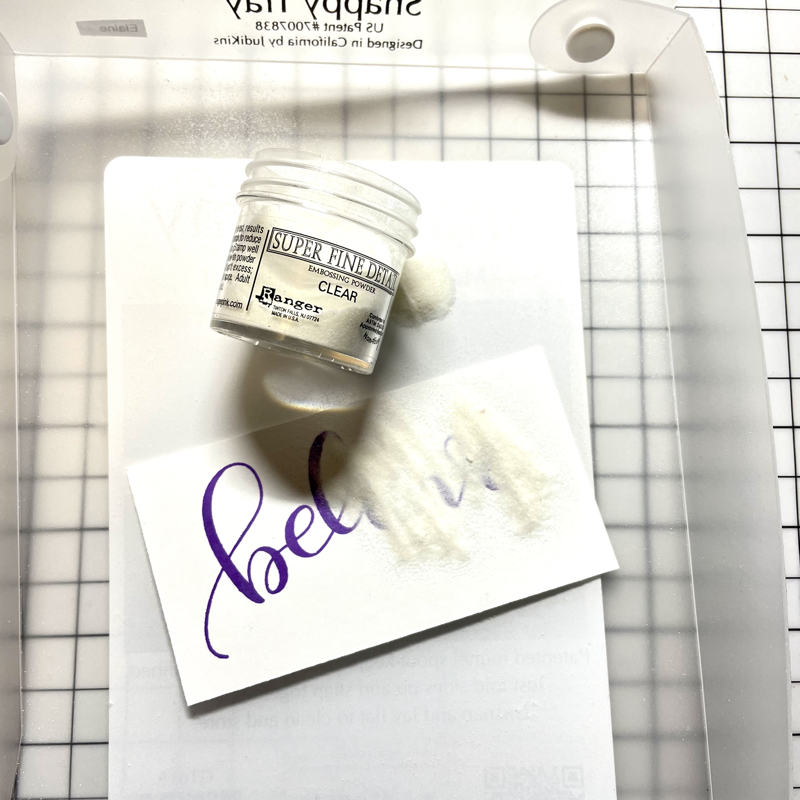
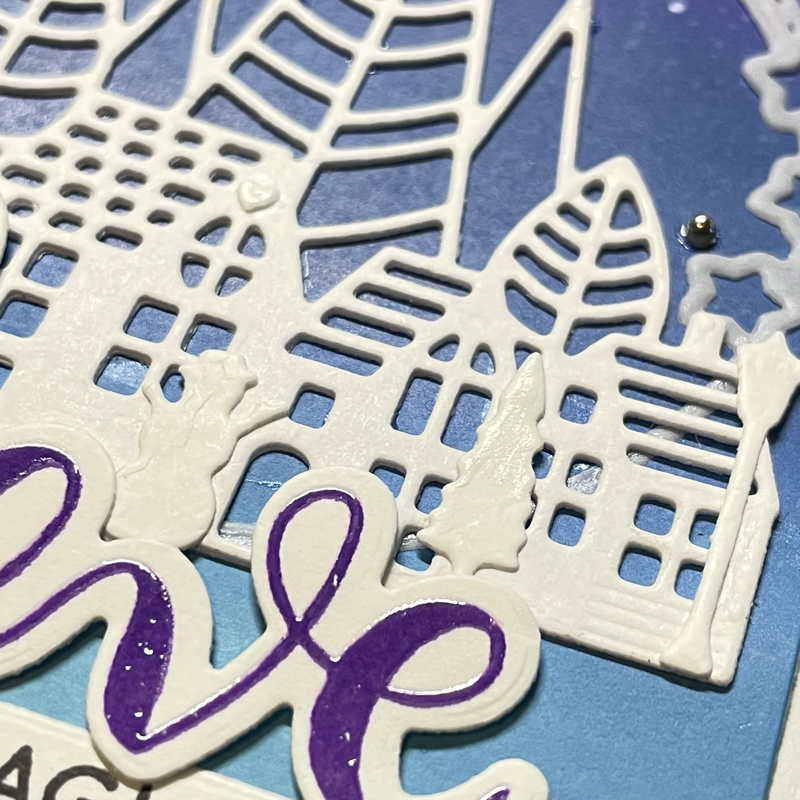
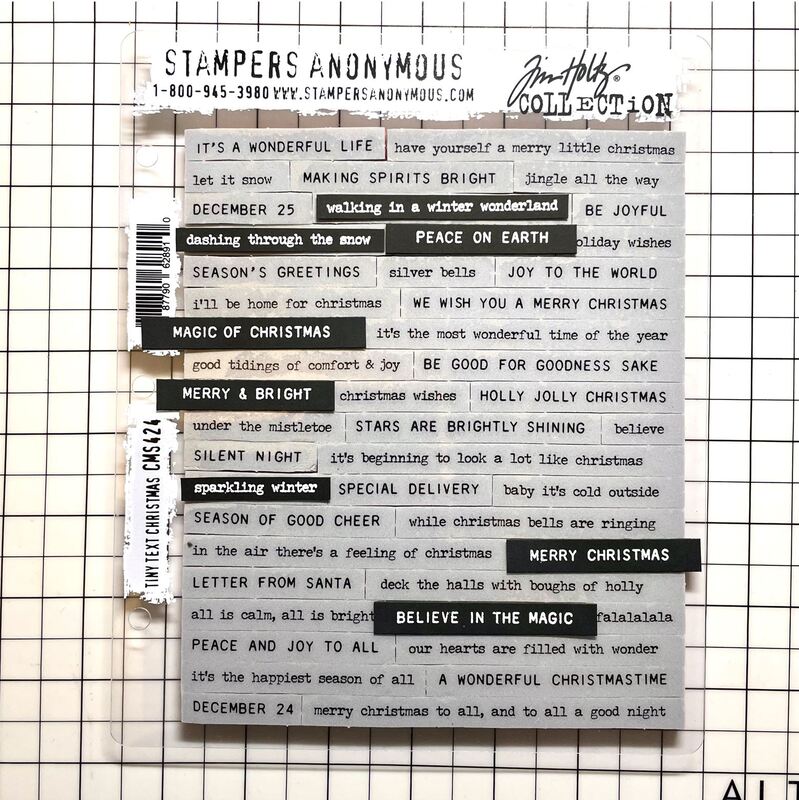
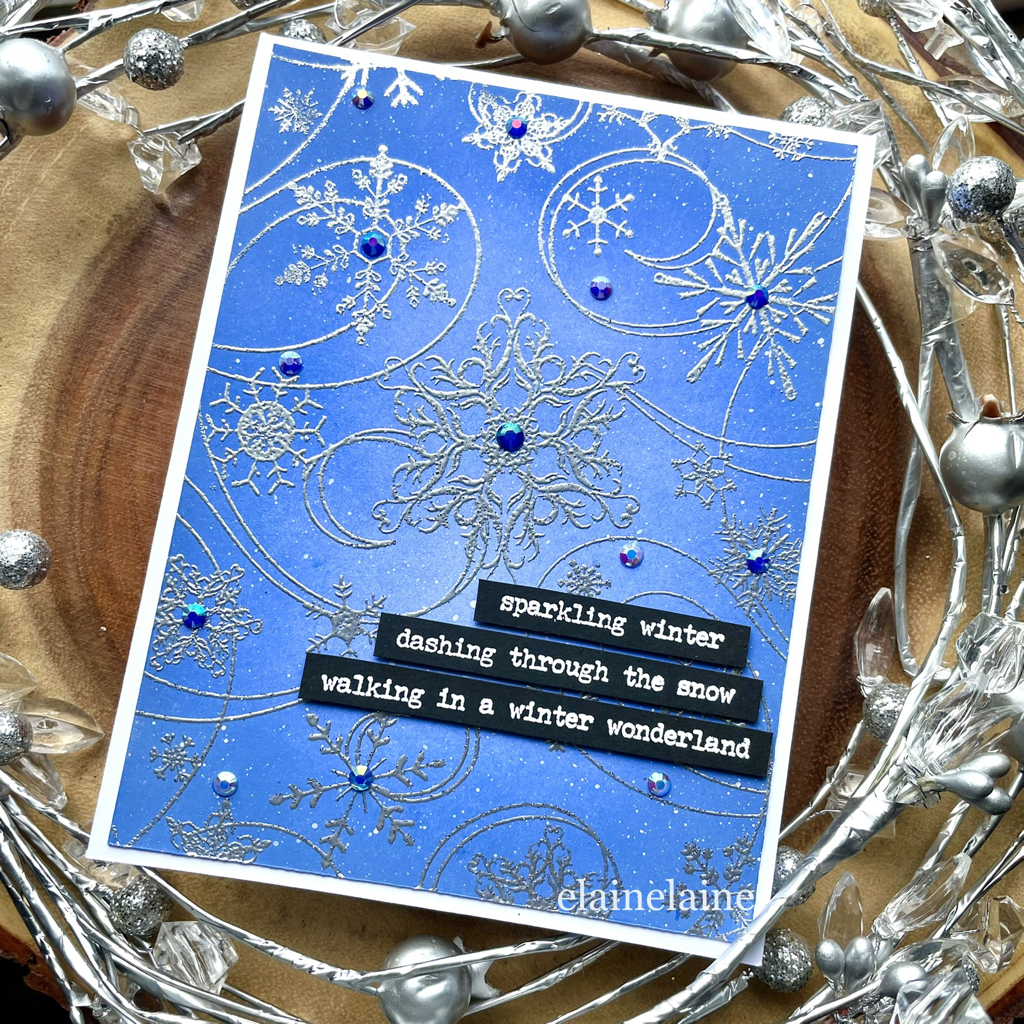
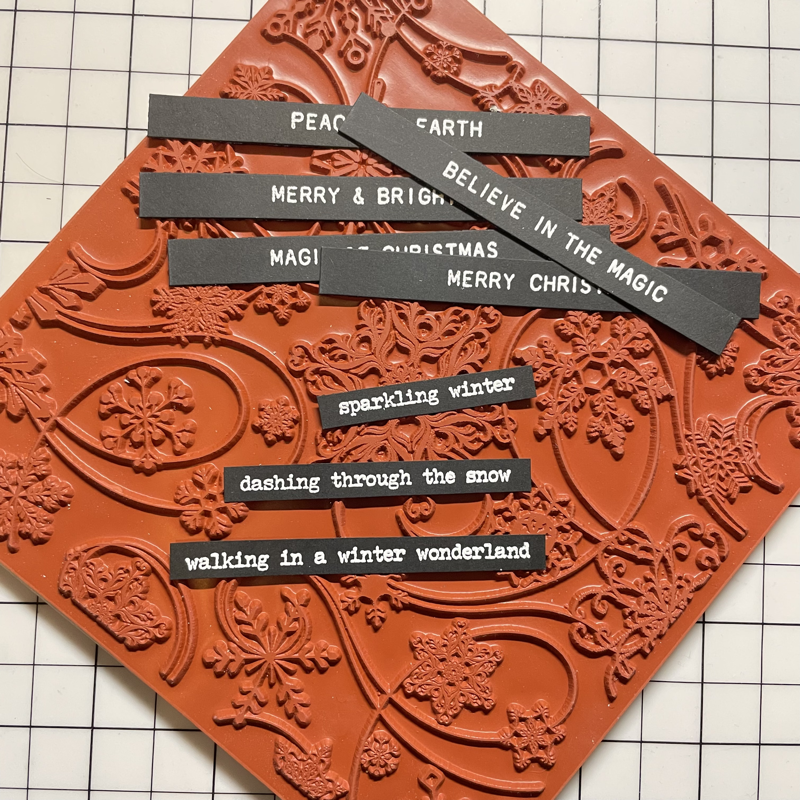
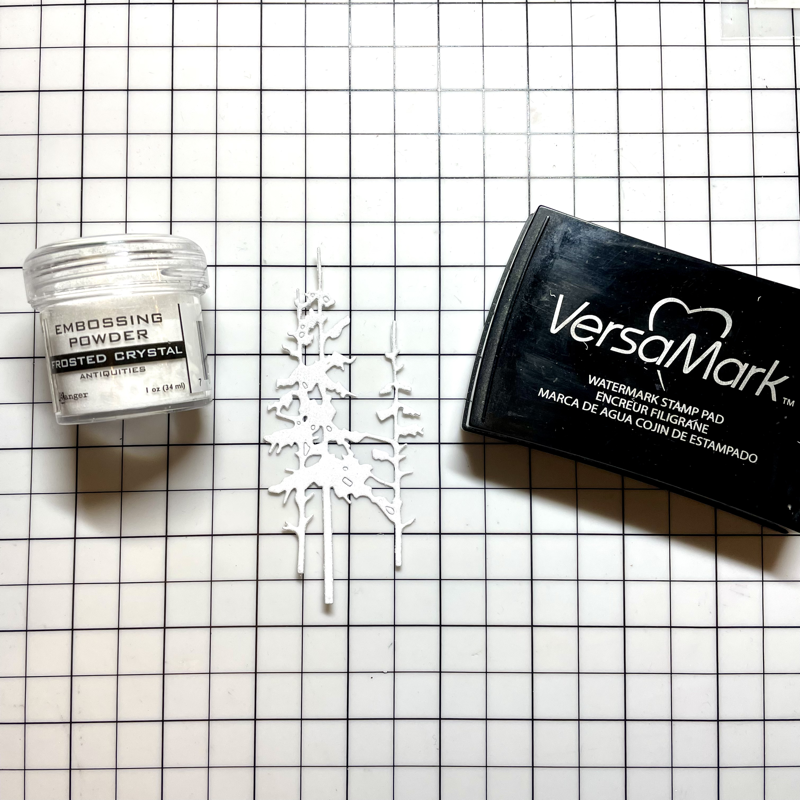
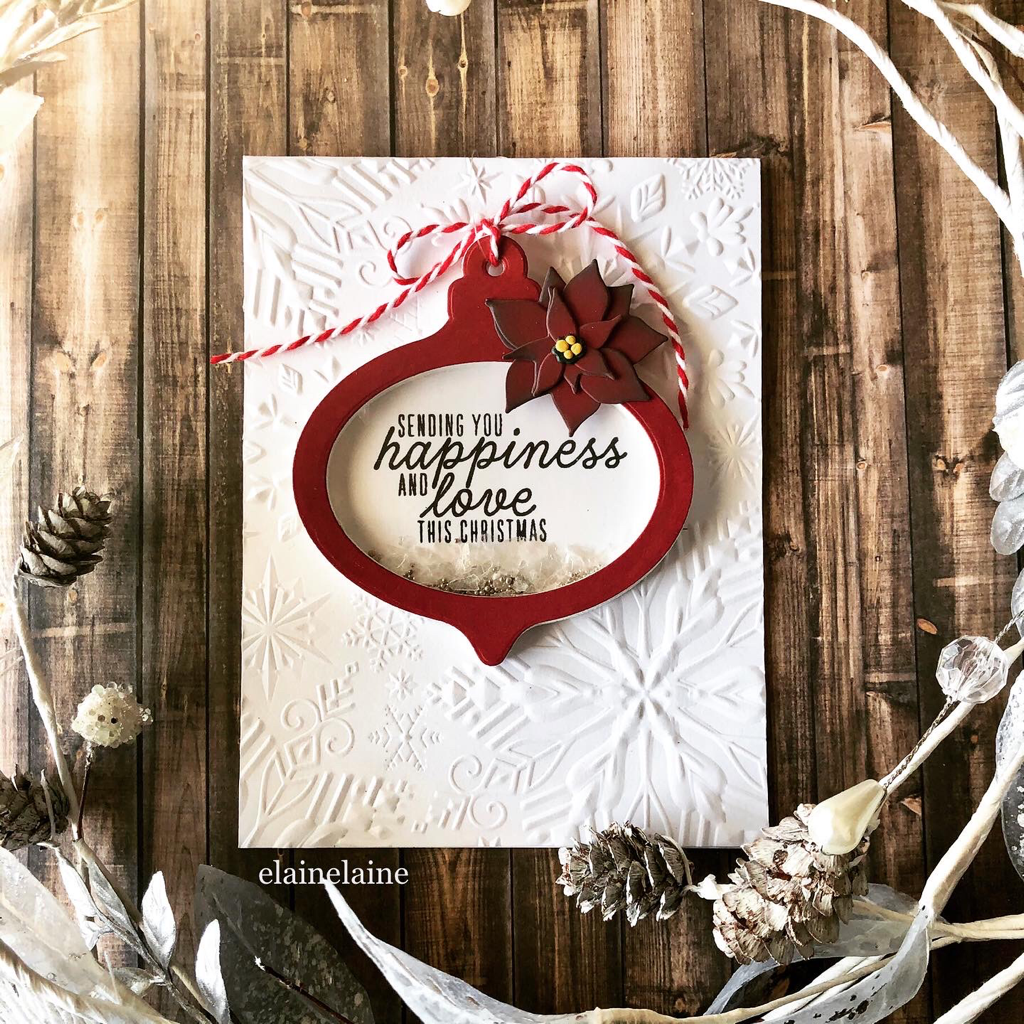
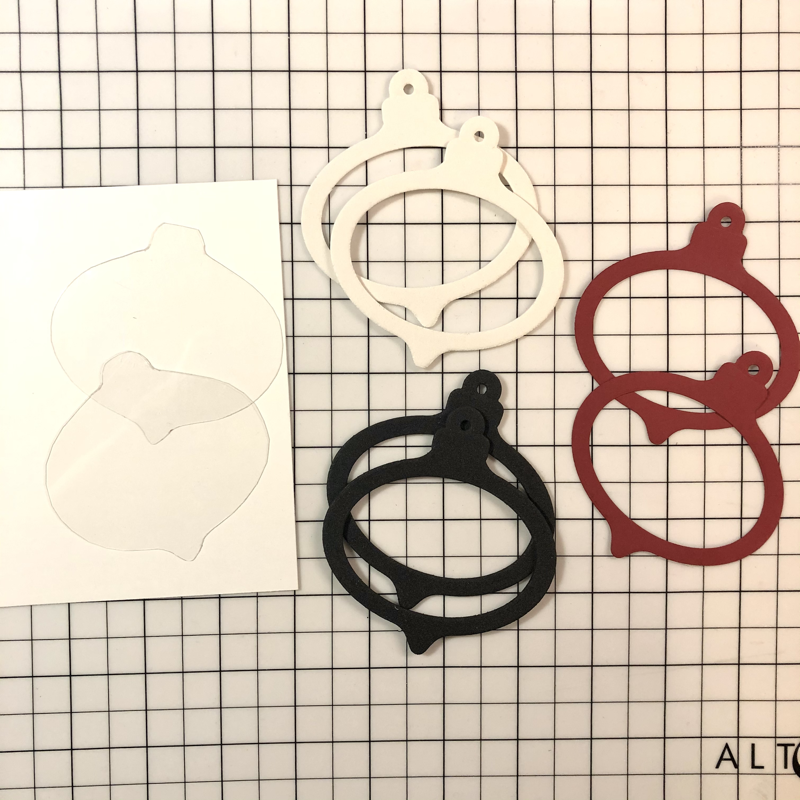
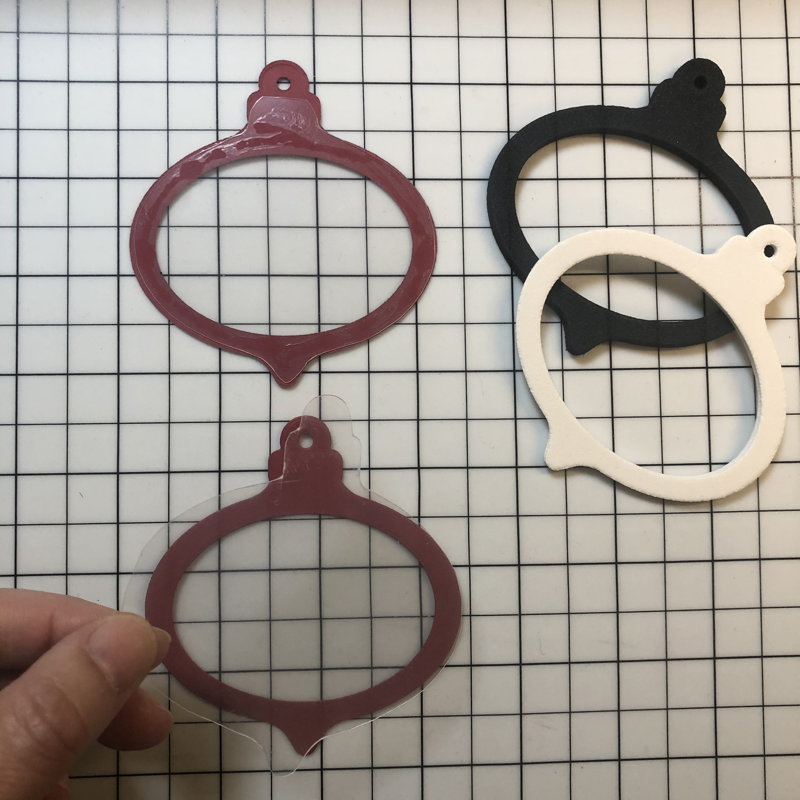
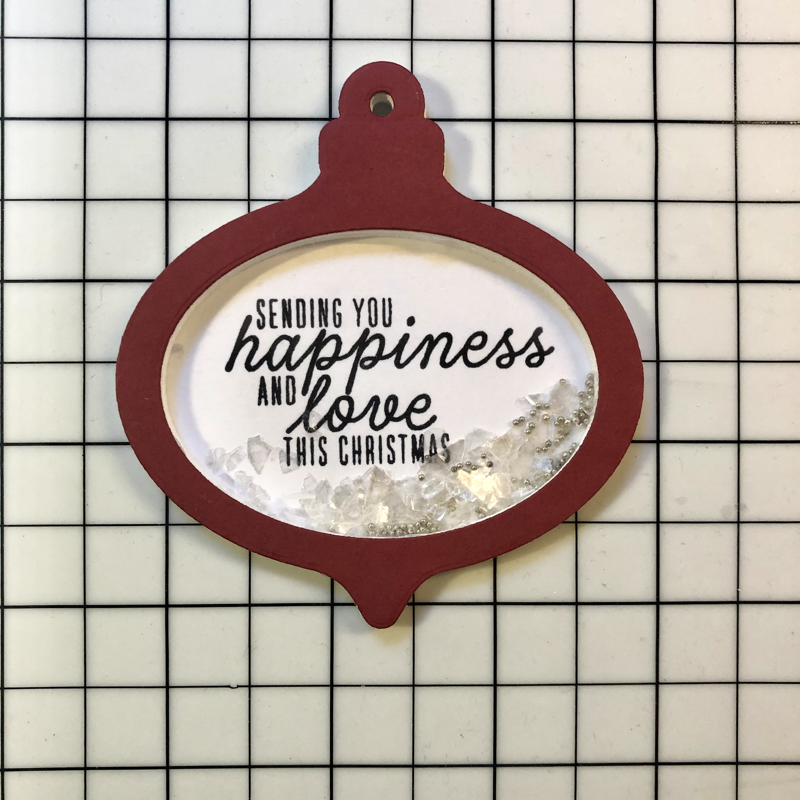
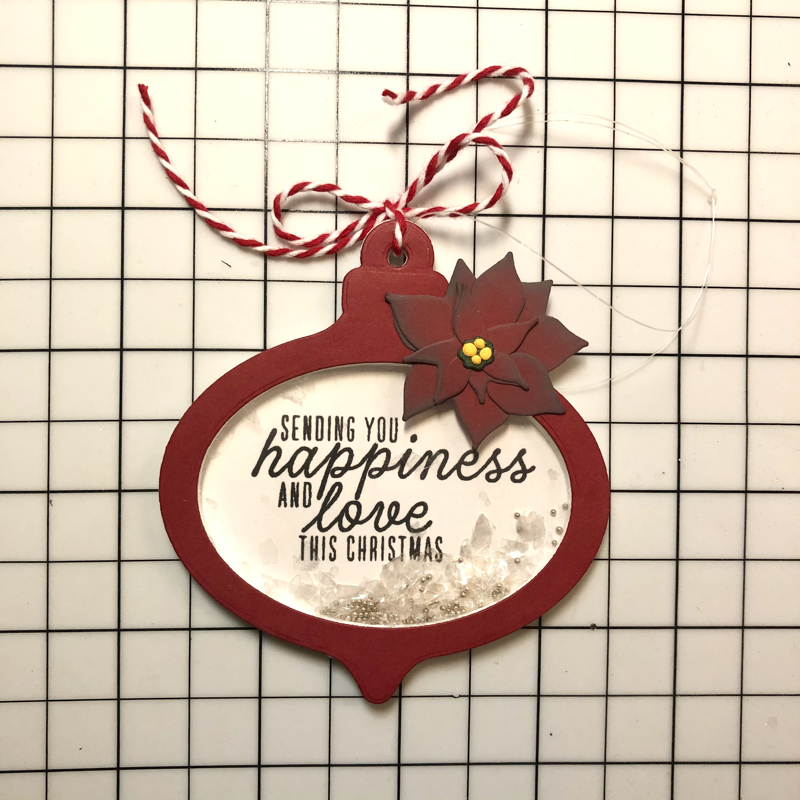
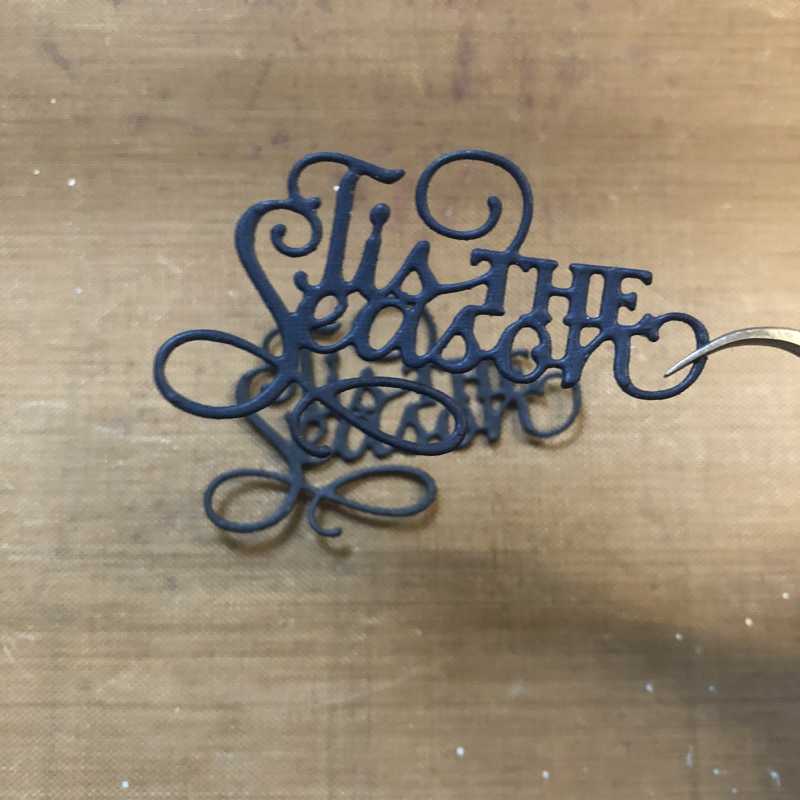
Stamping Believe in the Magic of Christmas sentiment onto a heat resistant dura-lar sheet using VersaMark watermark stamp pad
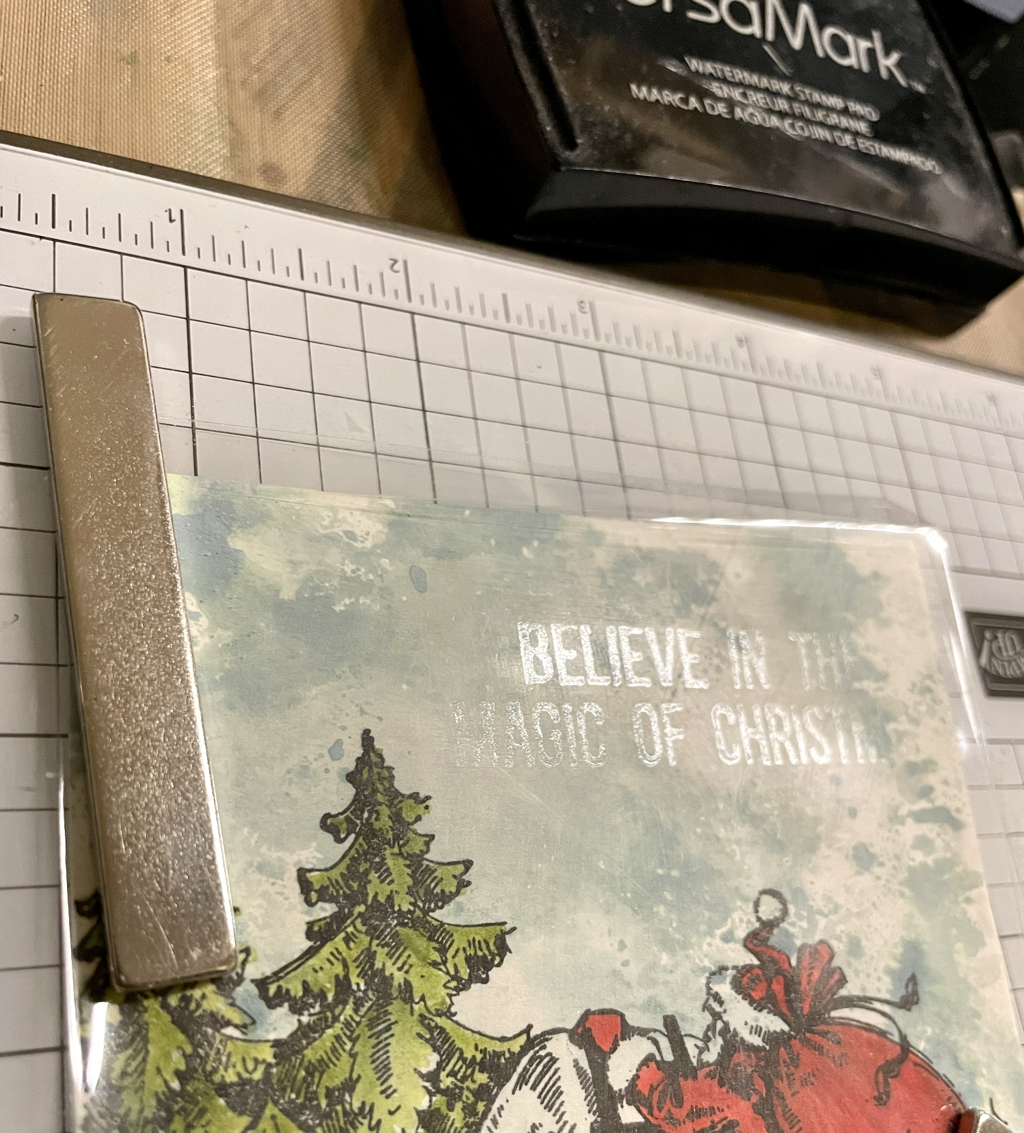
Then the sentiment was heat embossed with Hero Arts white embossing powder. After the sentiment cooled down, I then added strips of ultra sticky double sided tape on a four side of dura-lar sheet
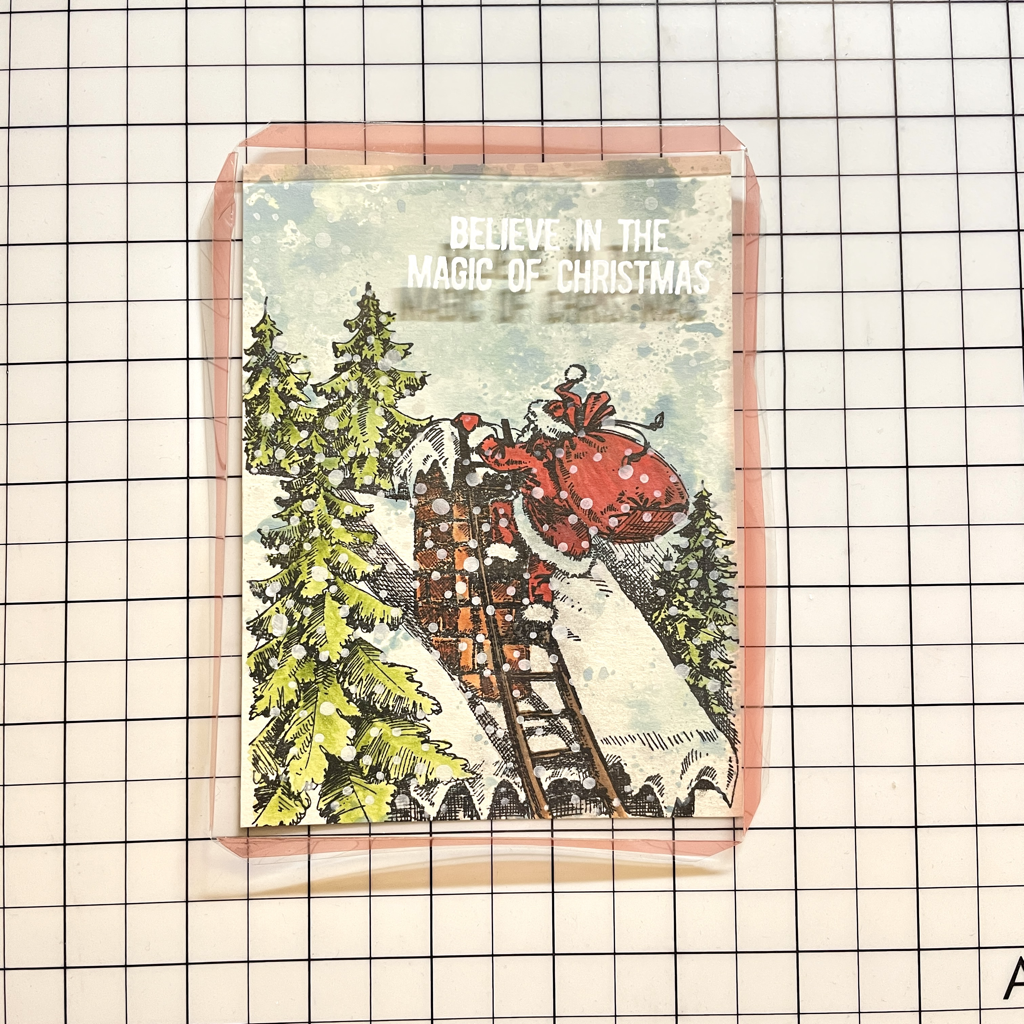
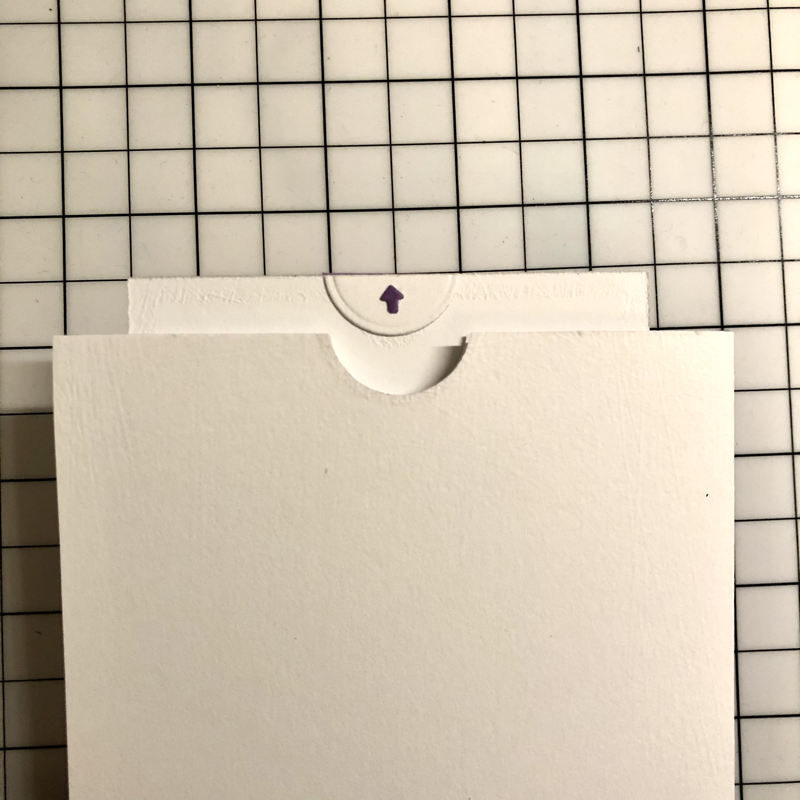
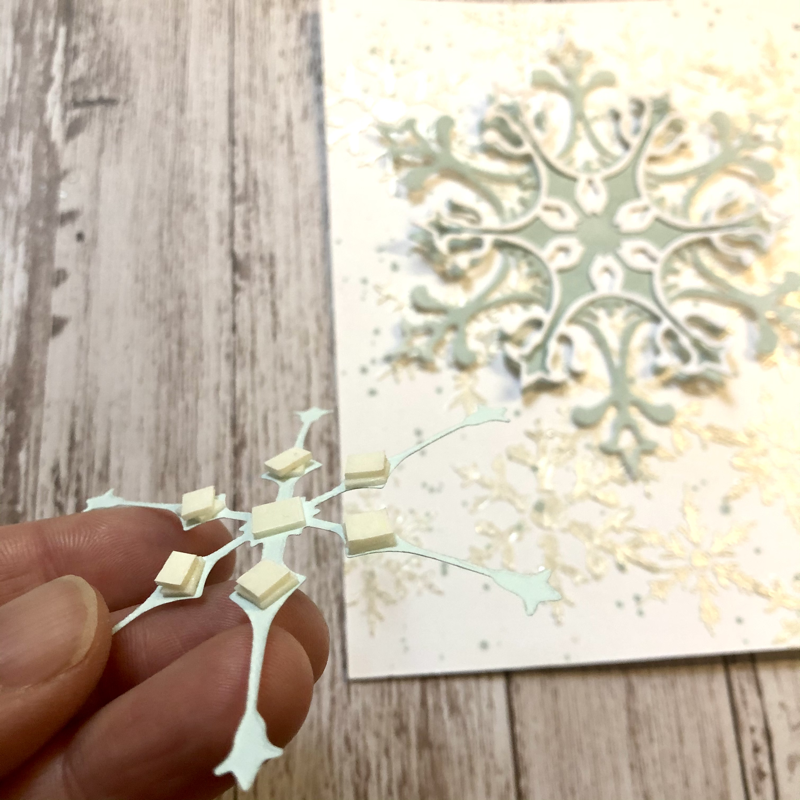
I placed the dura-lar sheet and the adhesive on top of the card, then I tucked the extra dura-lar sheet flaps behind the card. I left the top side of the card open so I could add embellishments inside the card later on.
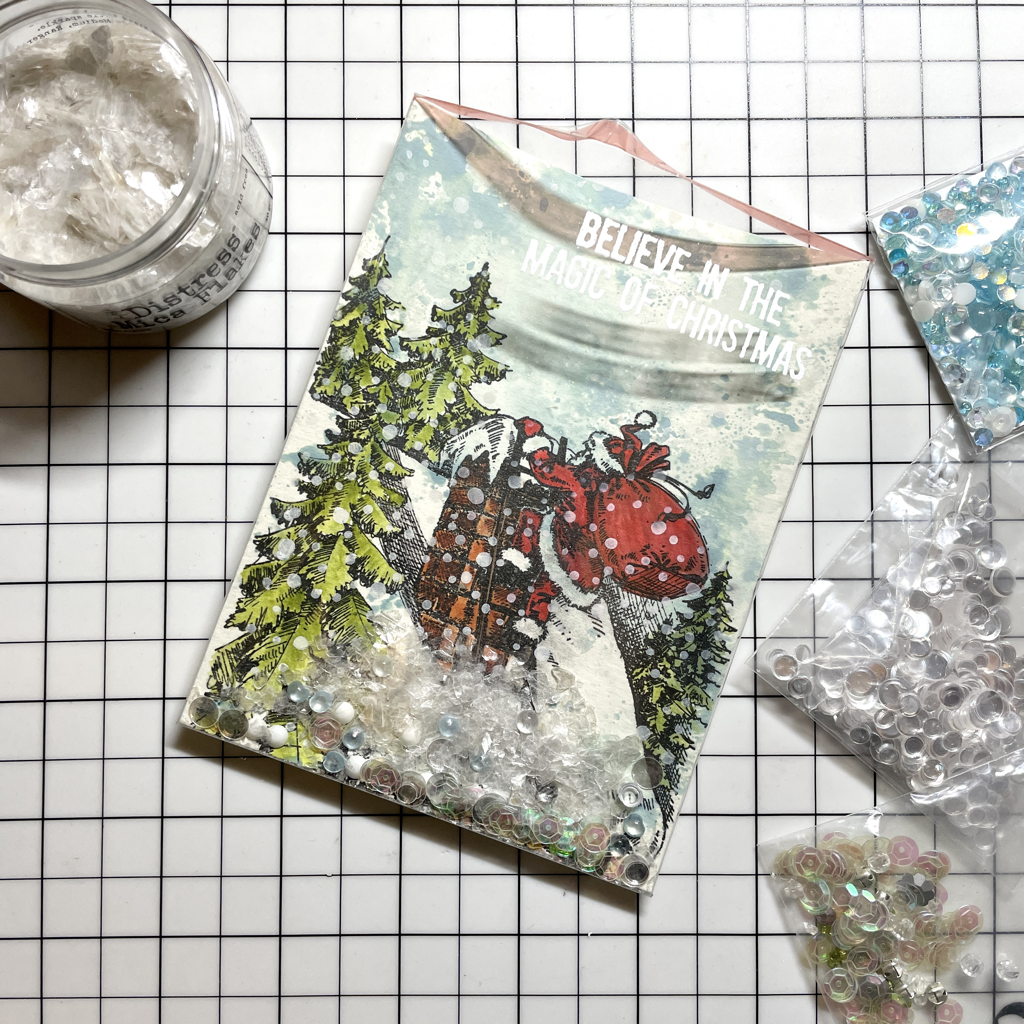
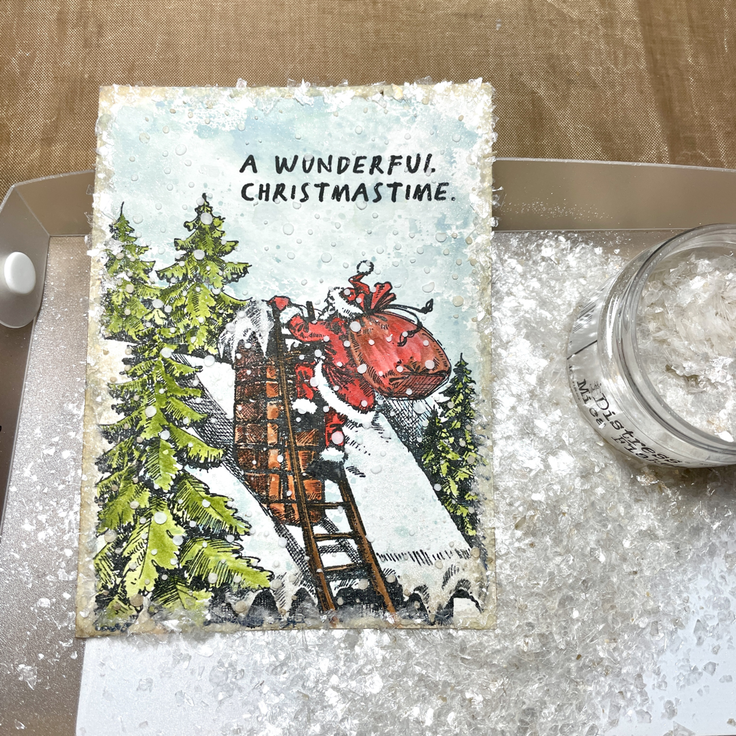
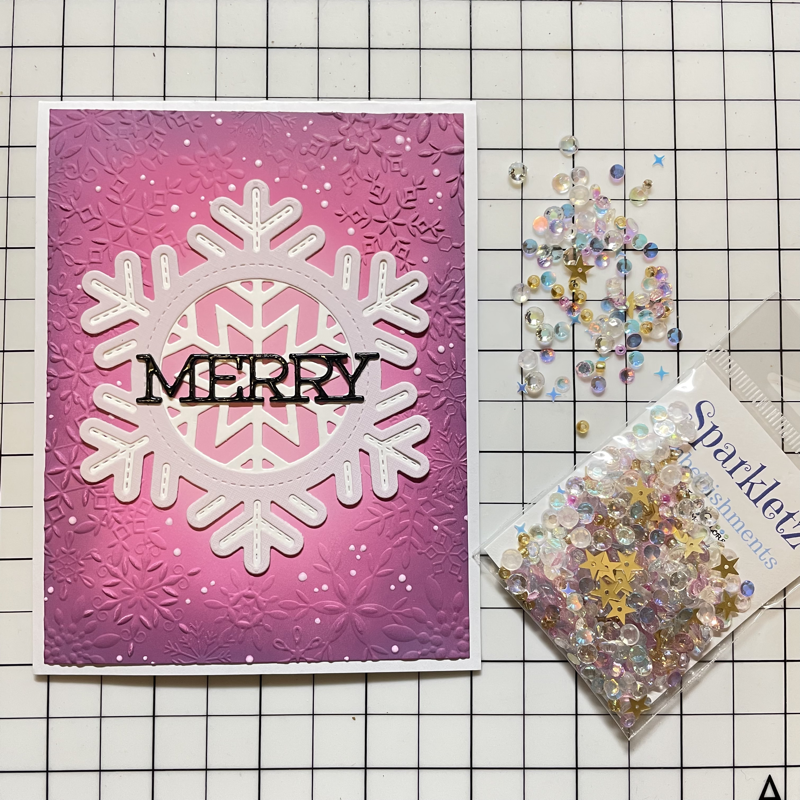
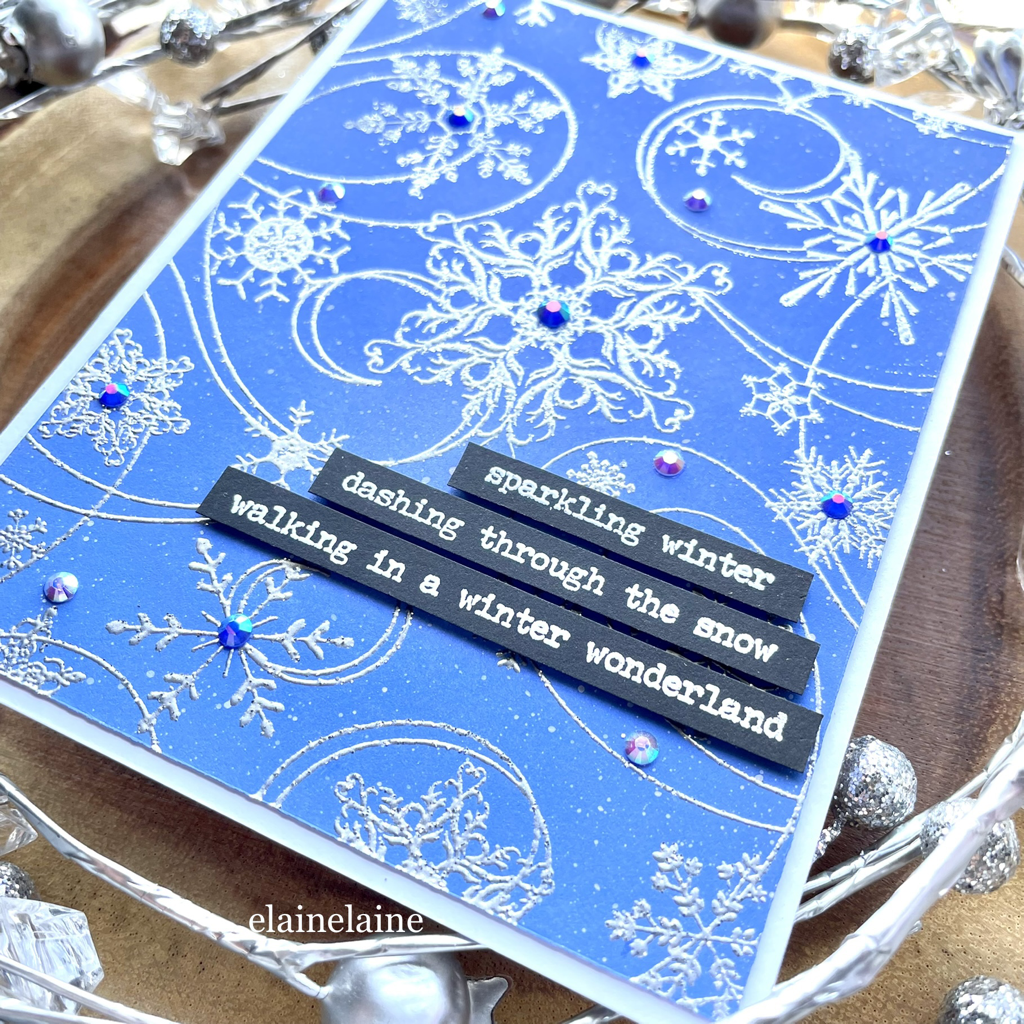
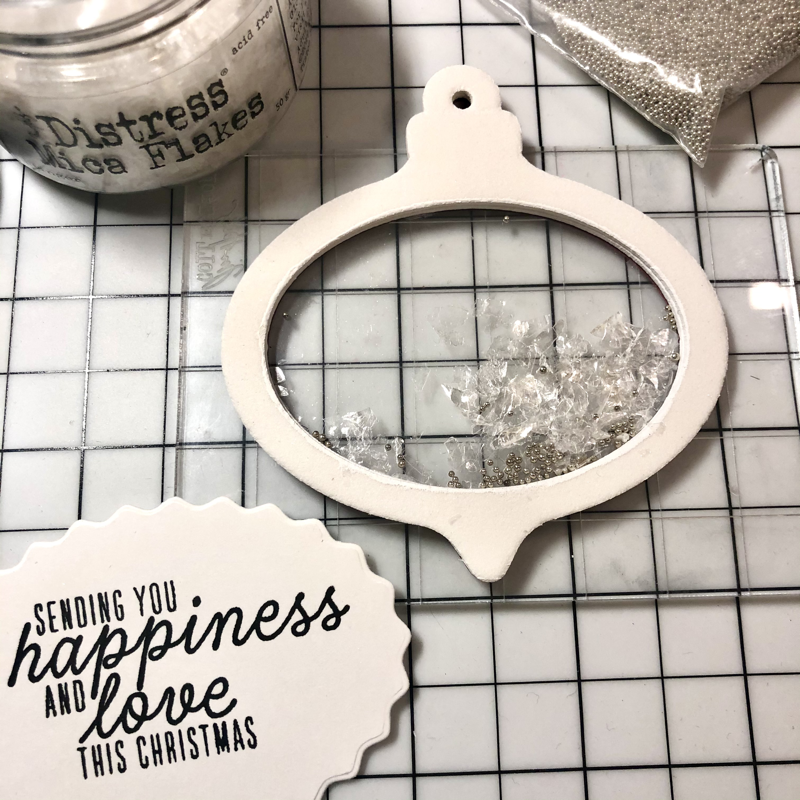
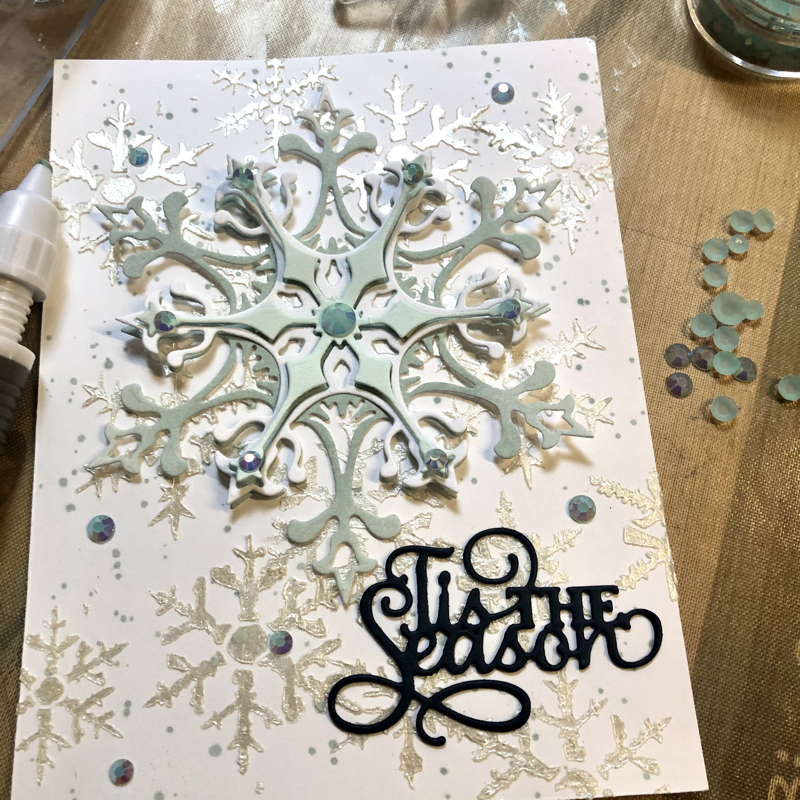
After the three sides of the shaker card were sealed, I added beads, sequins and mica flakes
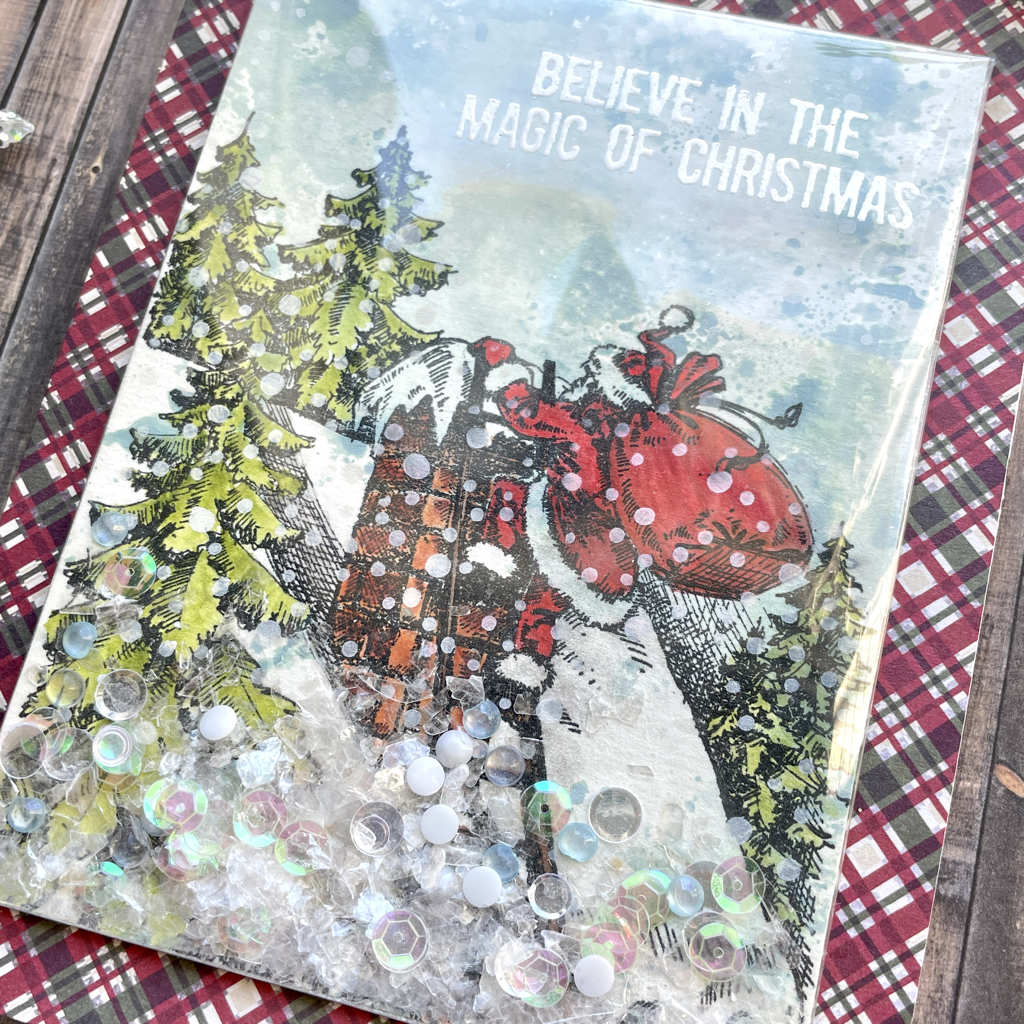
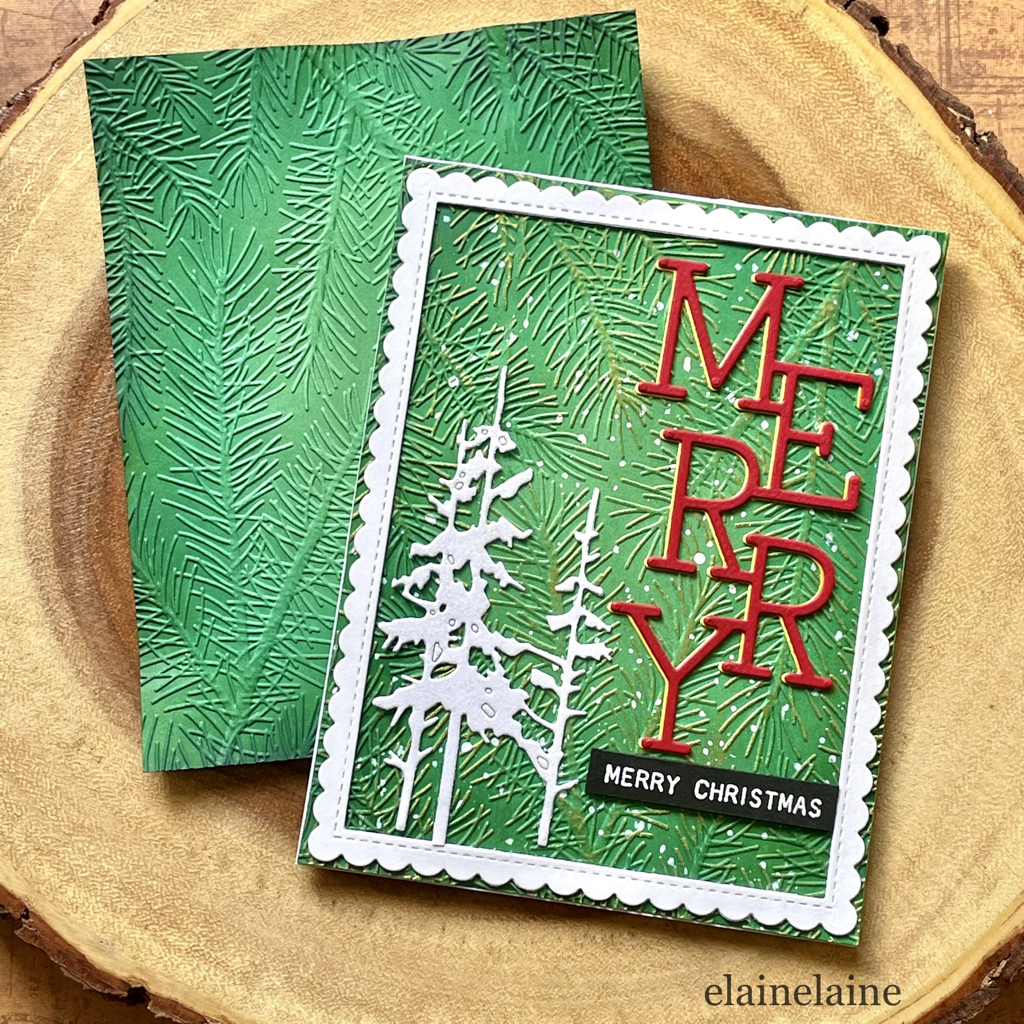
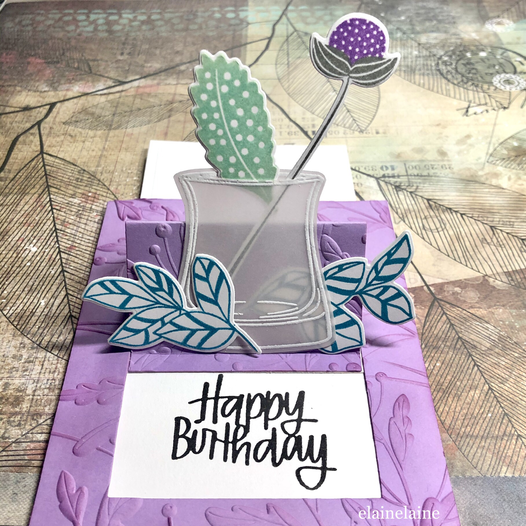
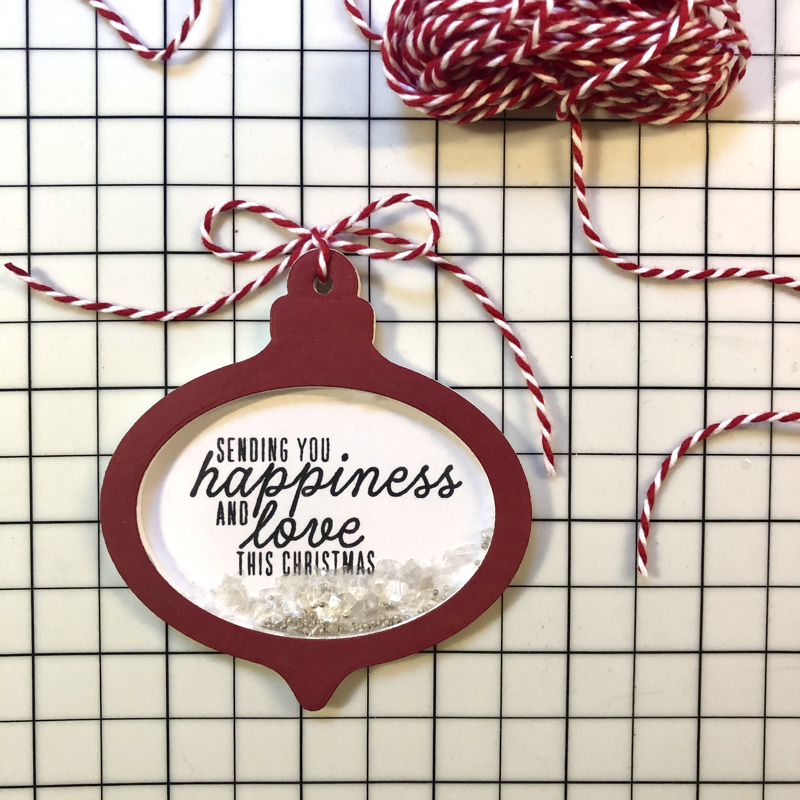
The card is now completed with a plaid cardstock as the background
Supplies:
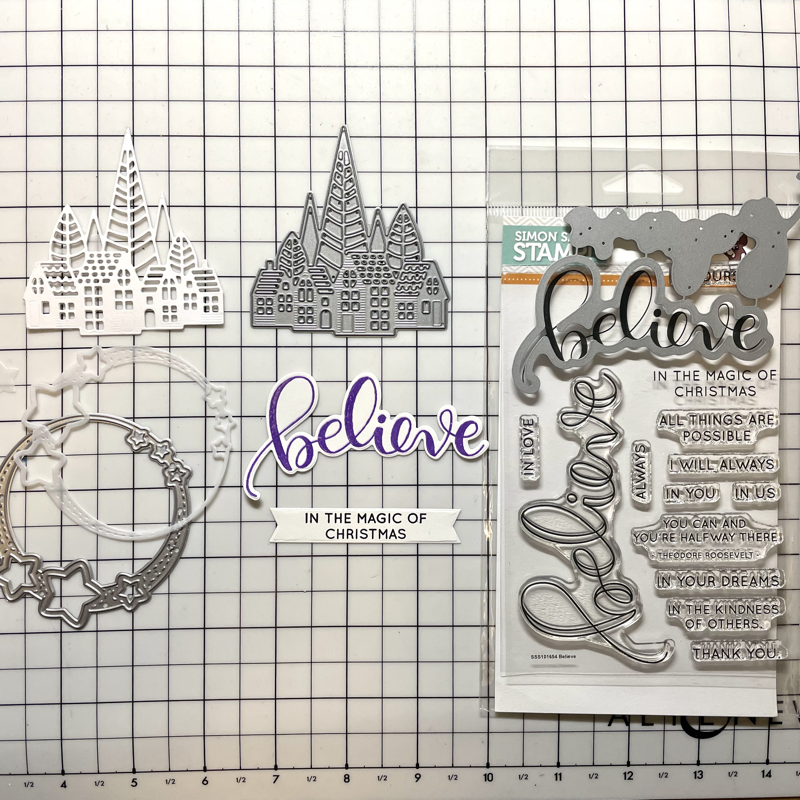
2022 Tim Holtz STAMPtember exclusive stamp set from Stamper Annoymous for SimonSaysStamp
Altenew Obsidian pigment ink
Tim Holtz Distress watercolor pencil set
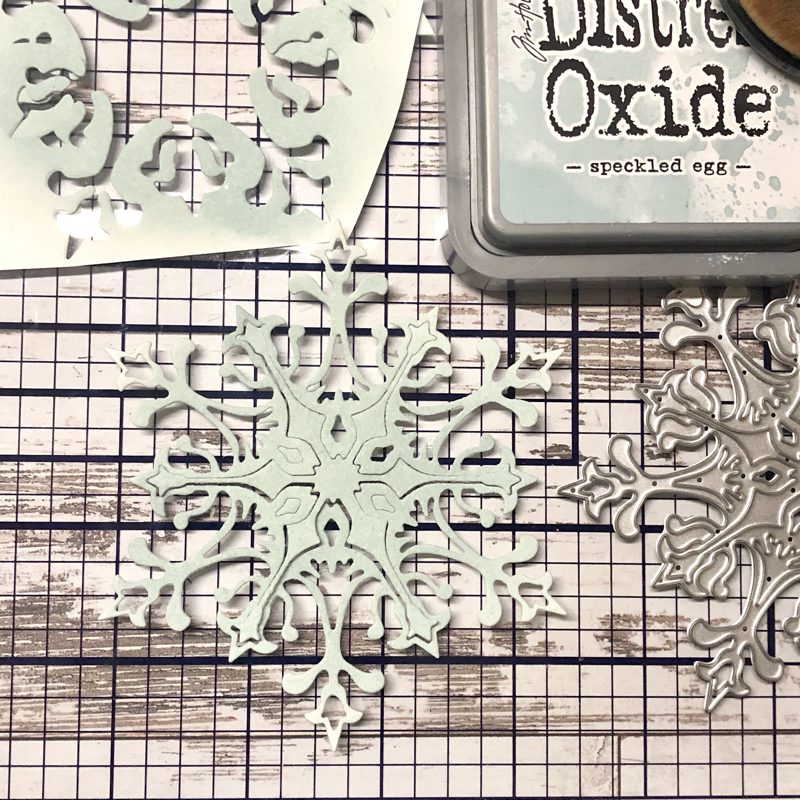
Tim Holtz Distress Oxide ink pad- Speckled egg
Grafix heat-resistant, durable, acid free and archival dura-lar film
Ranger Distress Mica Flakes
Buttins Galore & More Sparkletz embellishments
2022 Tim Holtz STAMPtember exclusive stamp set from Stamper Annoymous for SimonSaysStamp
Altenew Obsidian pigment ink
Tim Holtz Distress watercolor pencil set
Tim Holtz Distress Oxide ink pad- Speckled egg
Grafix heat-resistant, durable, acid free and archival dura-lar film
Ranger Distress Mica Flakes
Buttins Galore & More Sparkletz embellishments
Thank you for visiting! Happy crafting~


 RSS Feed