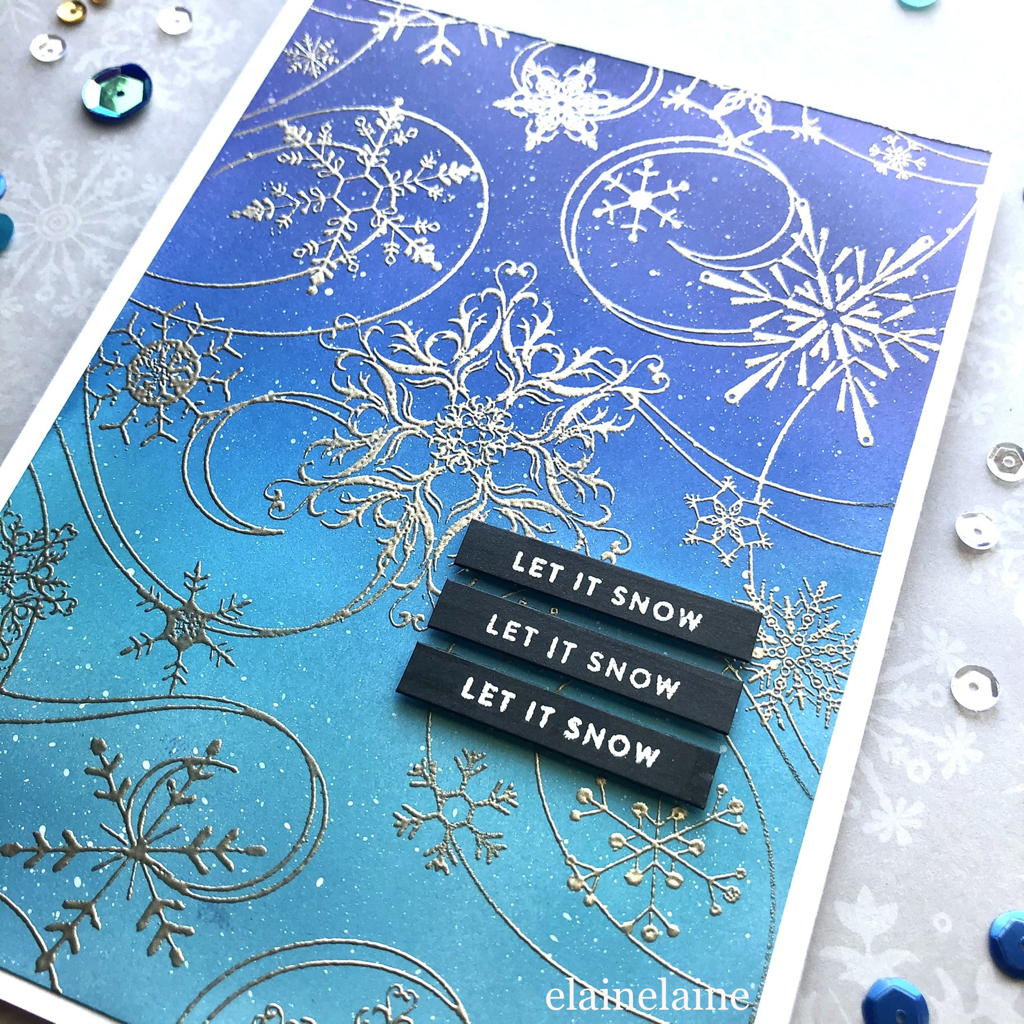
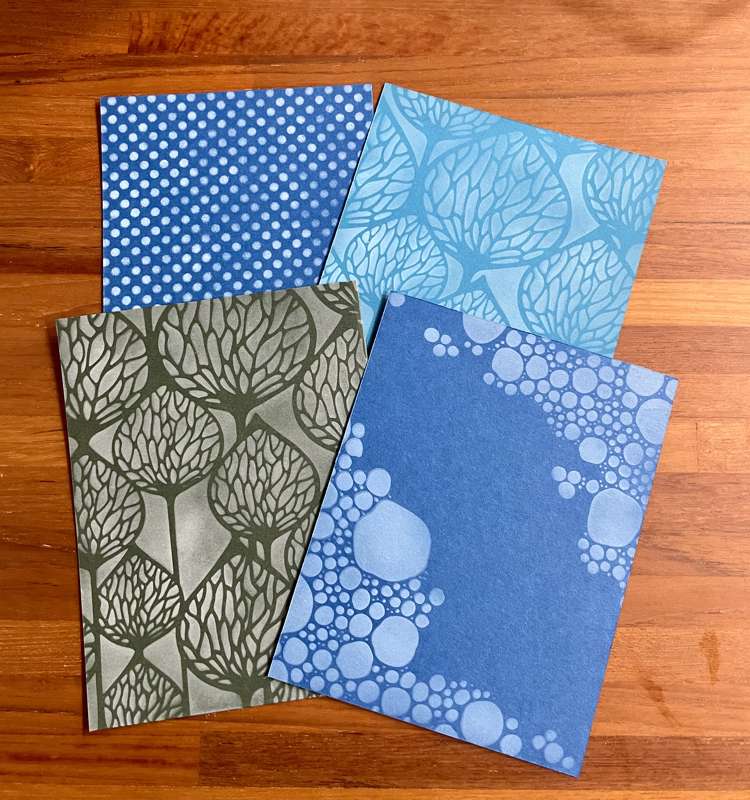
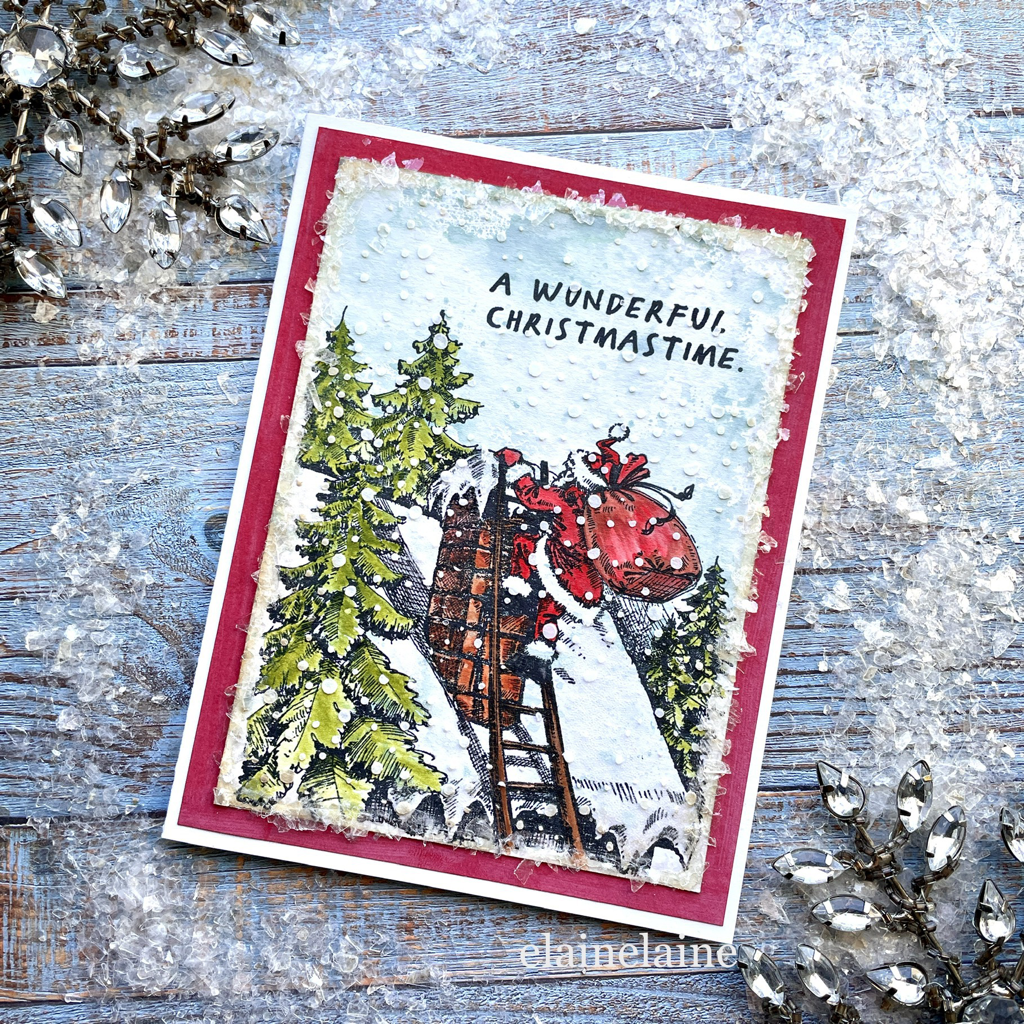
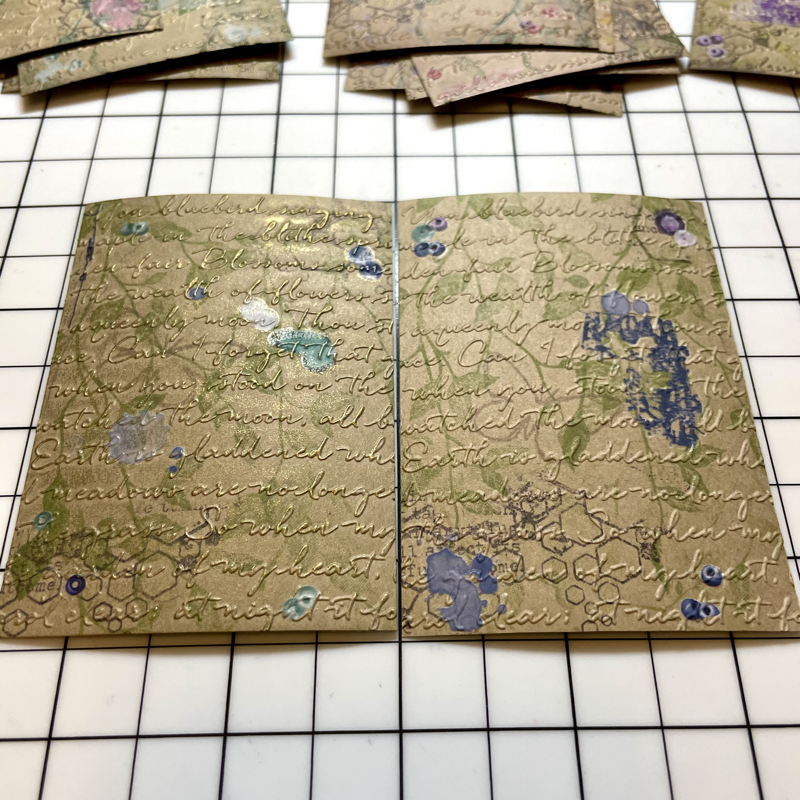
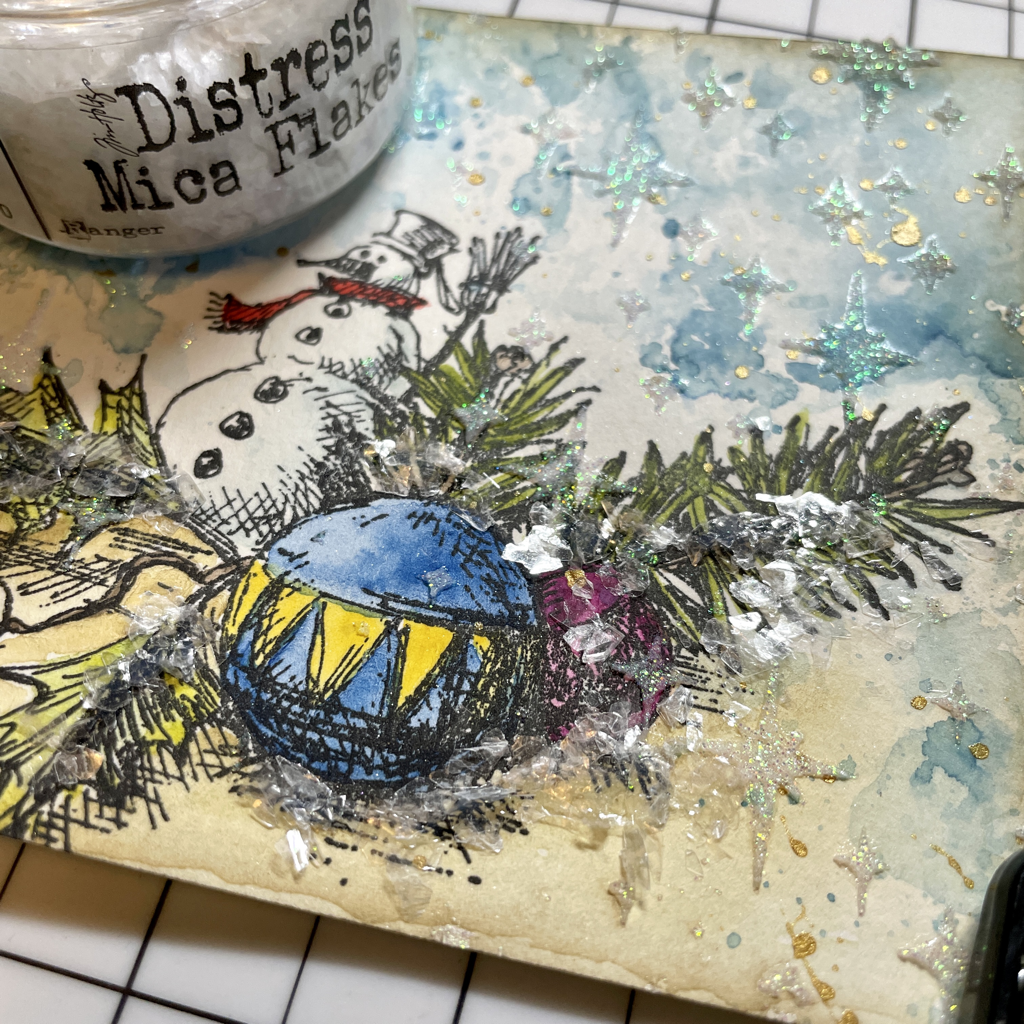
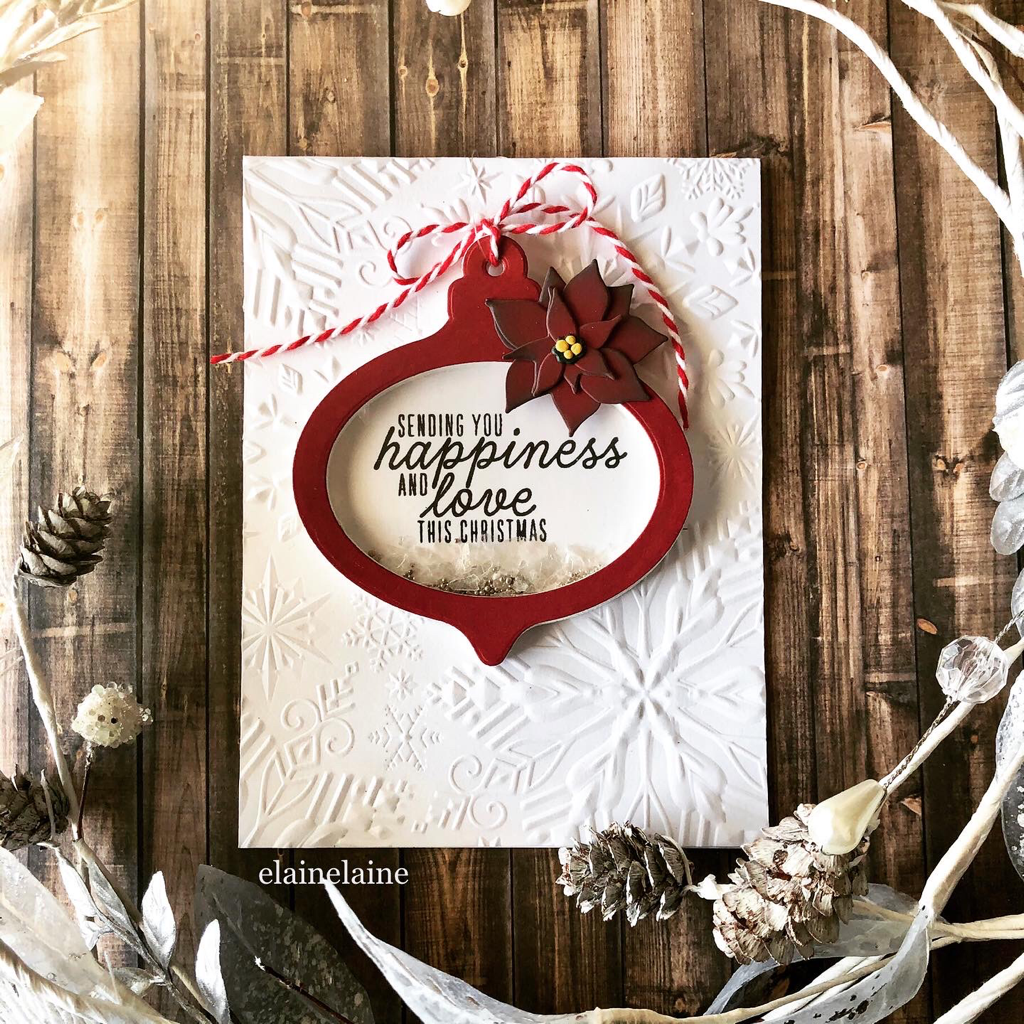
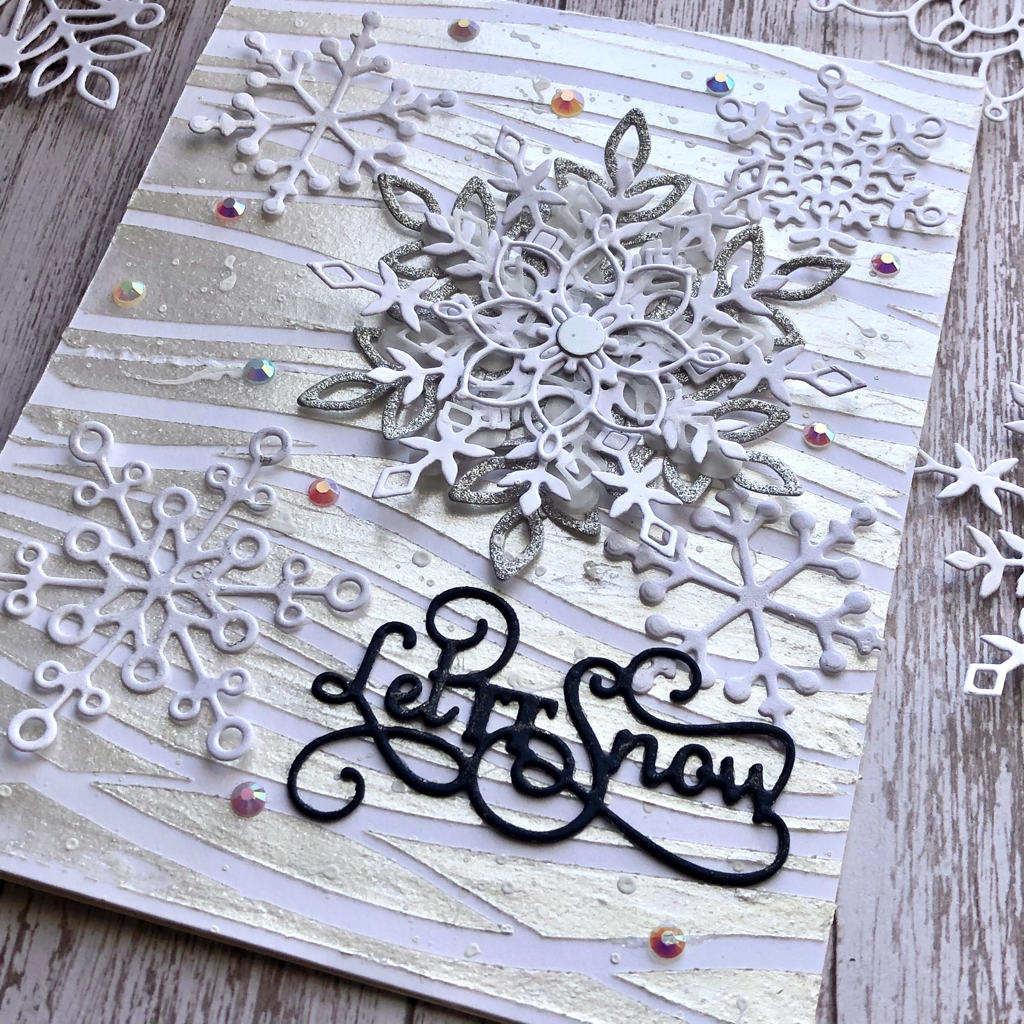
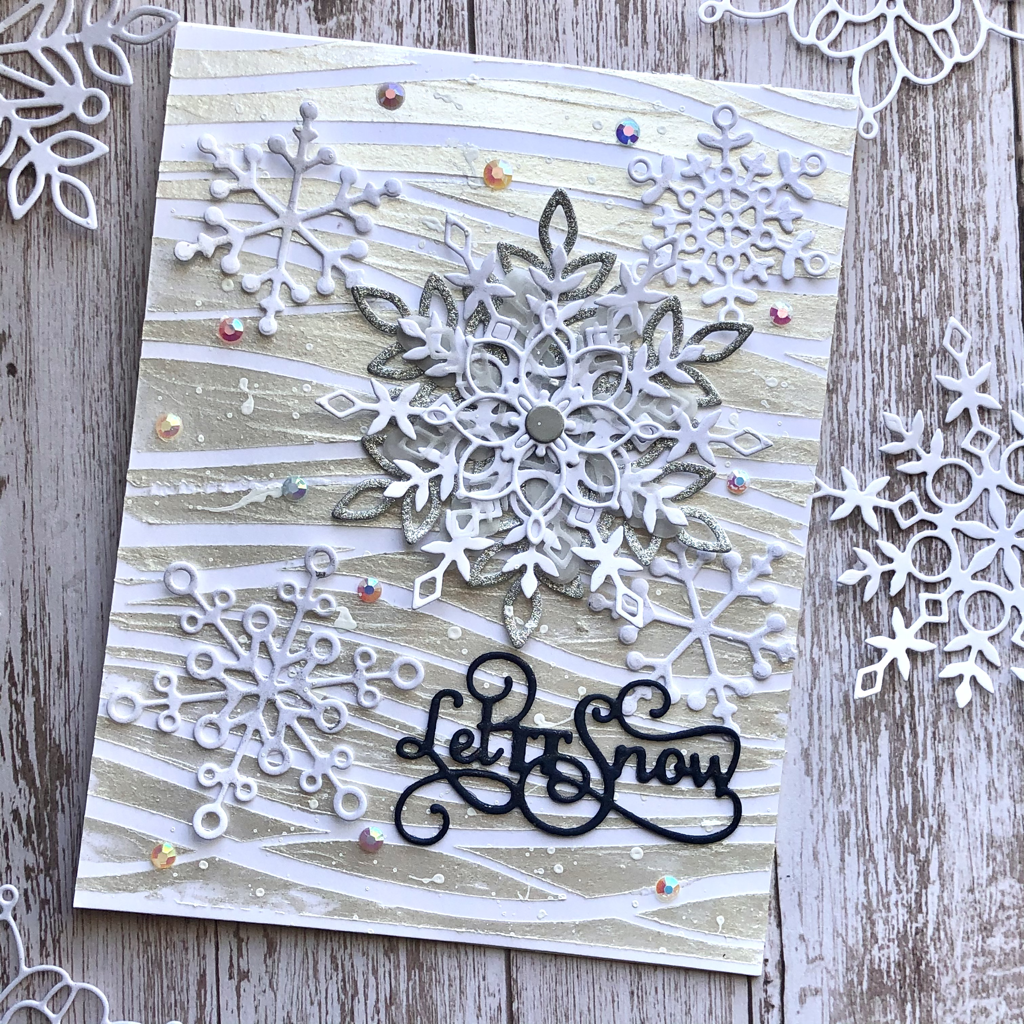
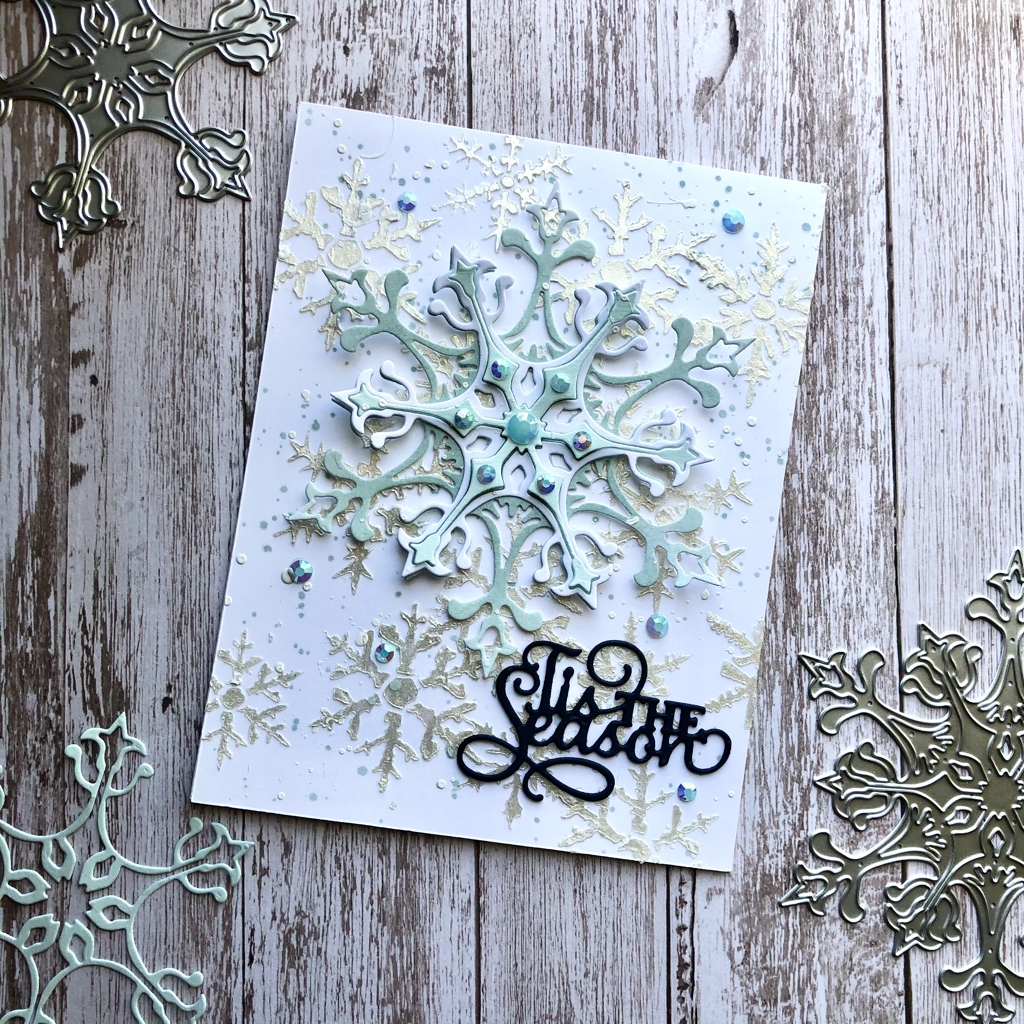
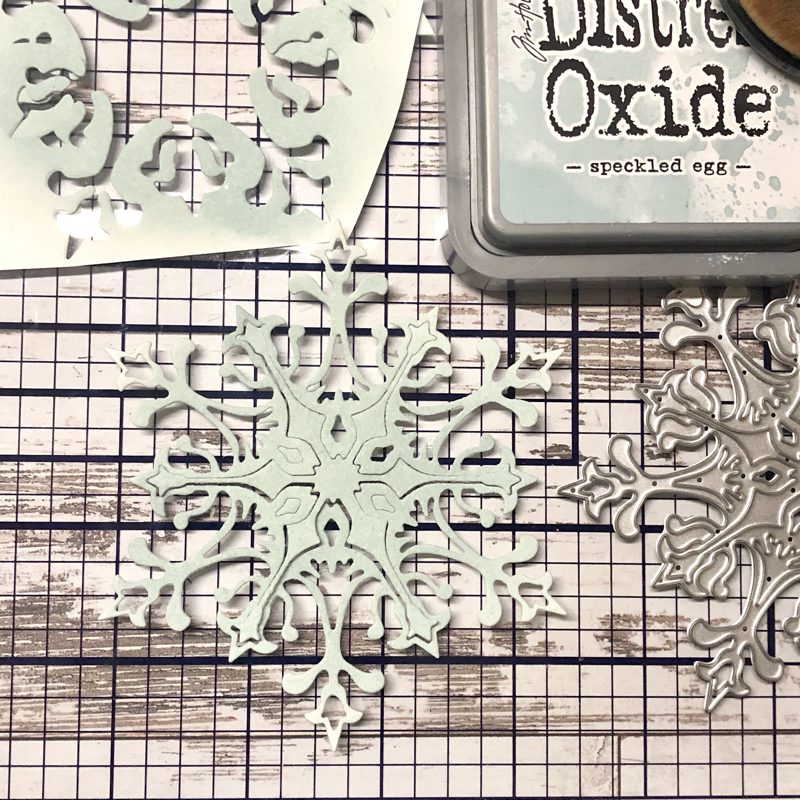
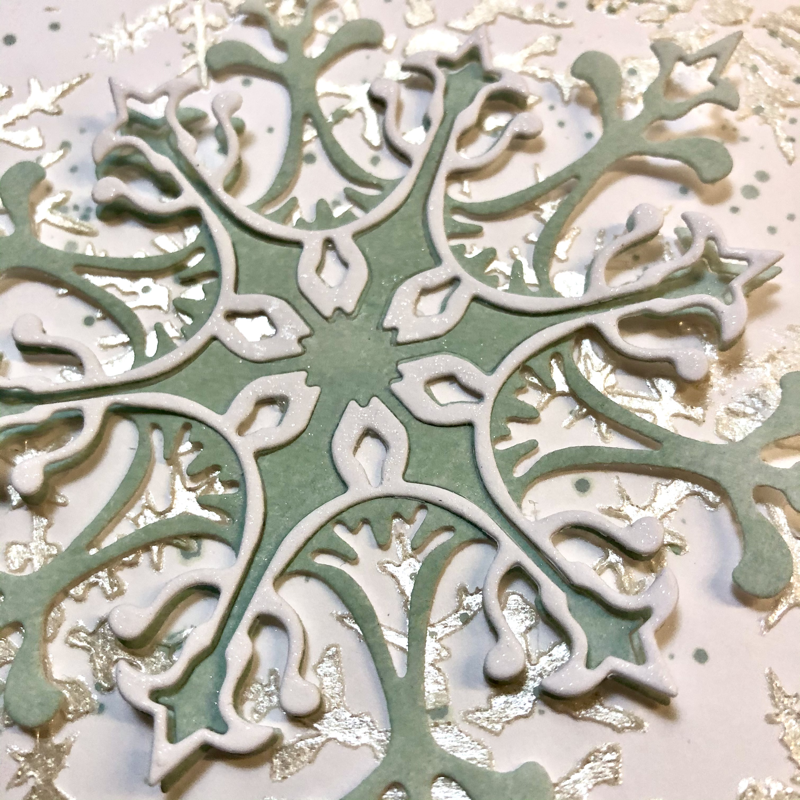
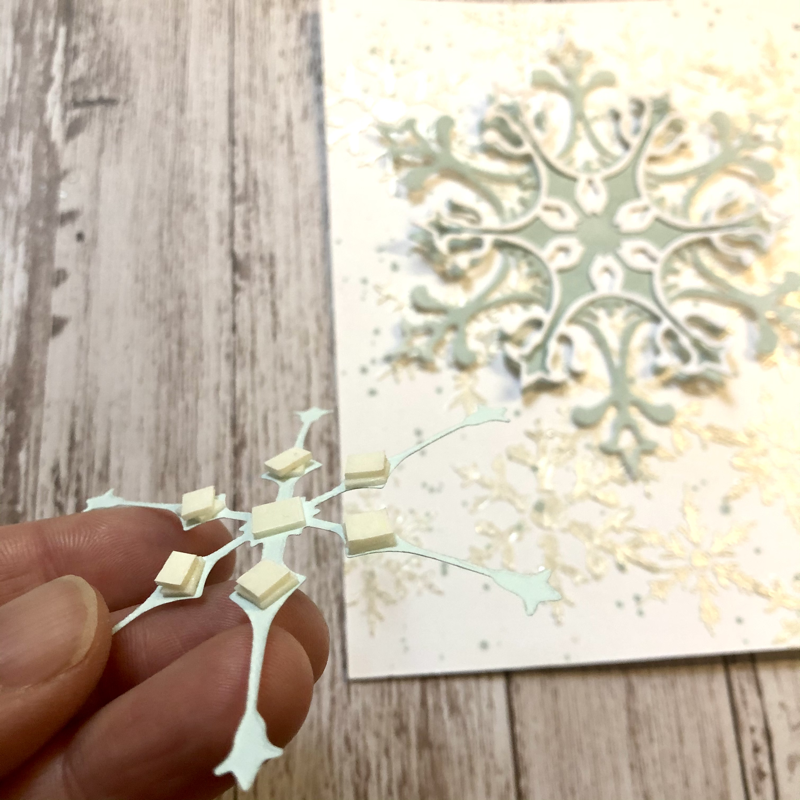
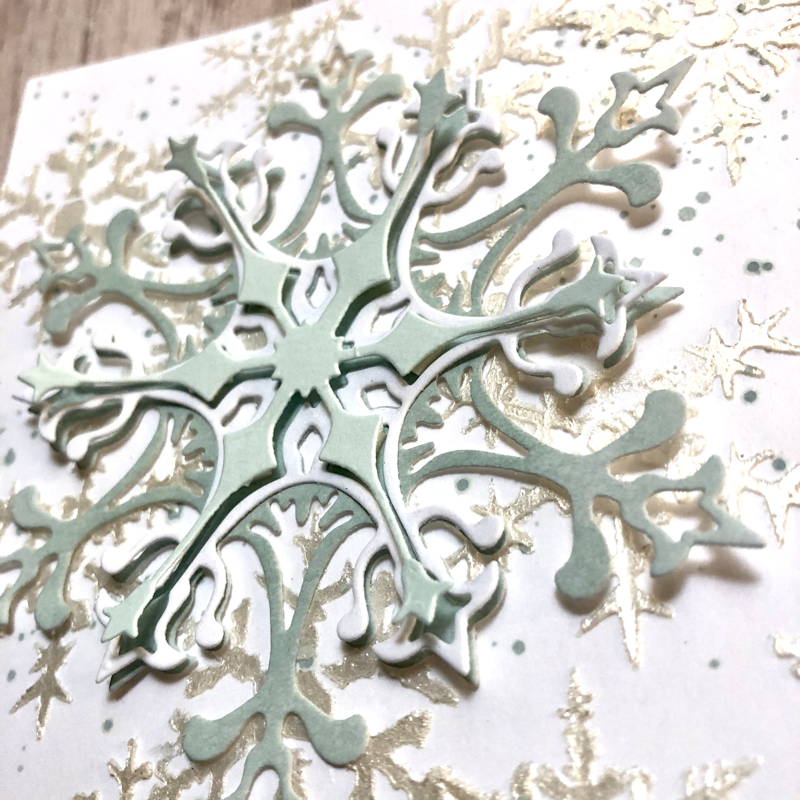
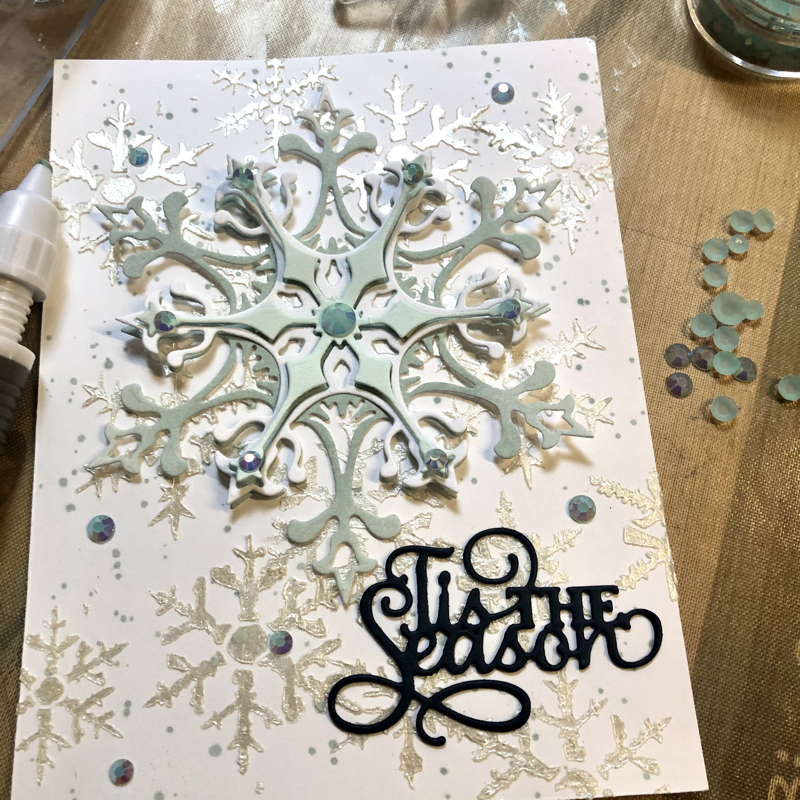
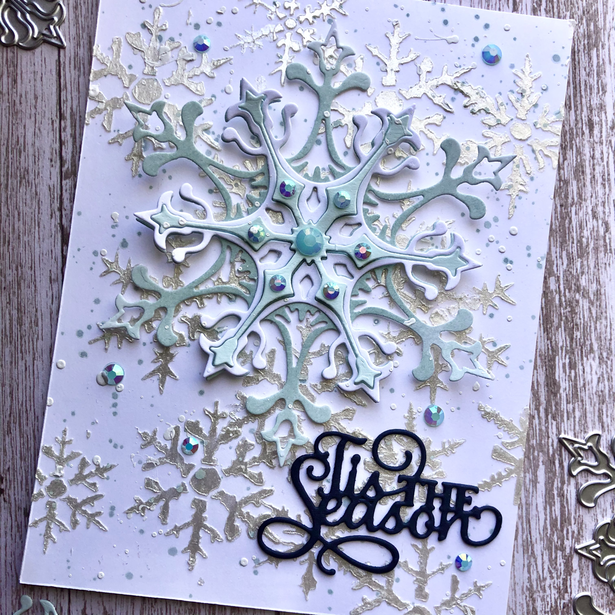
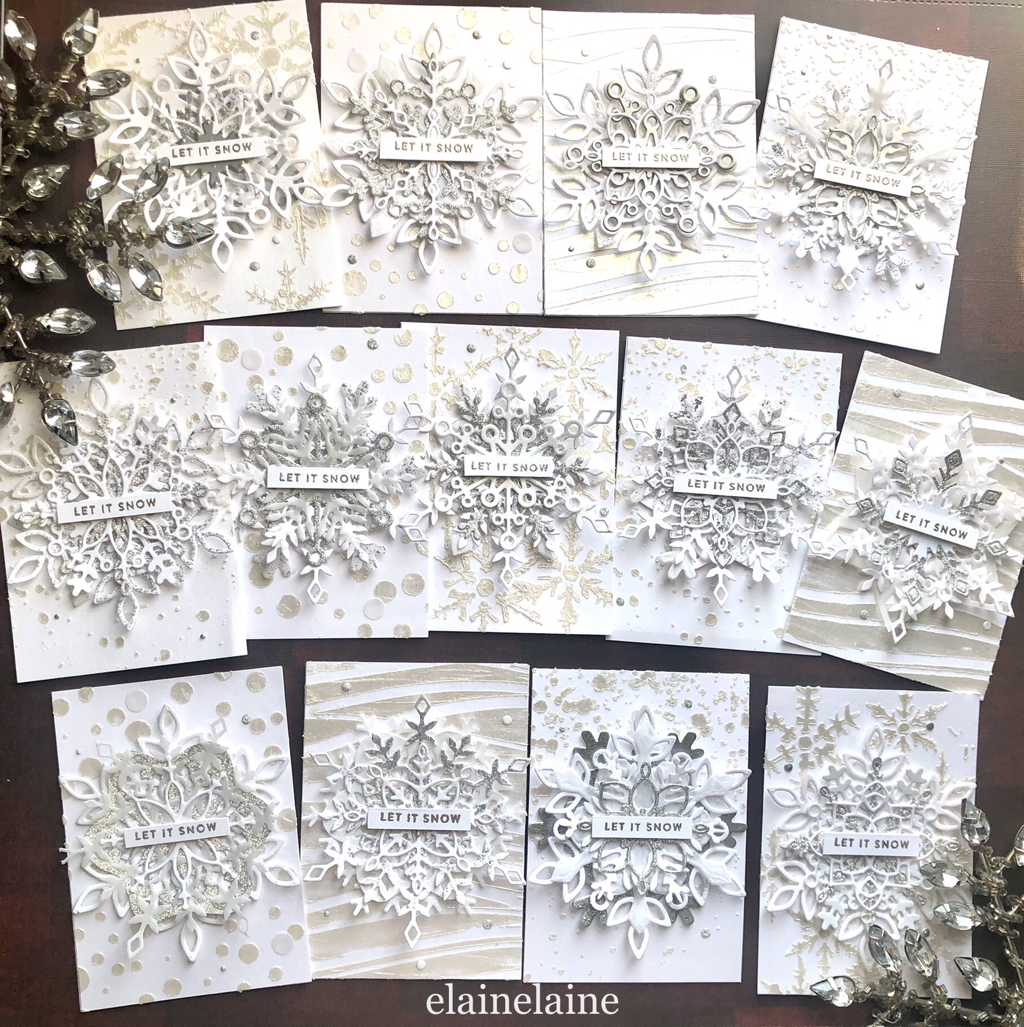
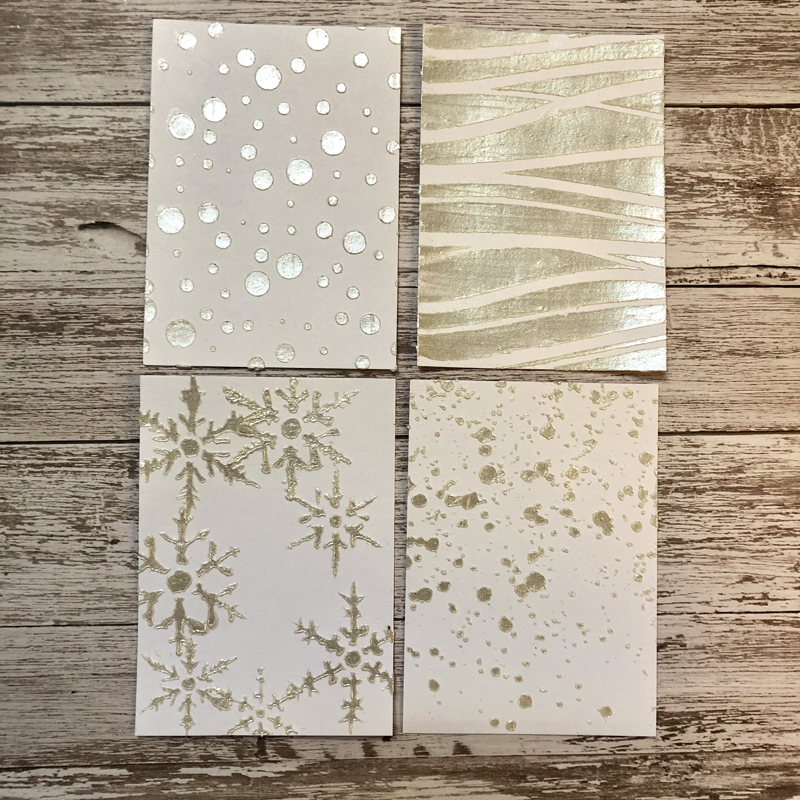
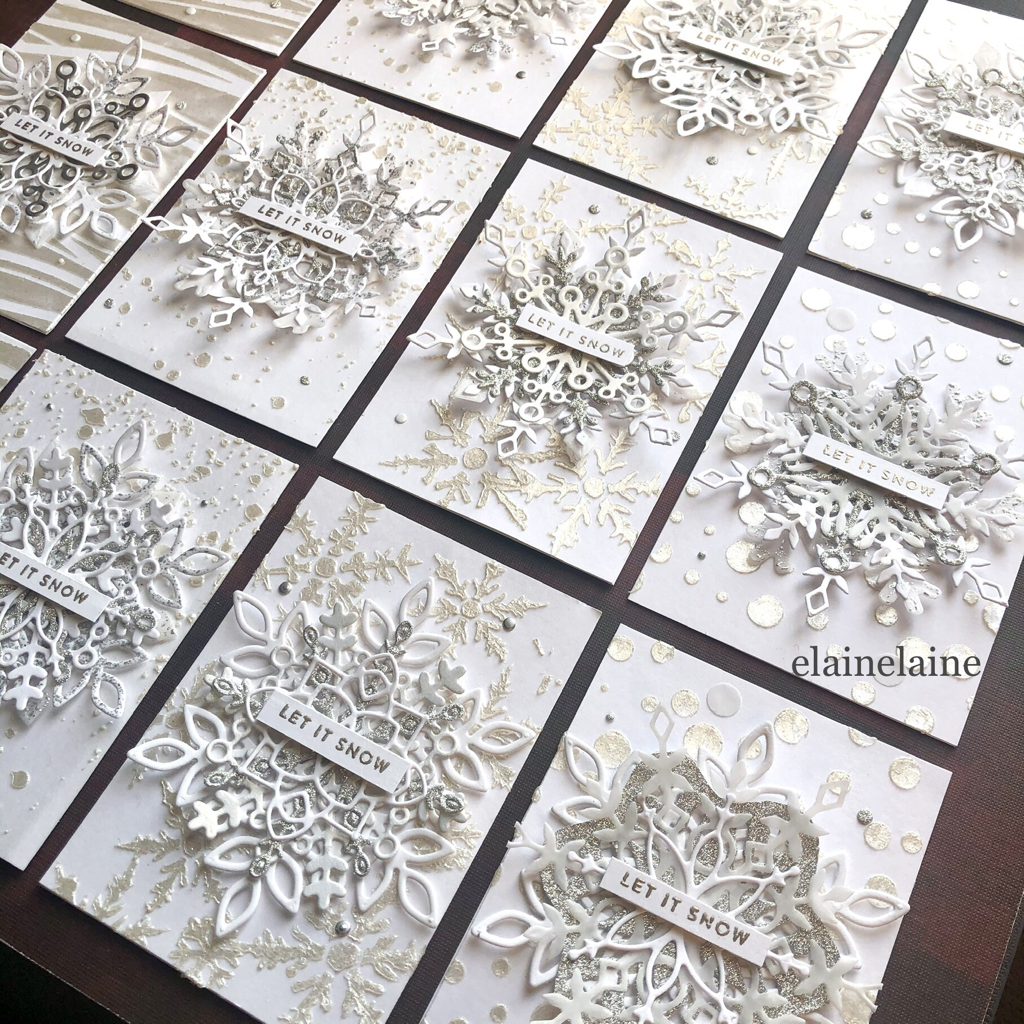
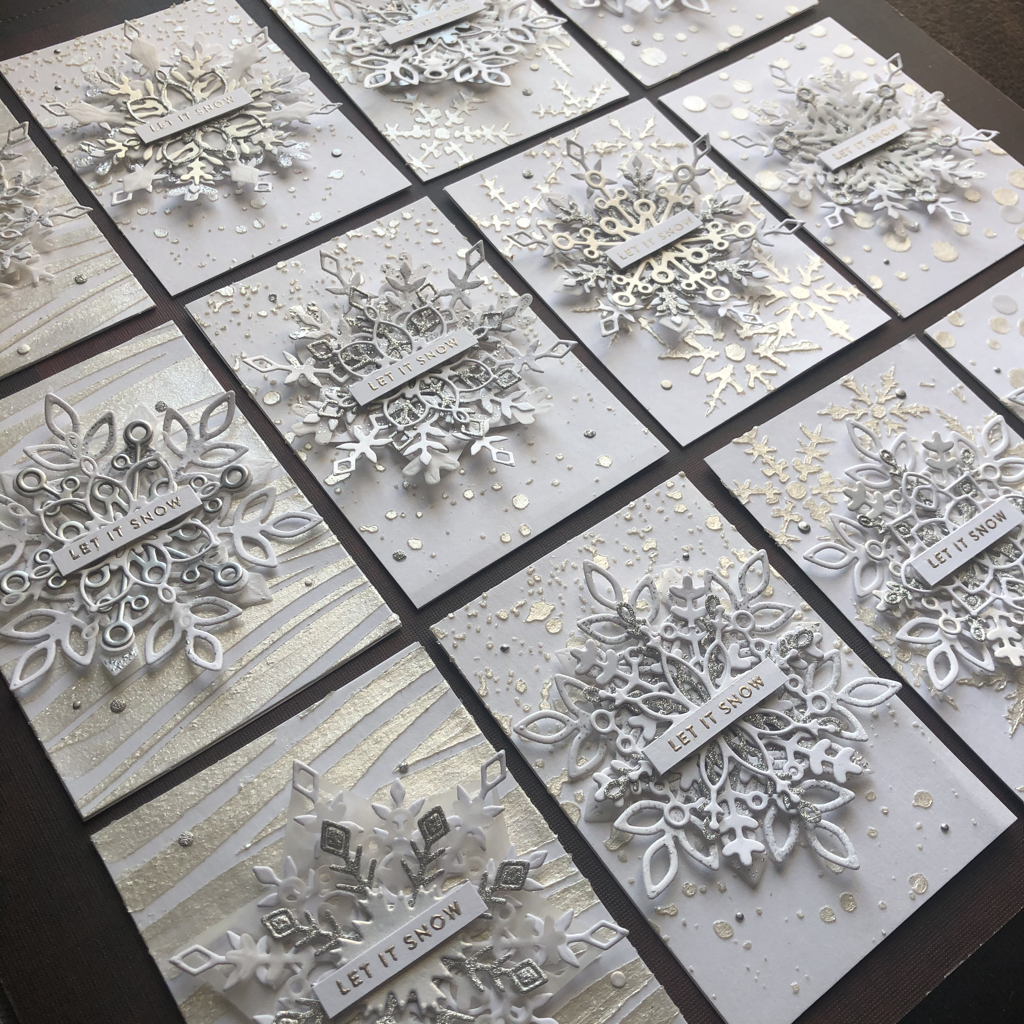
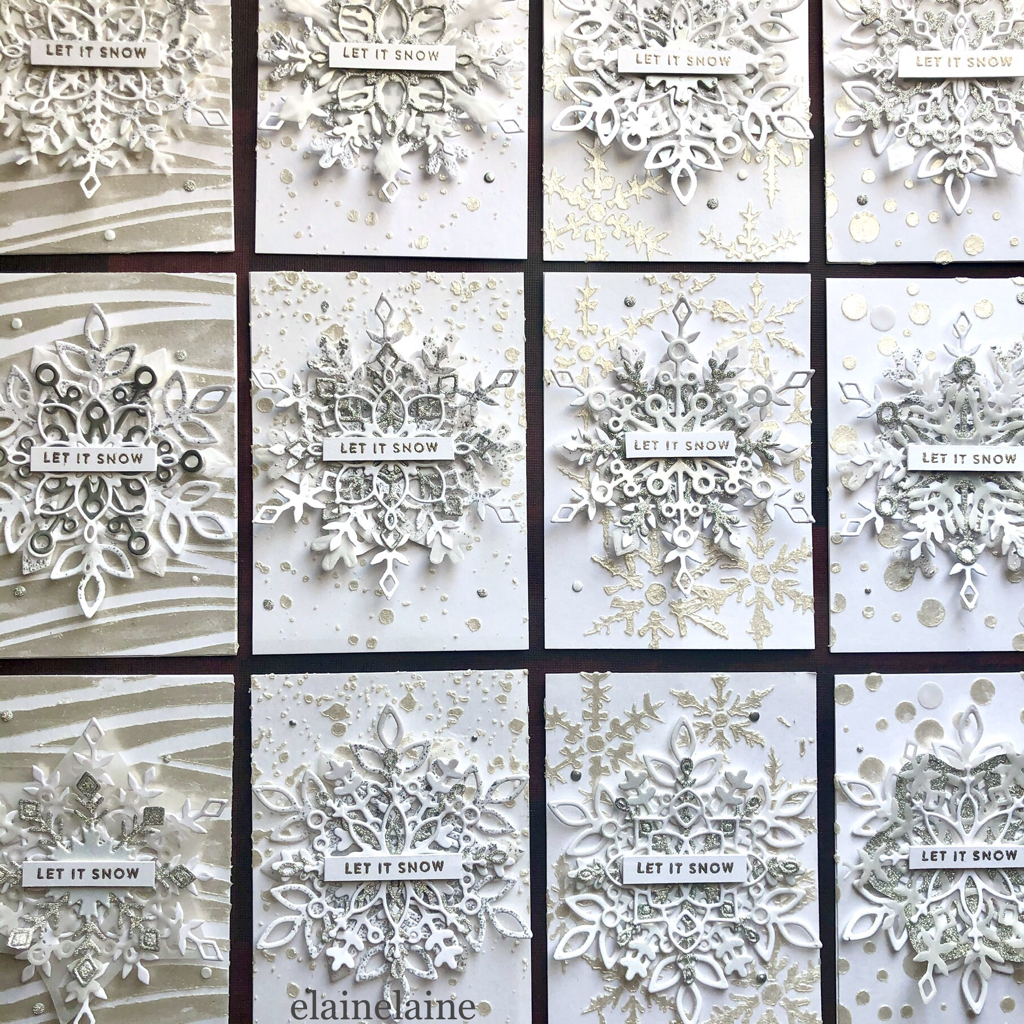
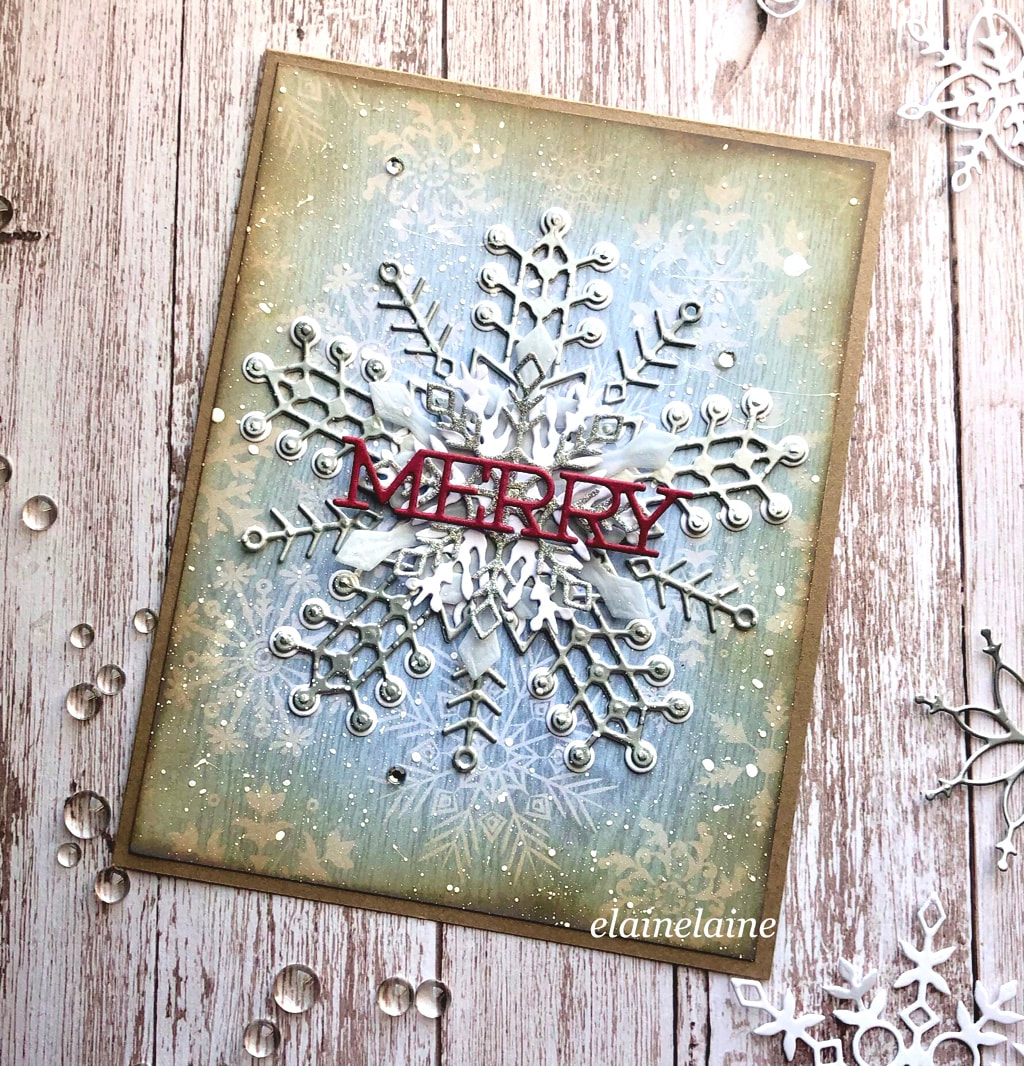
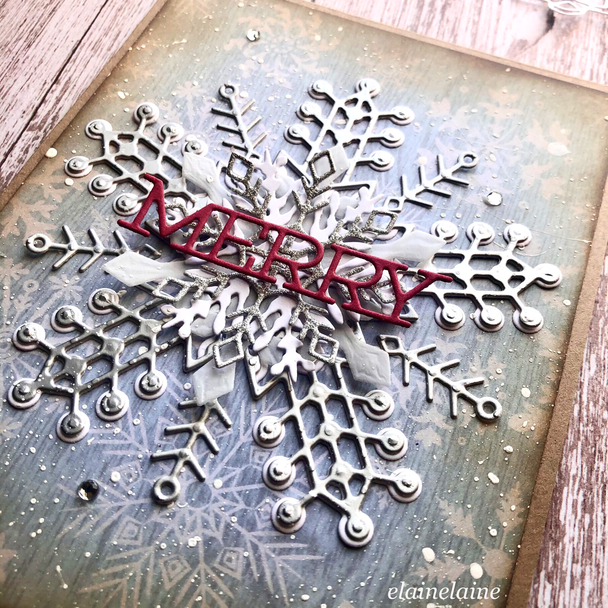
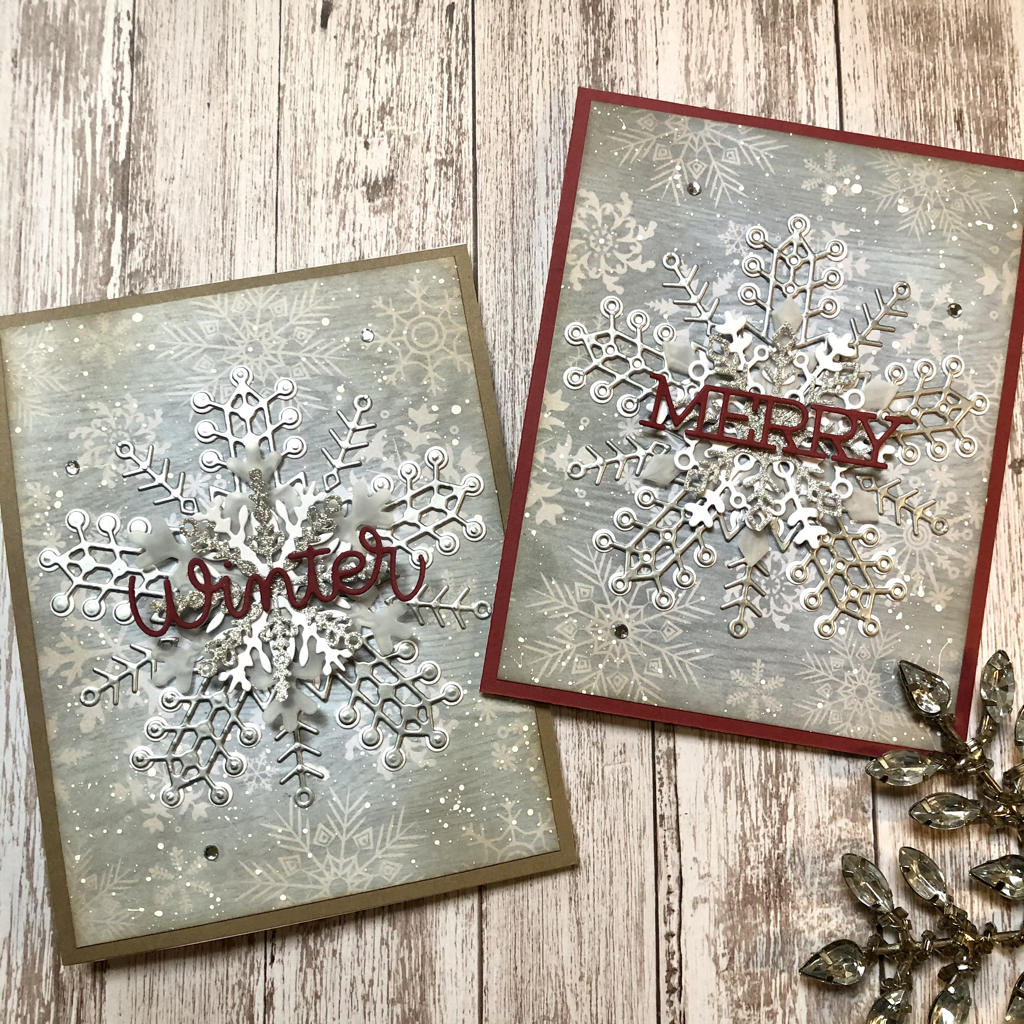
This is another card that I made using a snowflake background stamp for a winter scene. This time I used embossed glitter and Sapphire jewels to add more bling to the card.
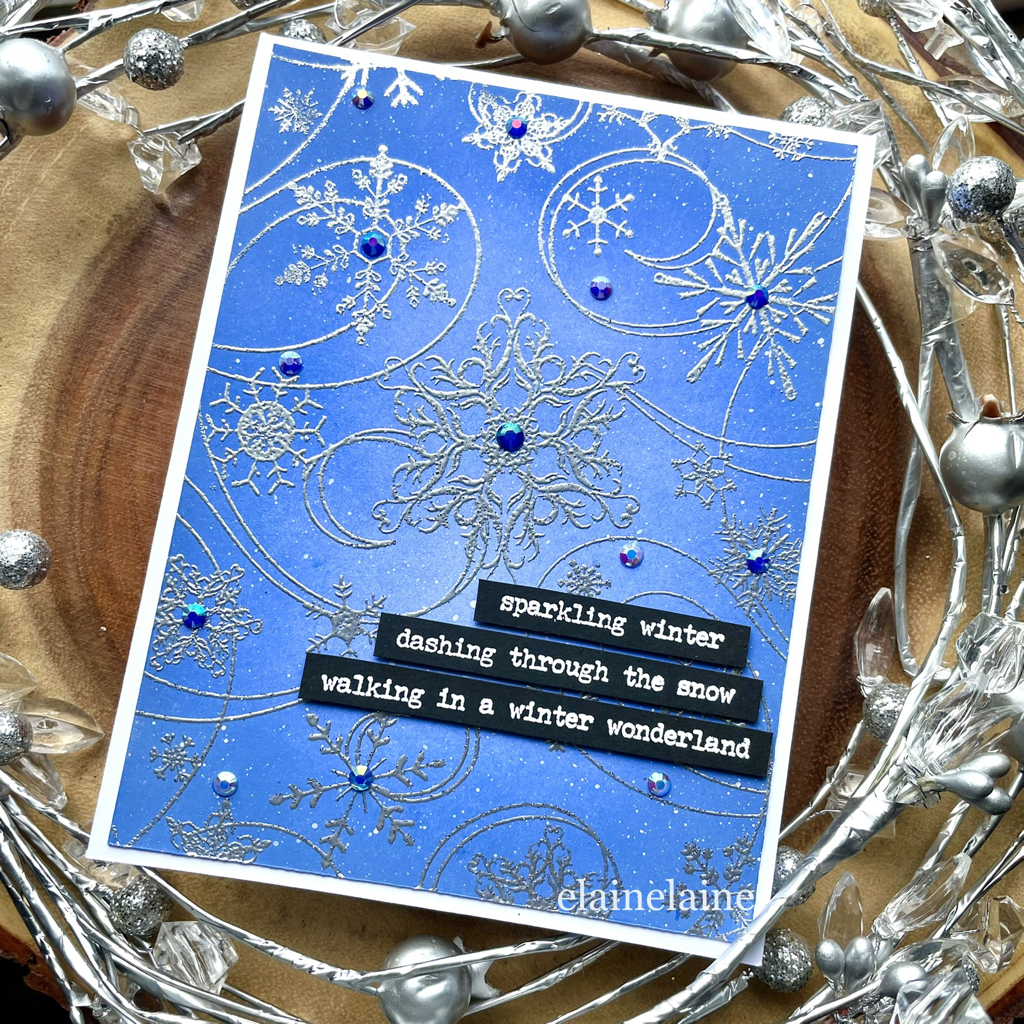
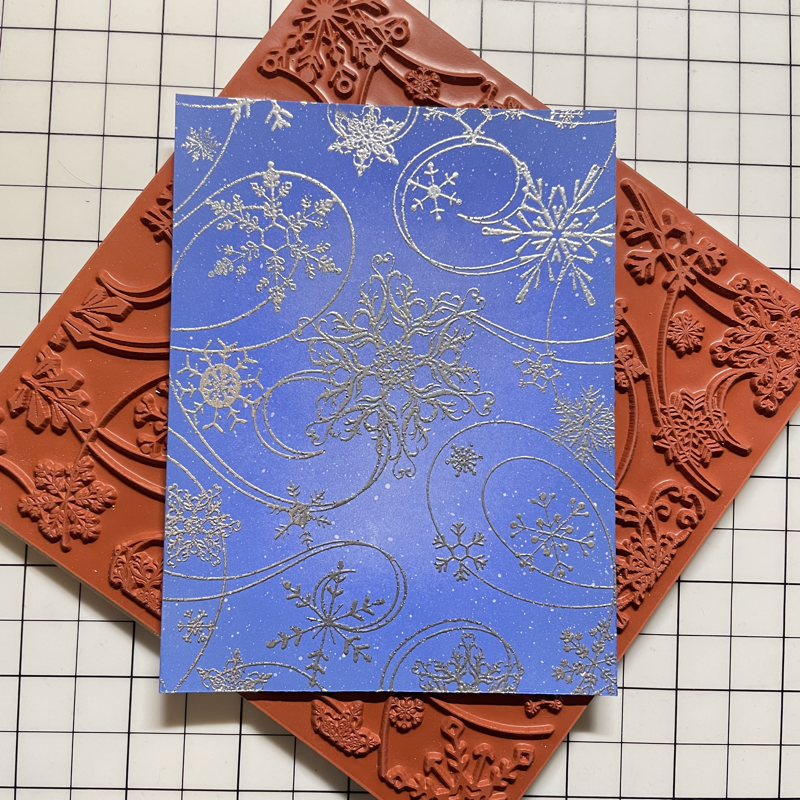
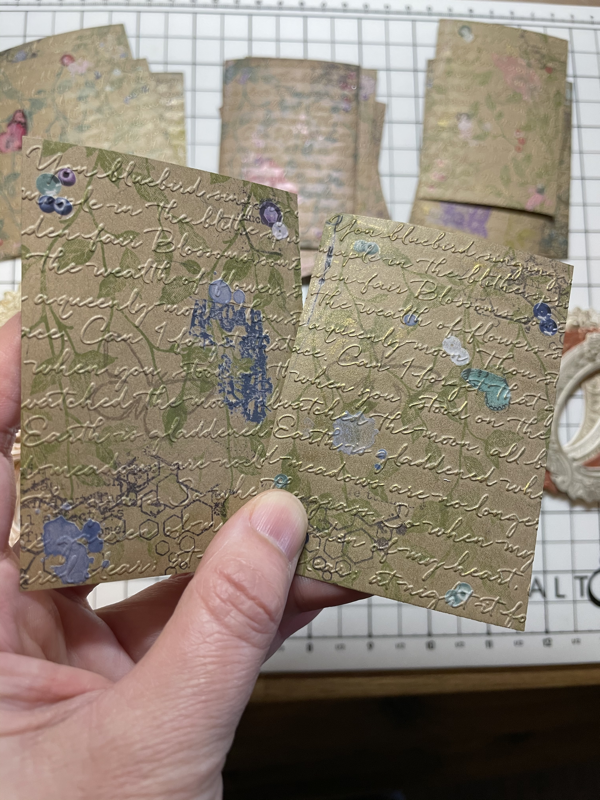
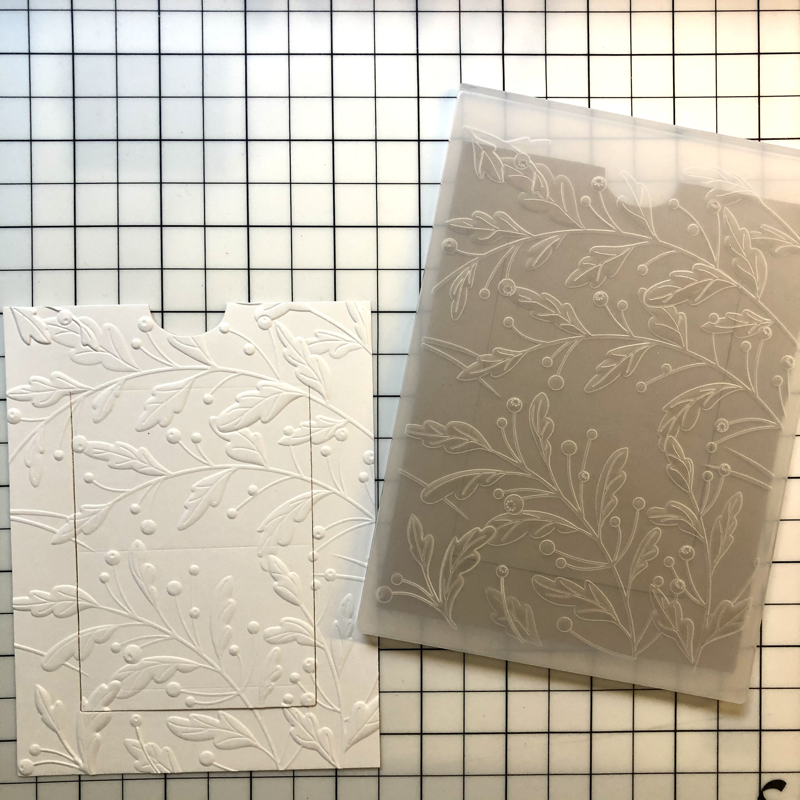
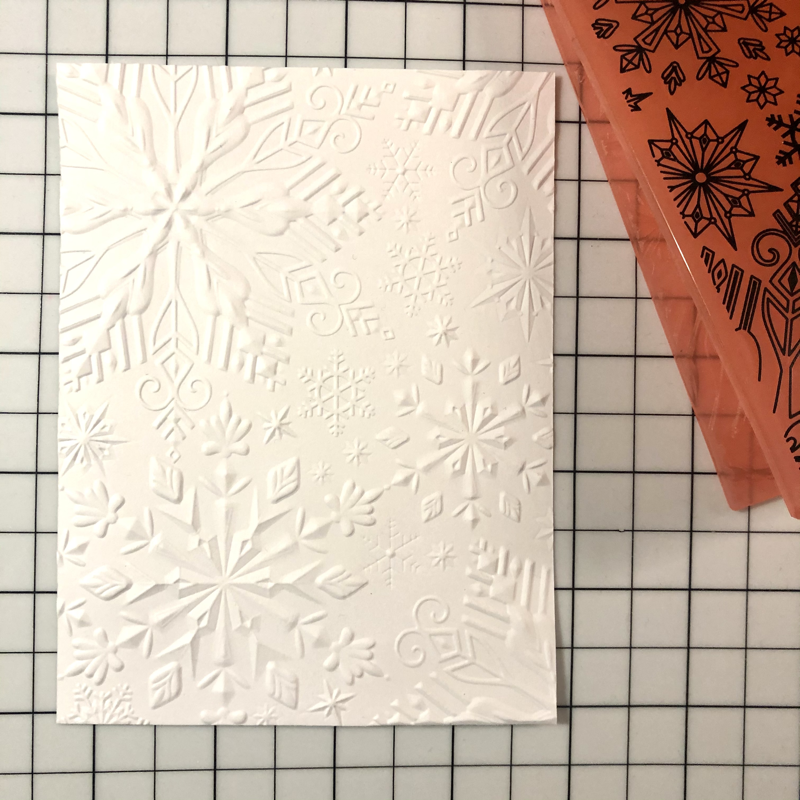
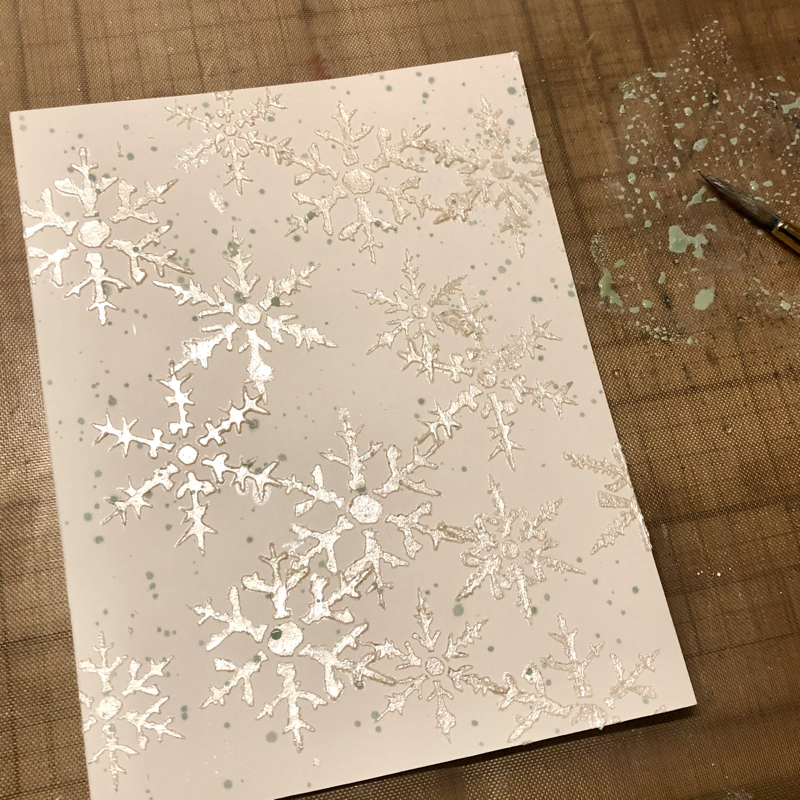
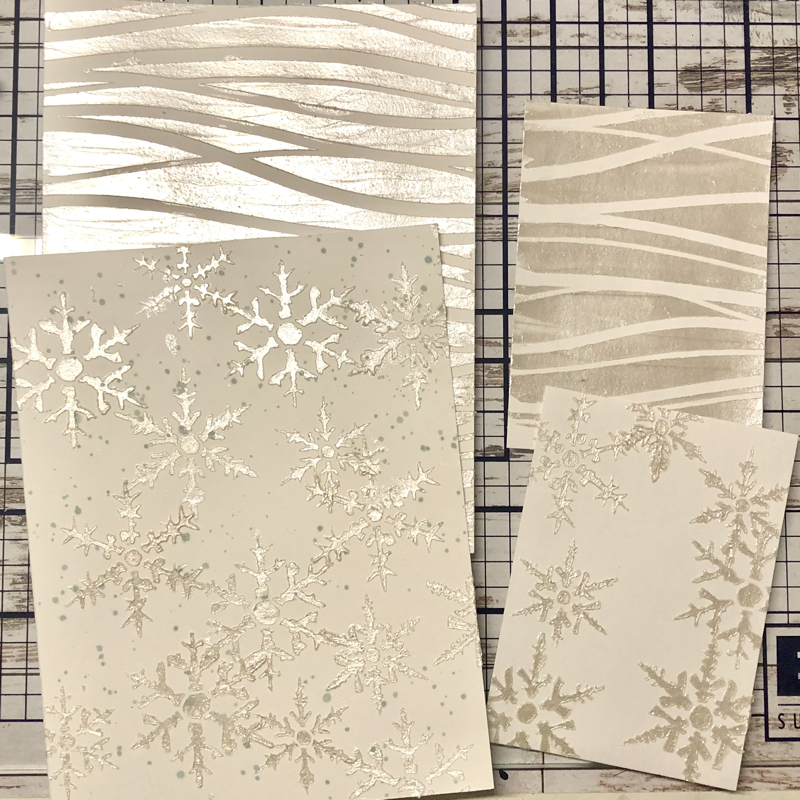
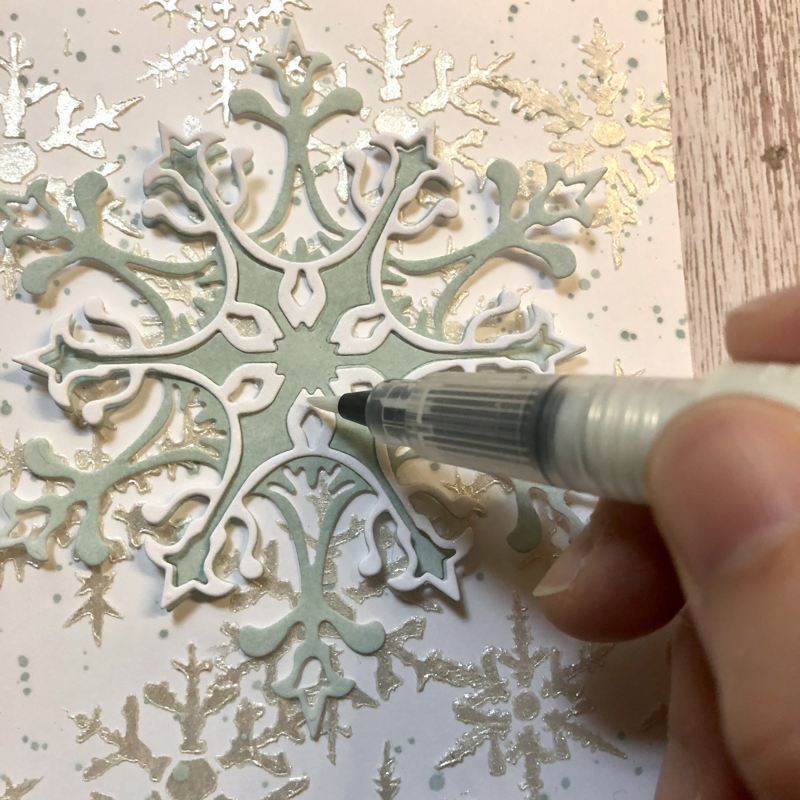
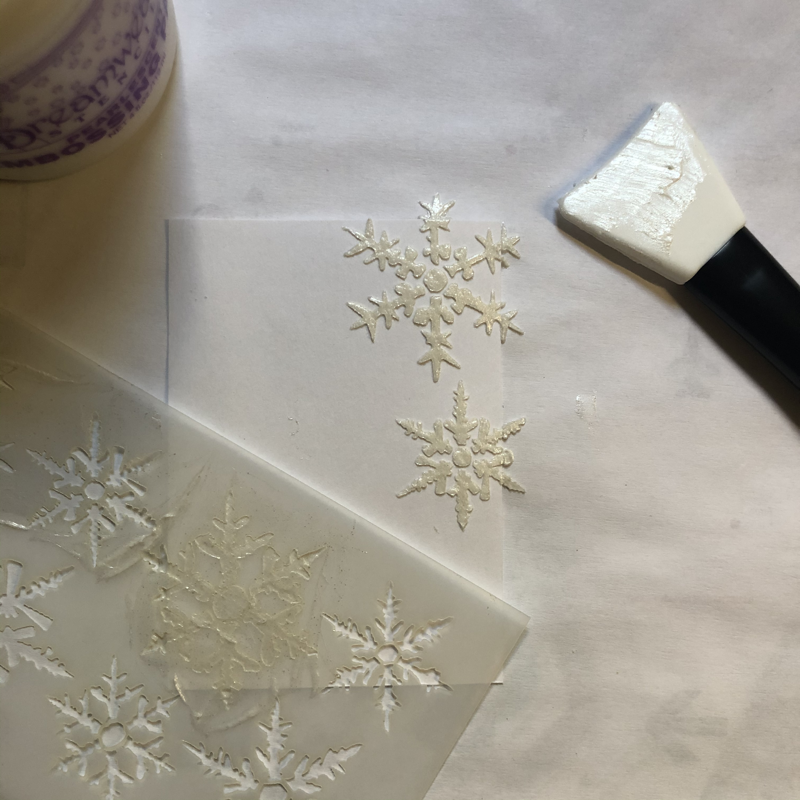
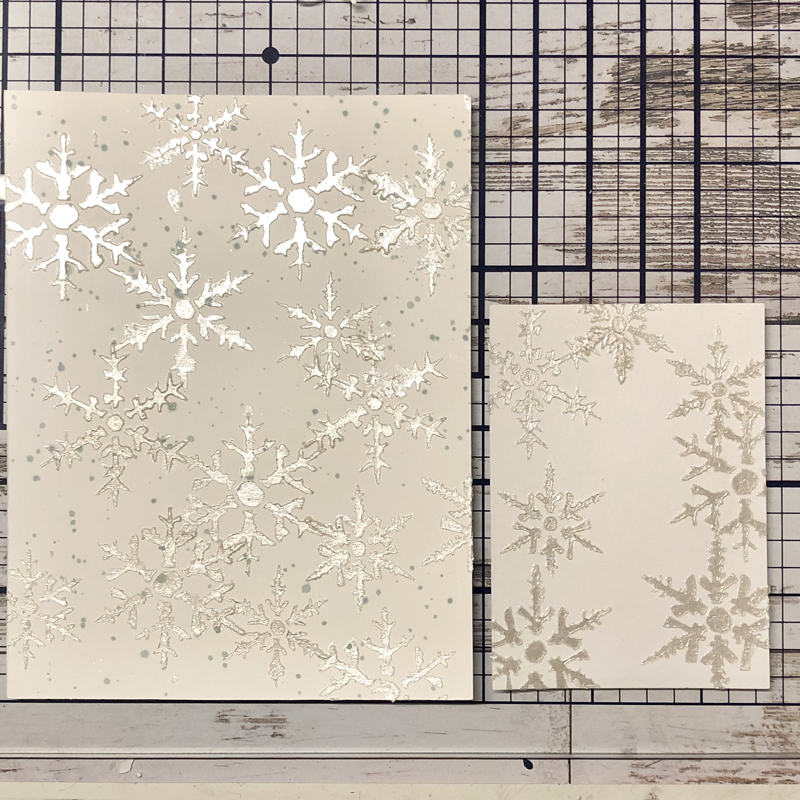
First, I used ink blending on the panel with a distress oxide blueprint sketch ink pad. Starting from all of the edges, I blended and slowly lighted the ink up towards the center. When the panel dried completely, I stamped the snow flurry stamp using a watermark ink pad and then heat embossed the panel with the Wow! silver embossed glitter.

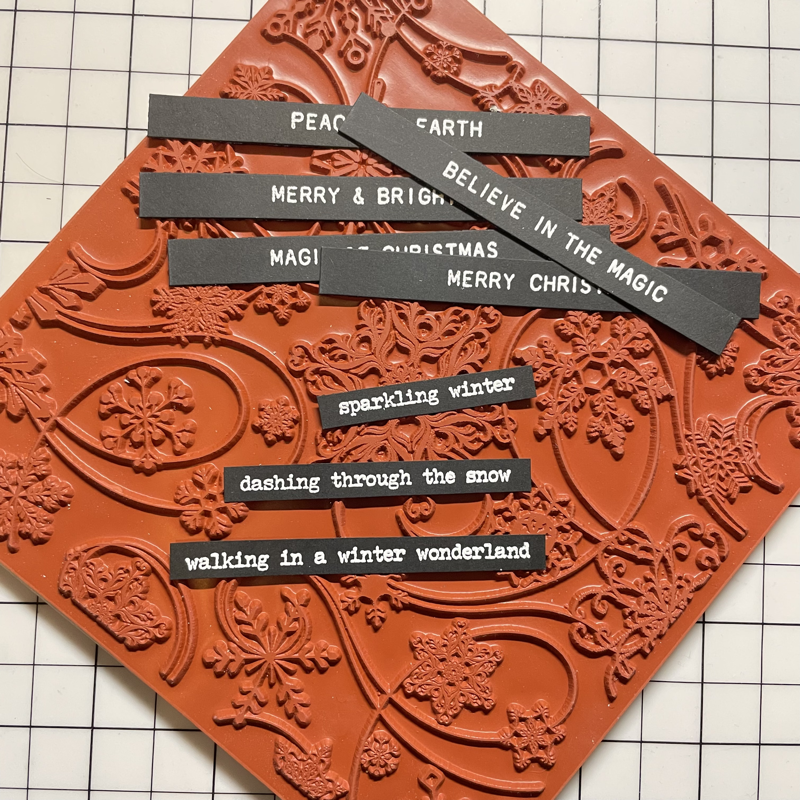
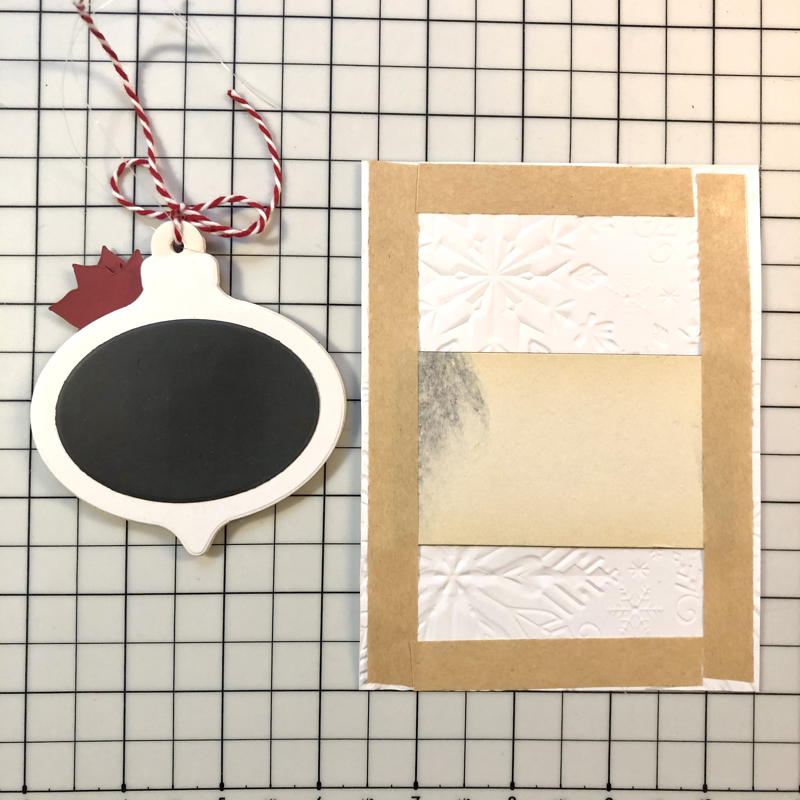
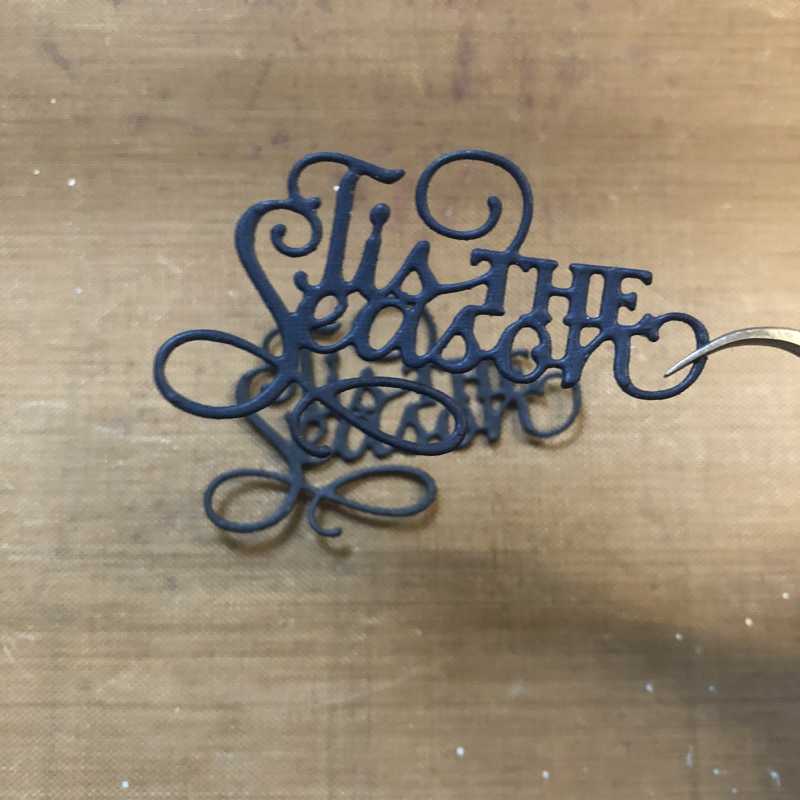
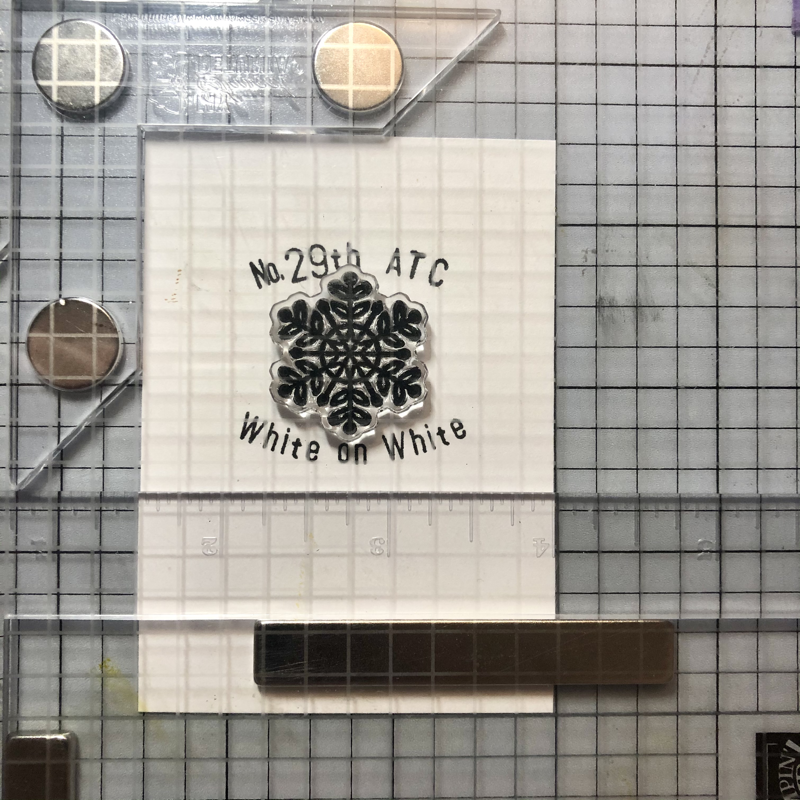
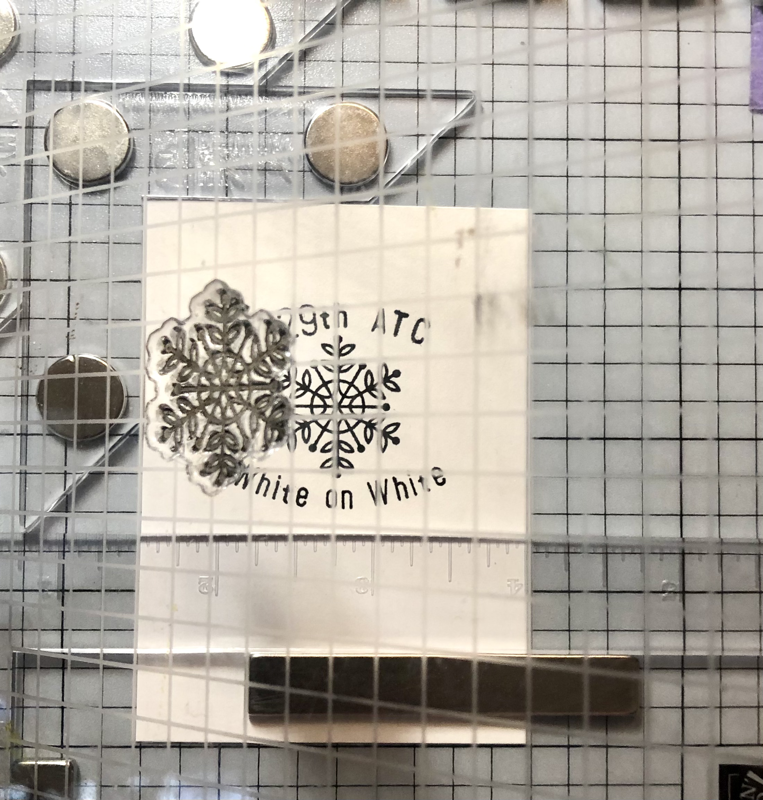
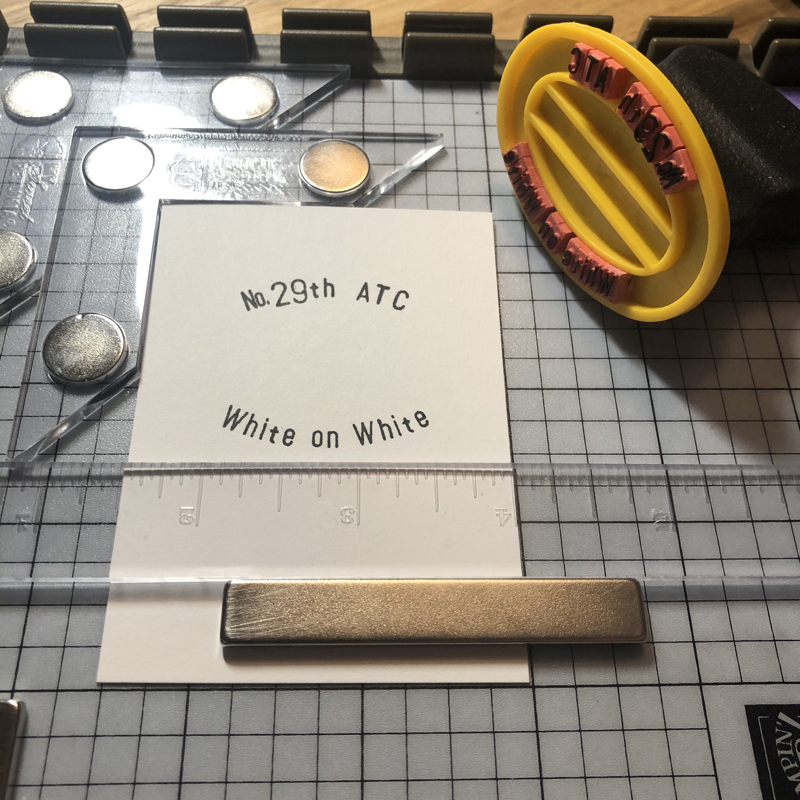
I chose three sentiments for the card from the Tim Holtz's tiny text Christmas stamp set. The sentiments were heat embossed with white embossing powder and then cut into strips. I then heat embossed some extra sentiments to save them for later.

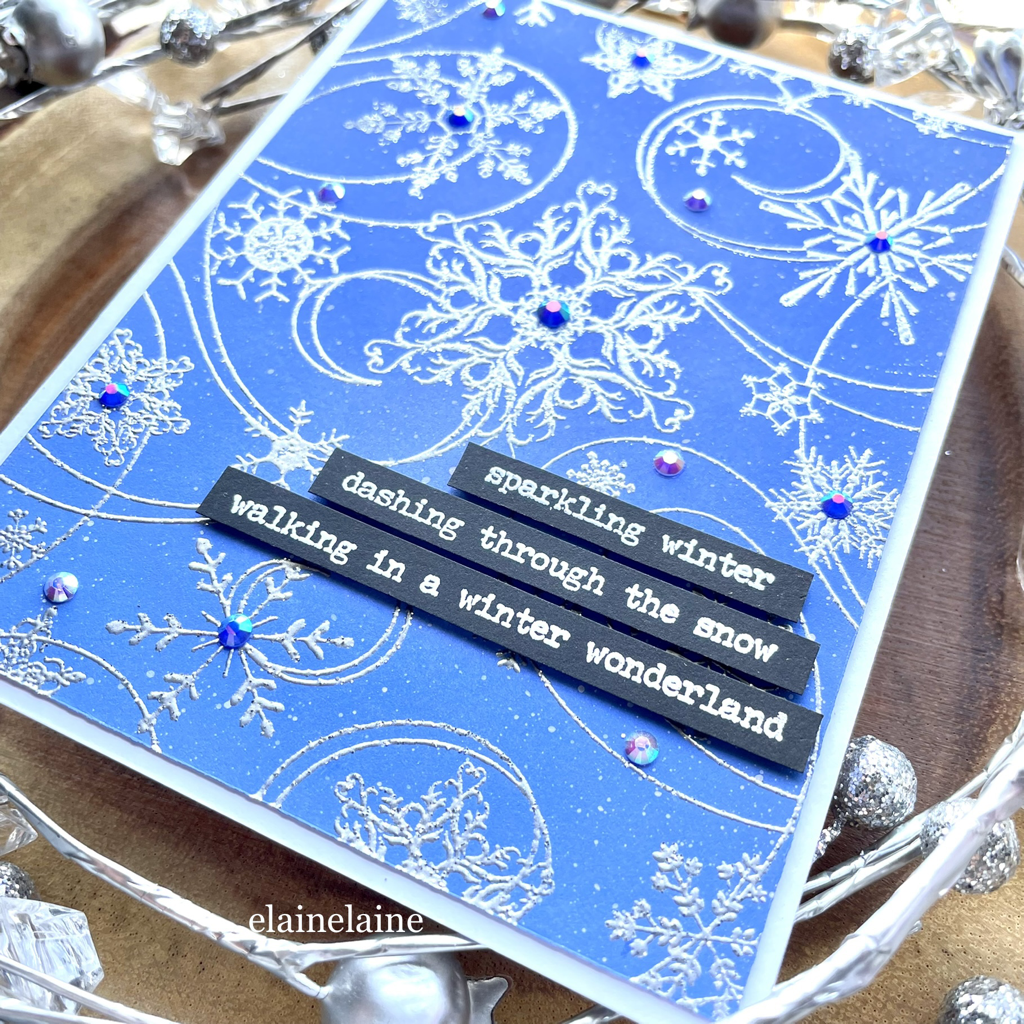
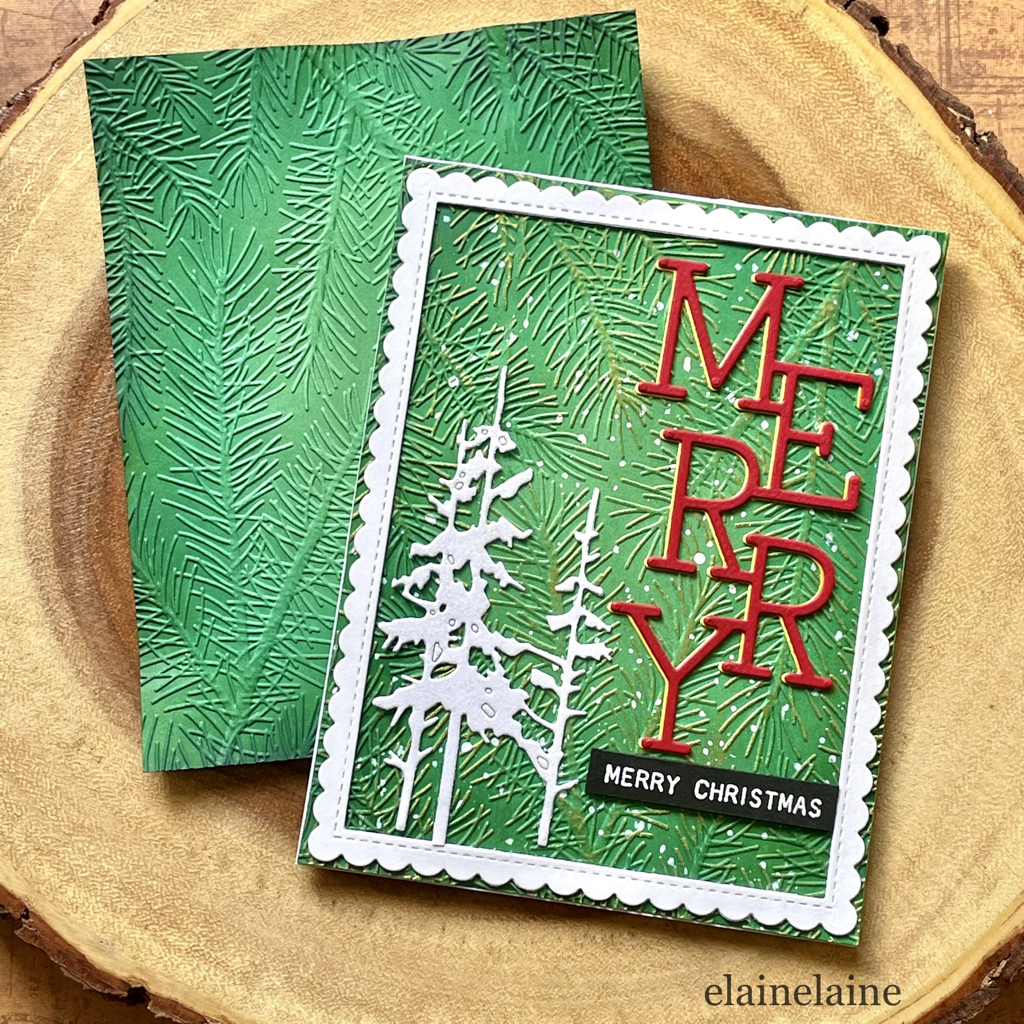
Snowfall turns the season into sparkling winter. It is a magical time to dash through the snow and walk in a winter wonderland.
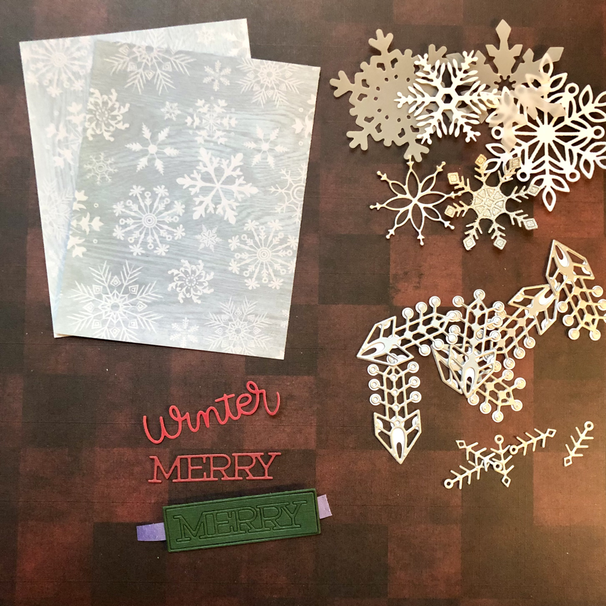
Supplies:
Whimsy Stamps Snow Flurry Background stamp
Stamper Anonymous Tim Holtz Collection Tiny Text Christmas cling stamp
Tim Holtz distress oxide ink pad- Blueprint Sketch
Wow! embossing glitter-Metallic Silver Sparkle
Pinkfresh Studio Pinkfresh Jewel Essentials-Sapphire
Whimsy Stamps Snow Flurry Background stamp
Stamper Anonymous Tim Holtz Collection Tiny Text Christmas cling stamp
Tim Holtz distress oxide ink pad- Blueprint Sketch
Wow! embossing glitter-Metallic Silver Sparkle
Pinkfresh Studio Pinkfresh Jewel Essentials-Sapphire


 RSS Feed