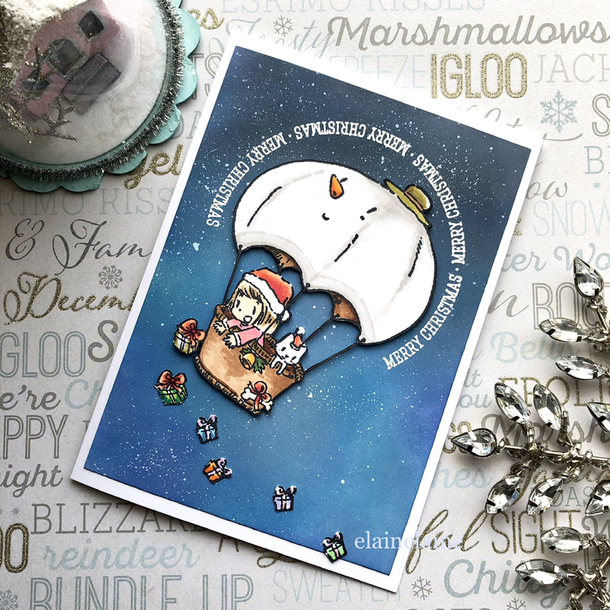
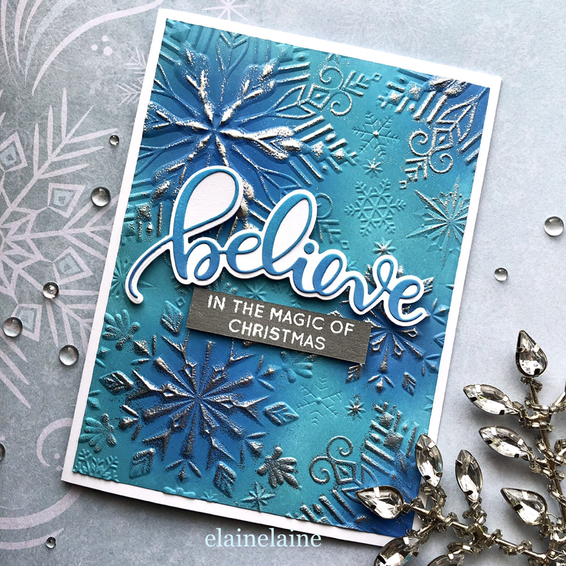
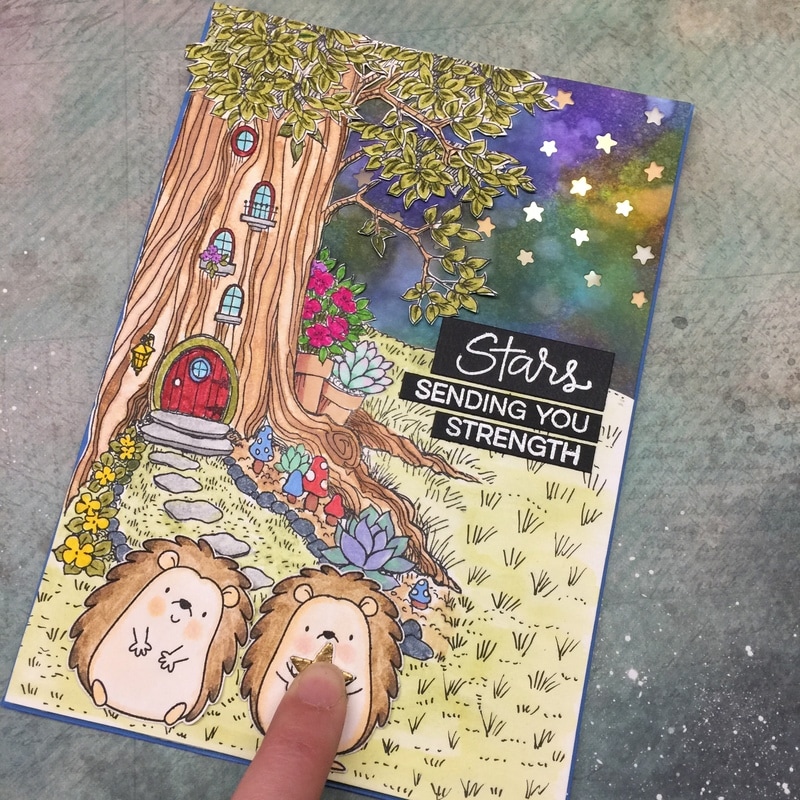
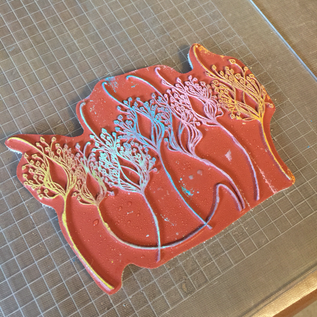
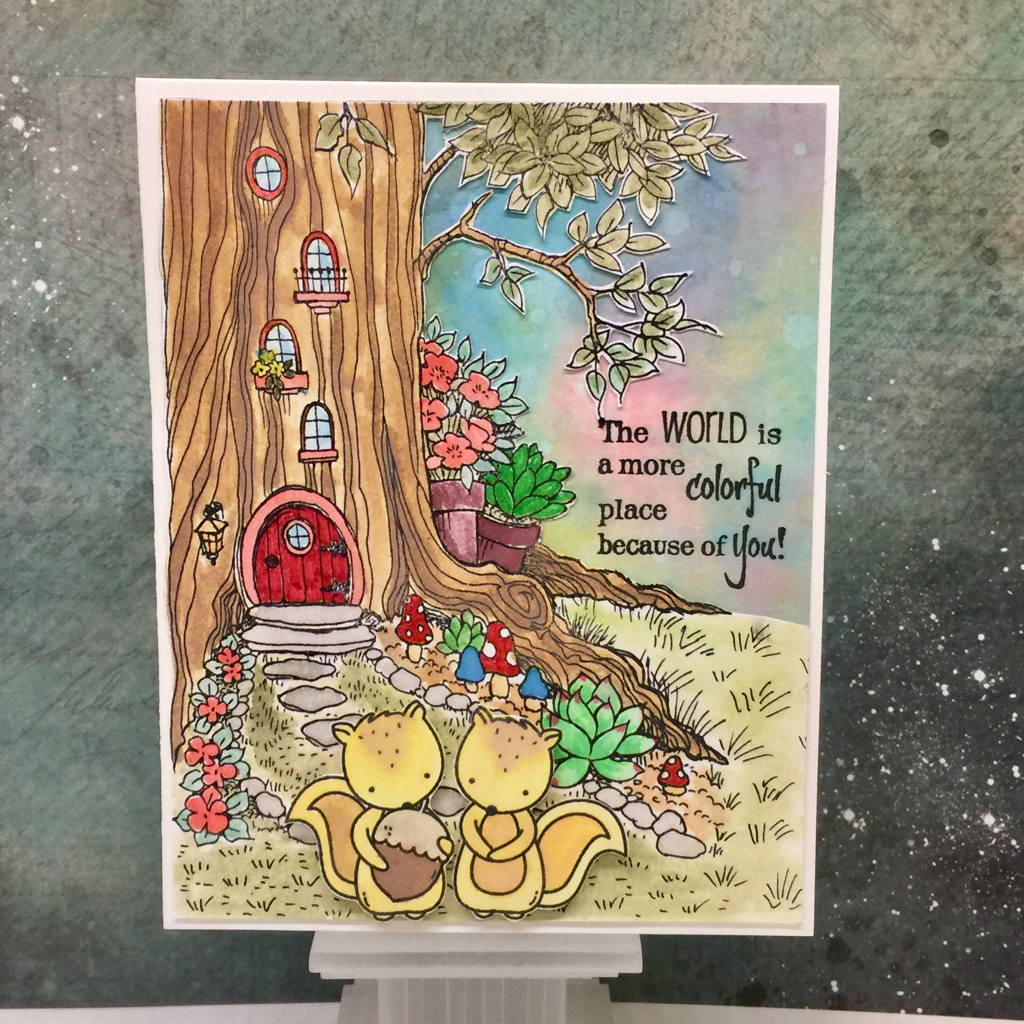
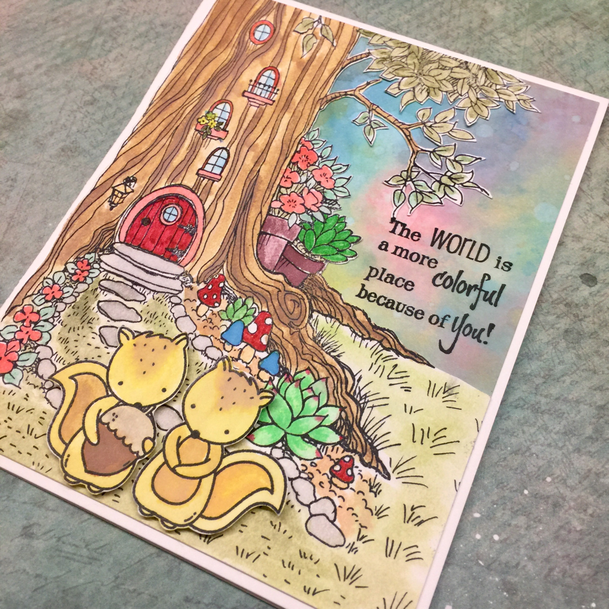
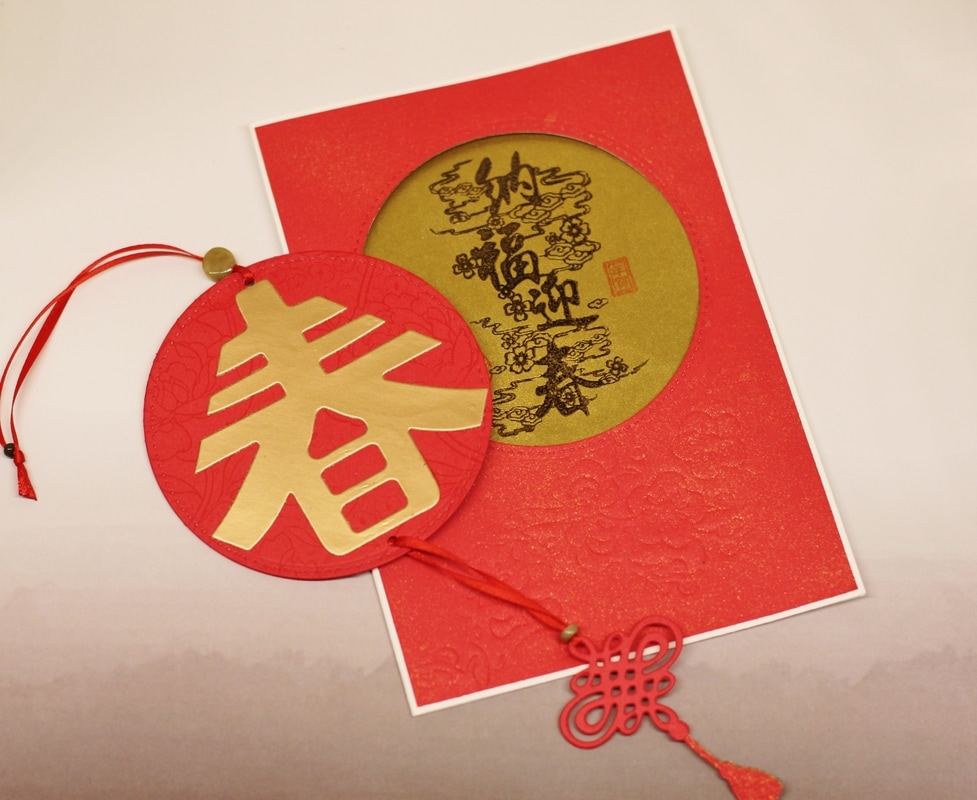
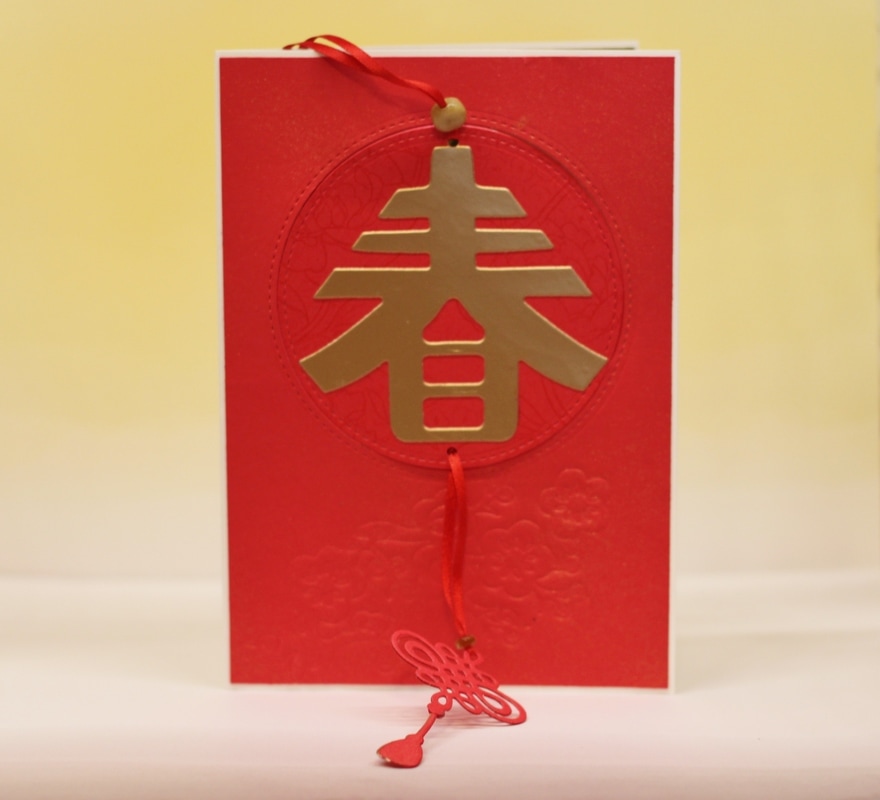
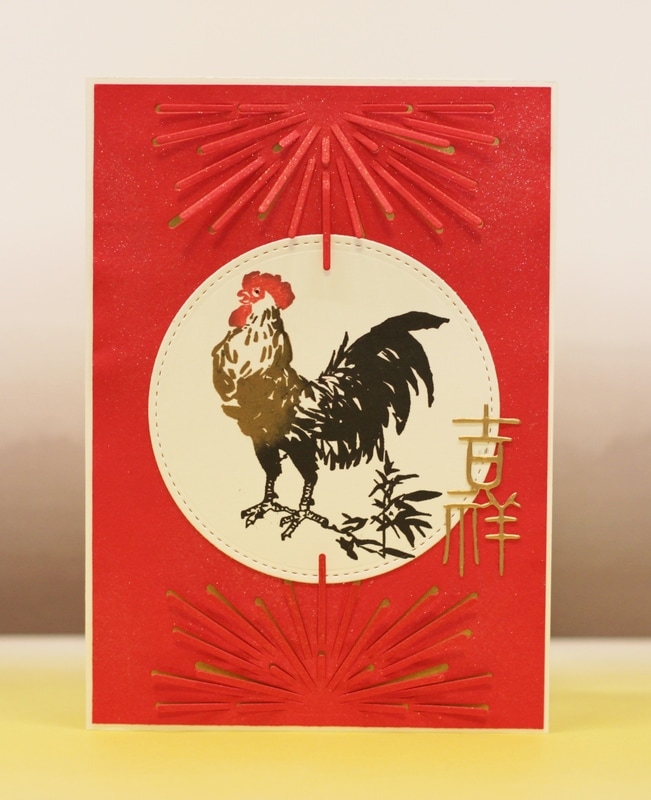
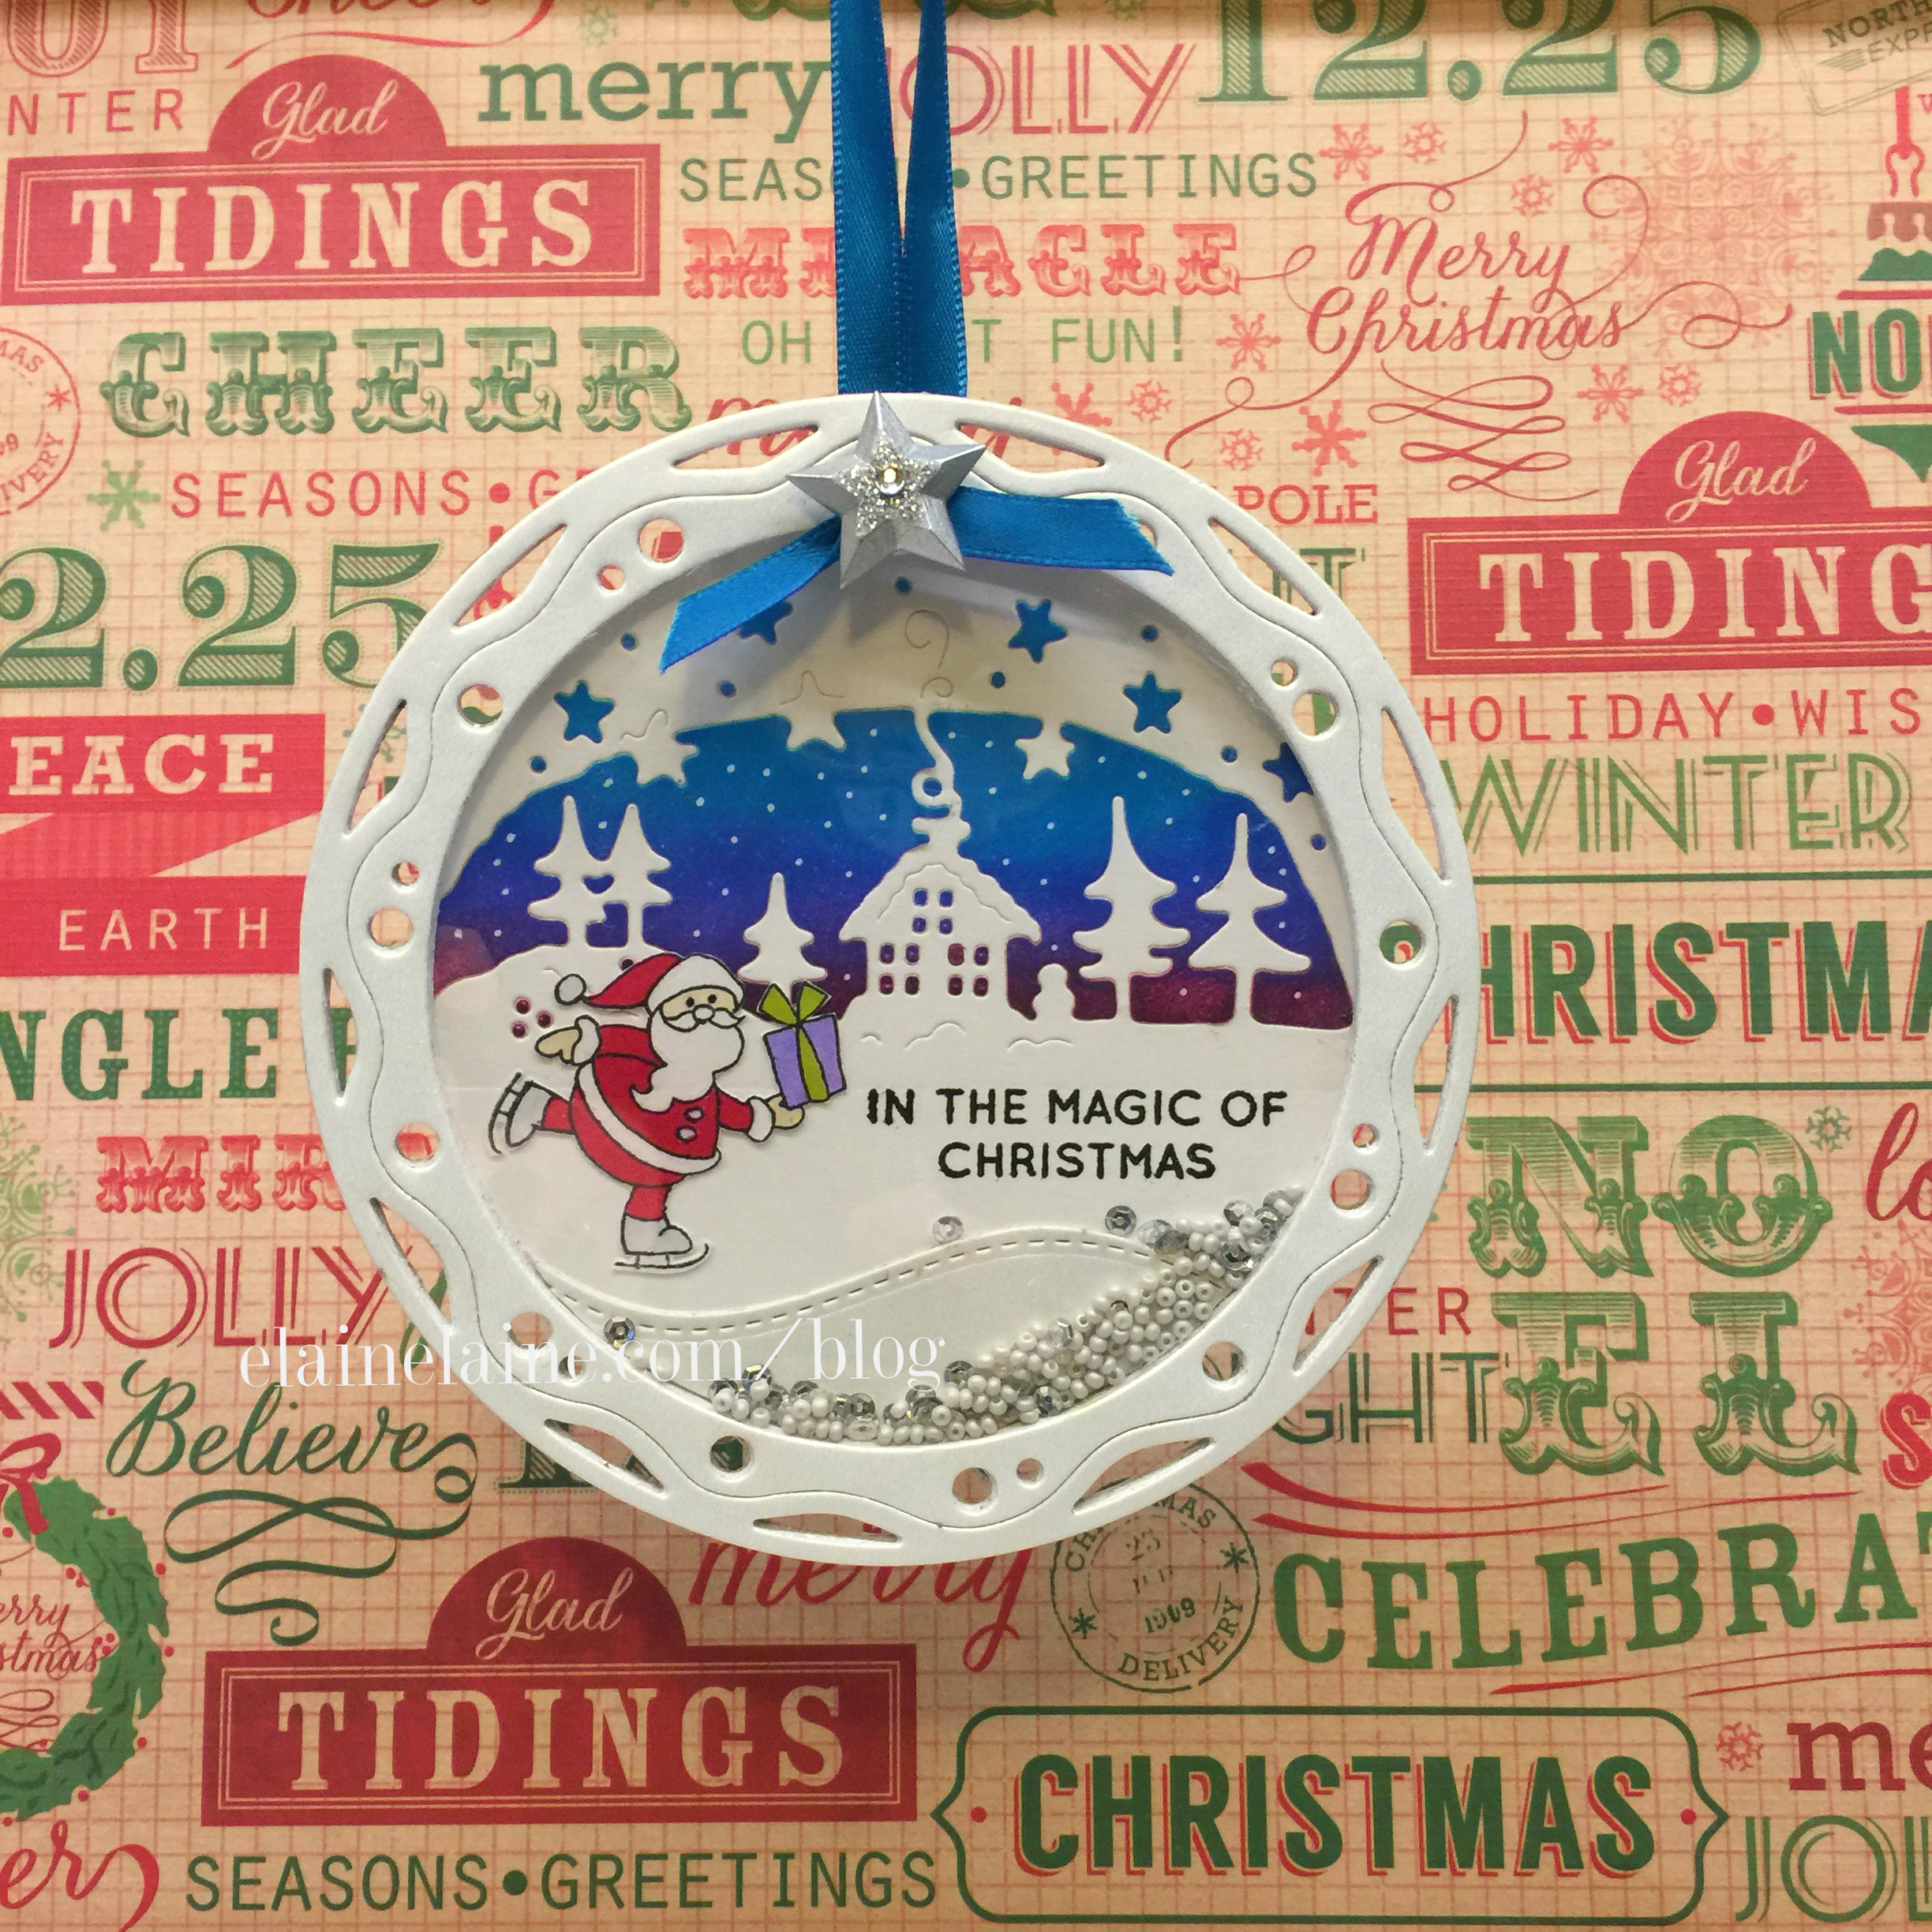
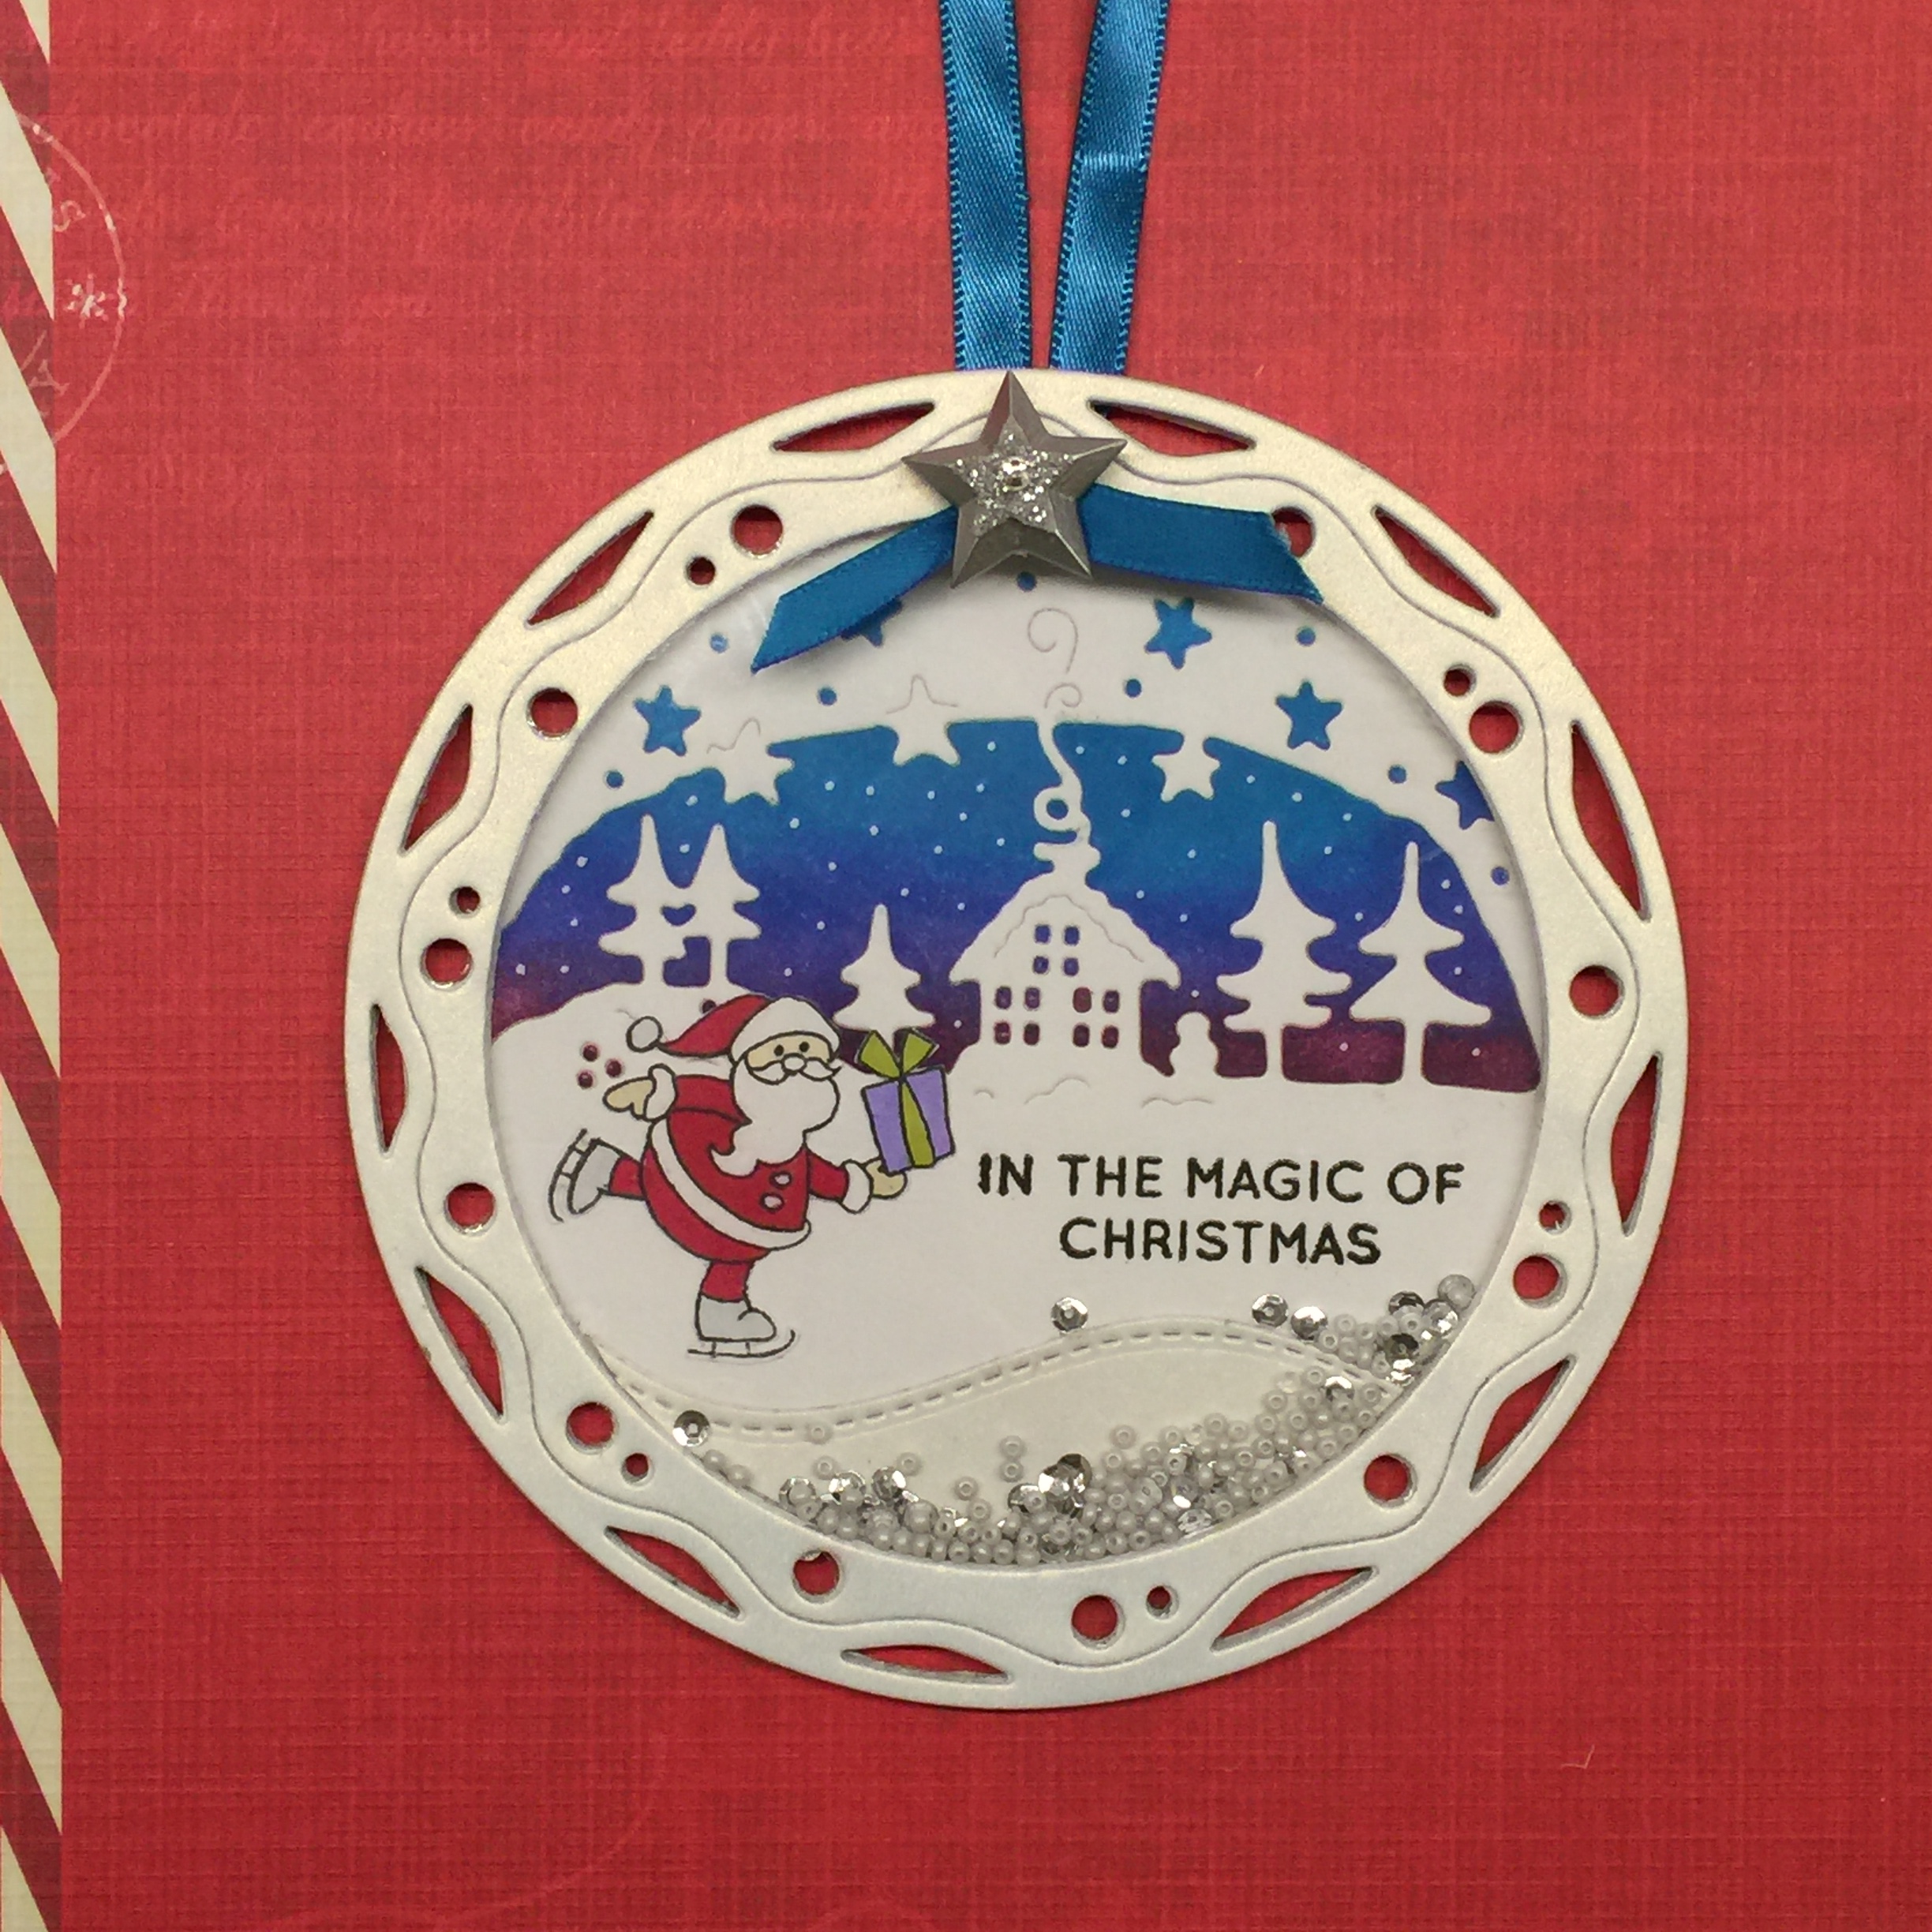
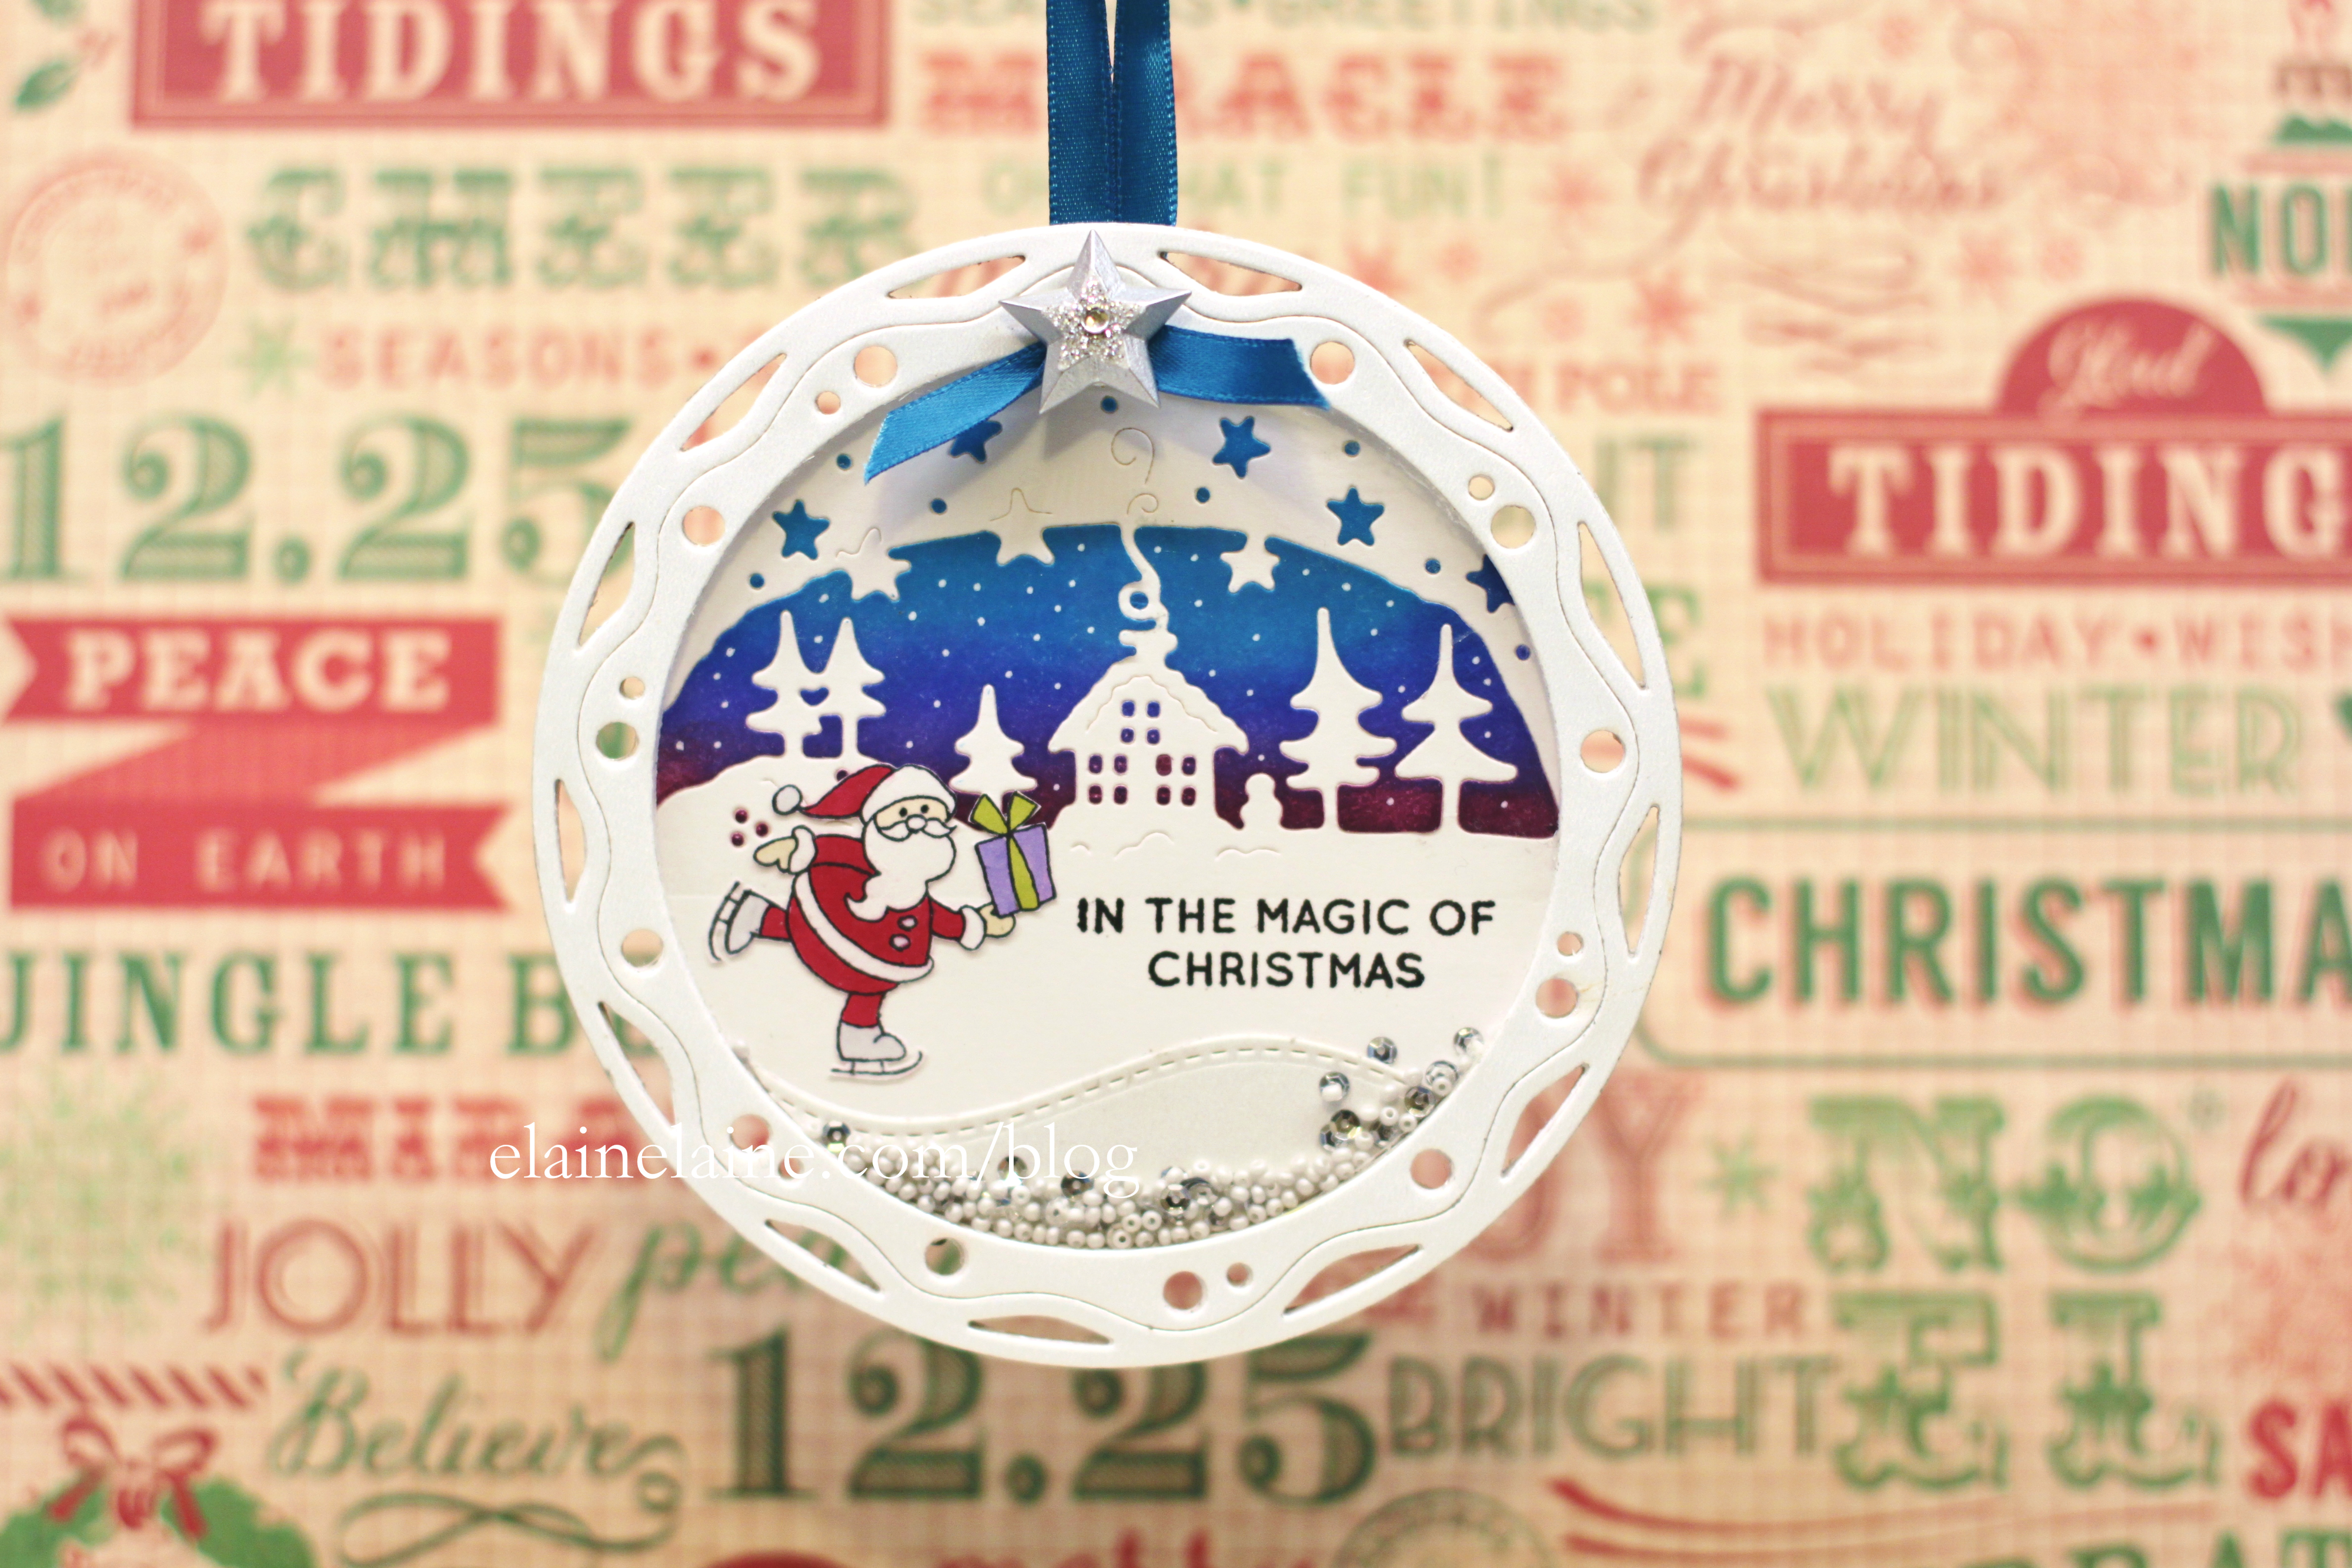
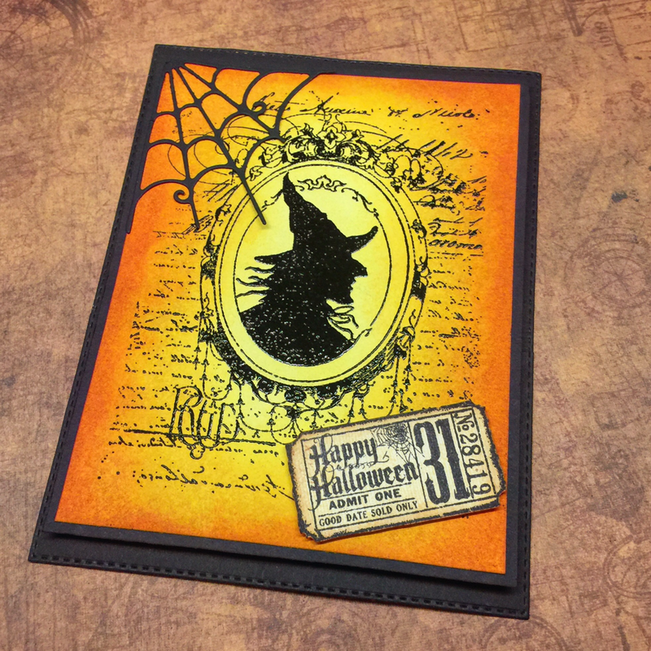
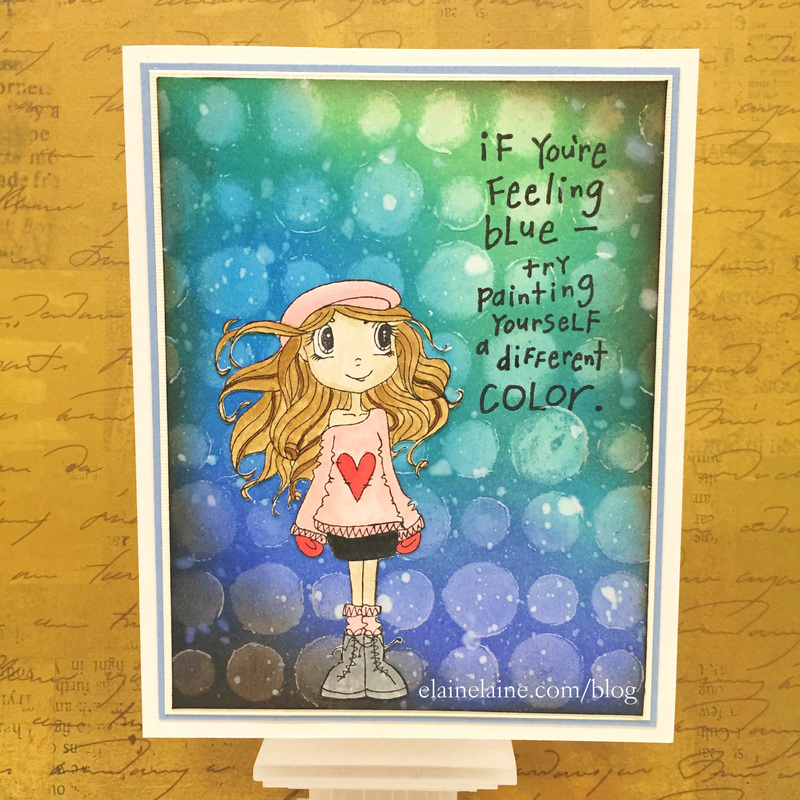
I am sharing a cute card with presents dropping from the sky. If all my presents suddenly drop down from the sky, I will get a big smile too
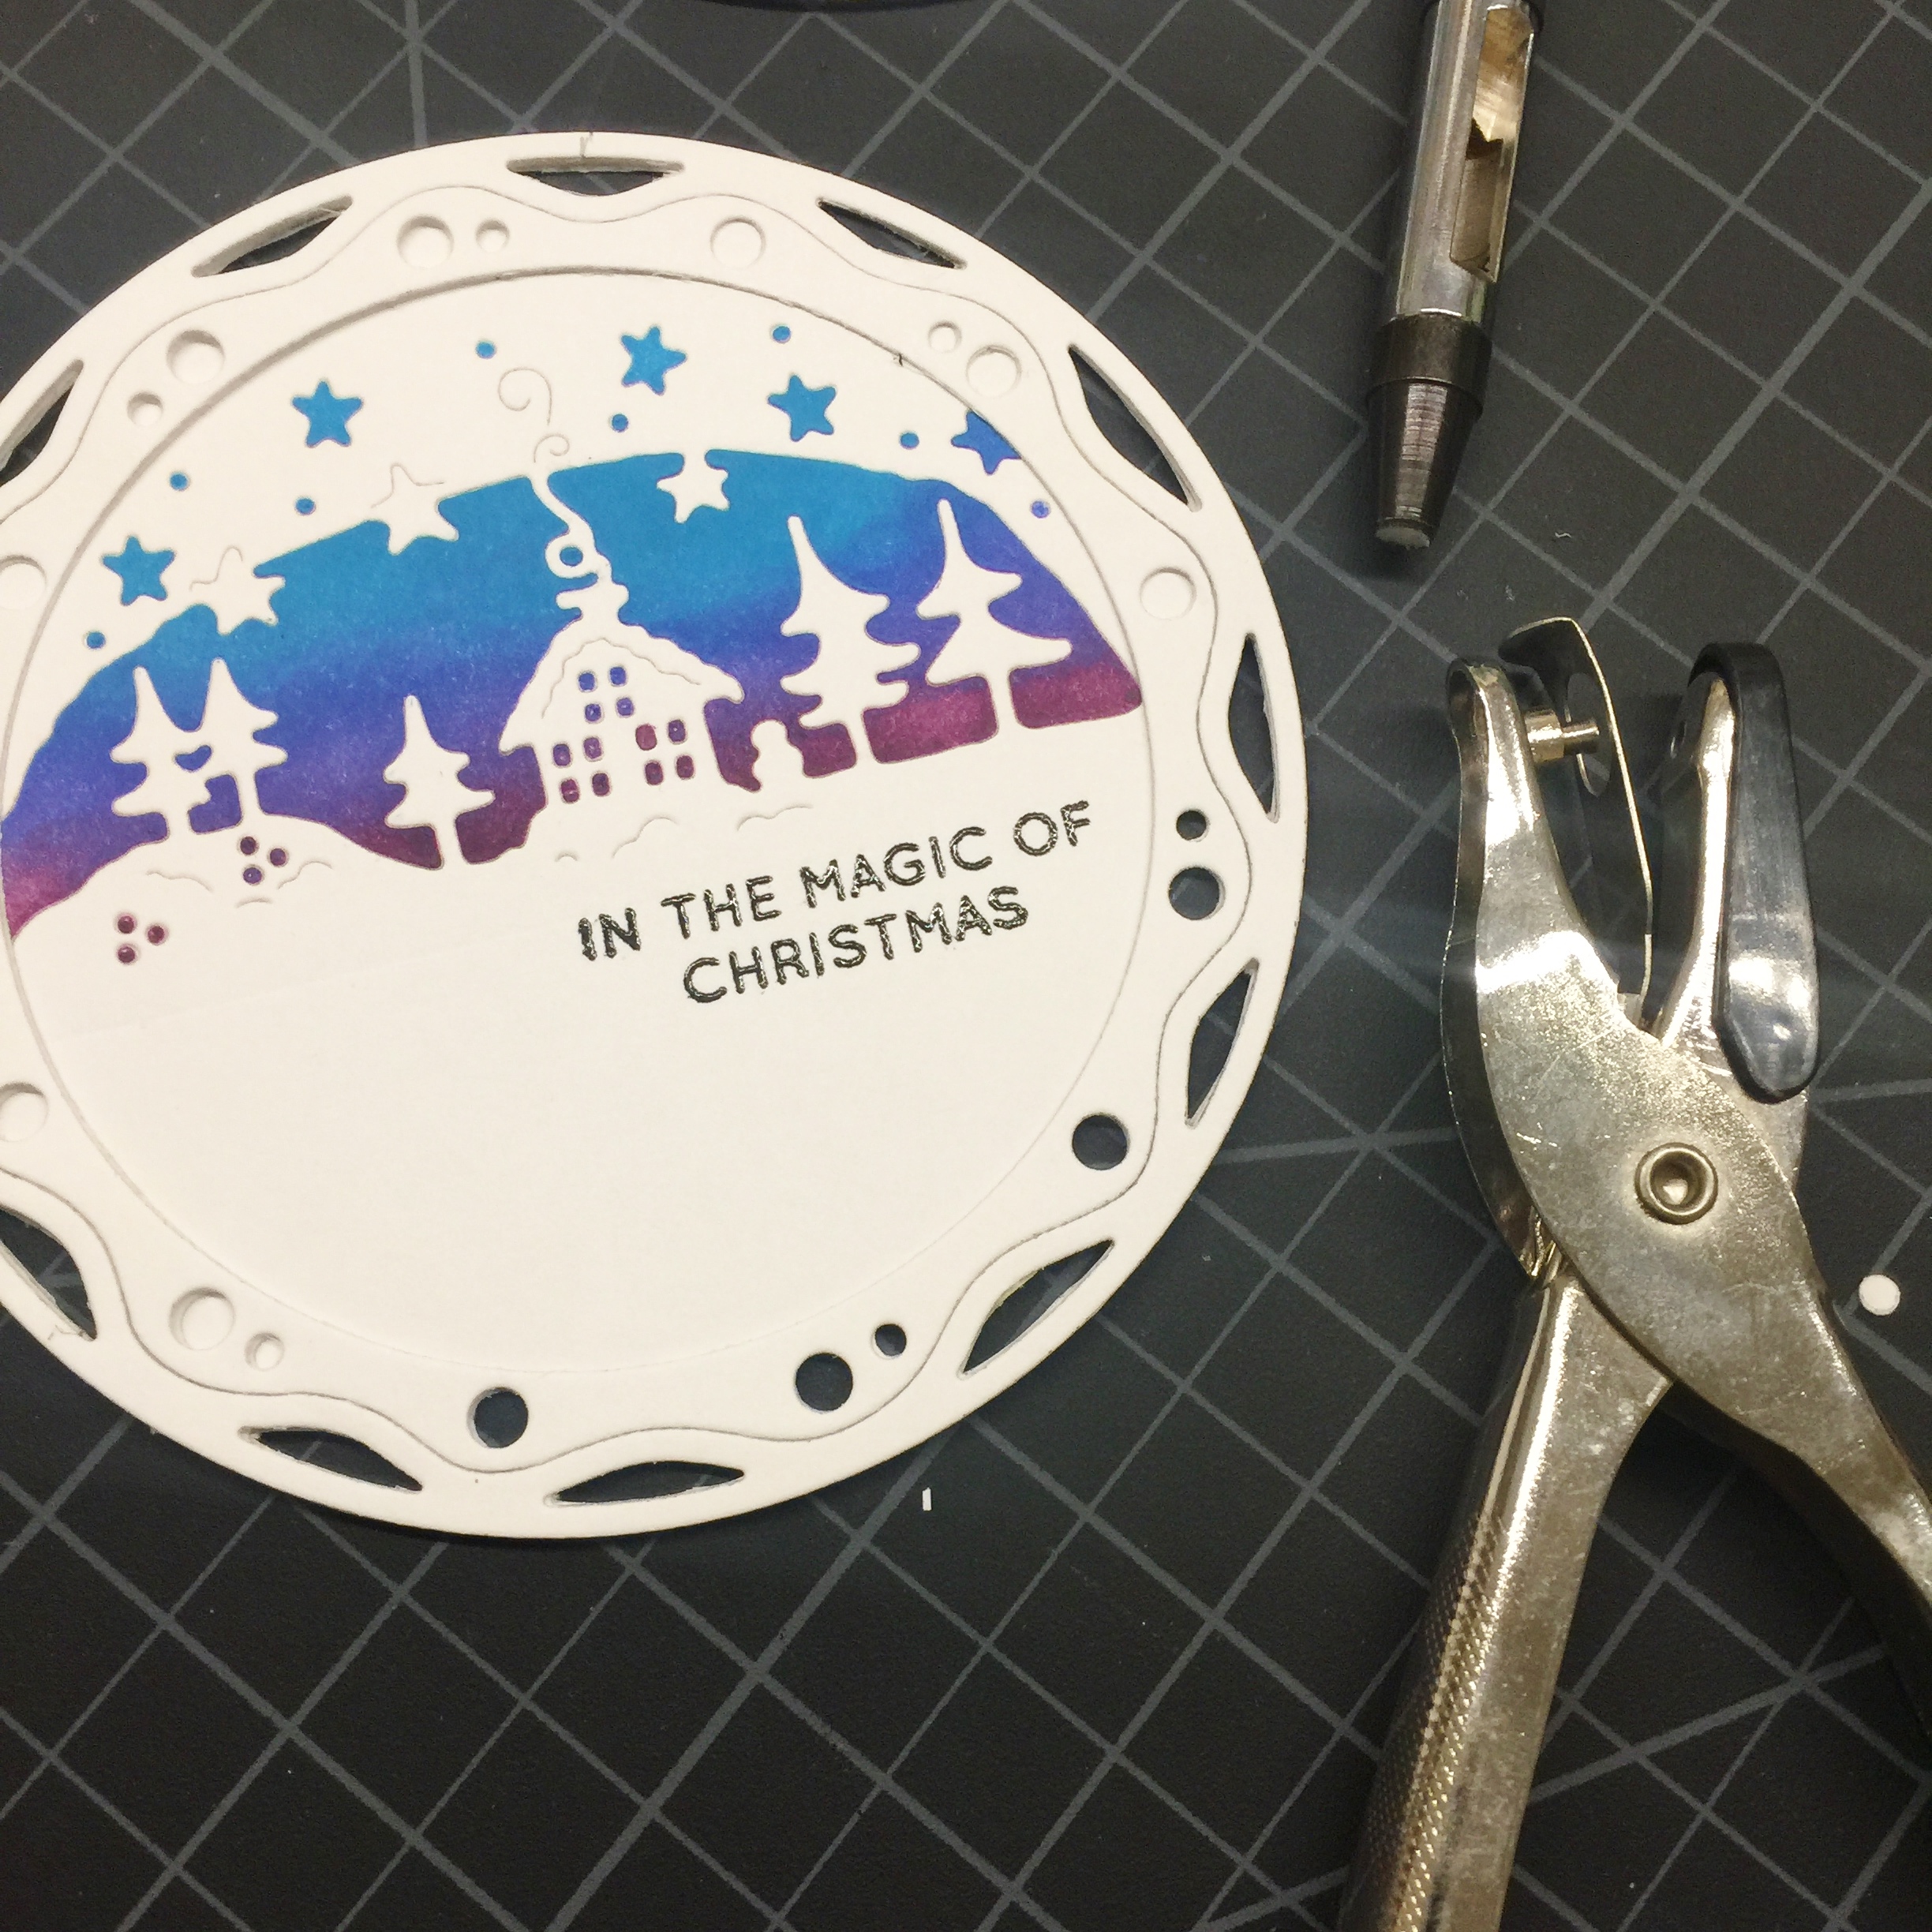
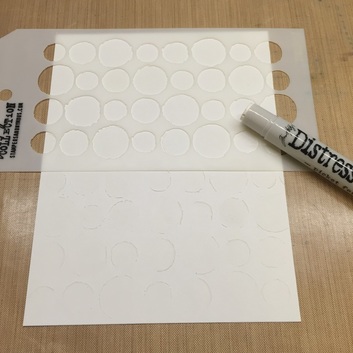
Material/Supplies used in card making:
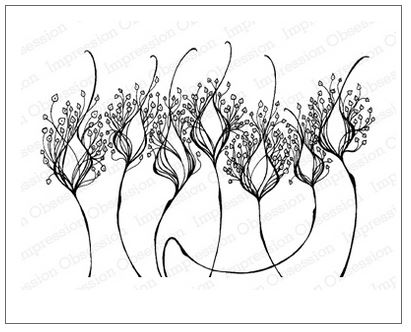
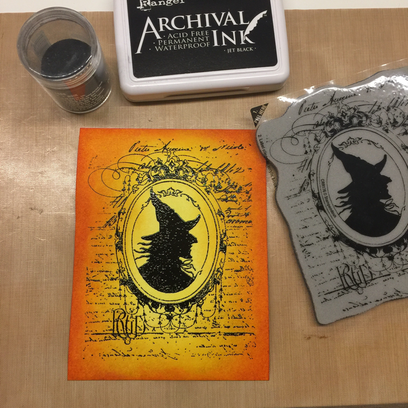
Dreamerland craft Balloon Ride stamp
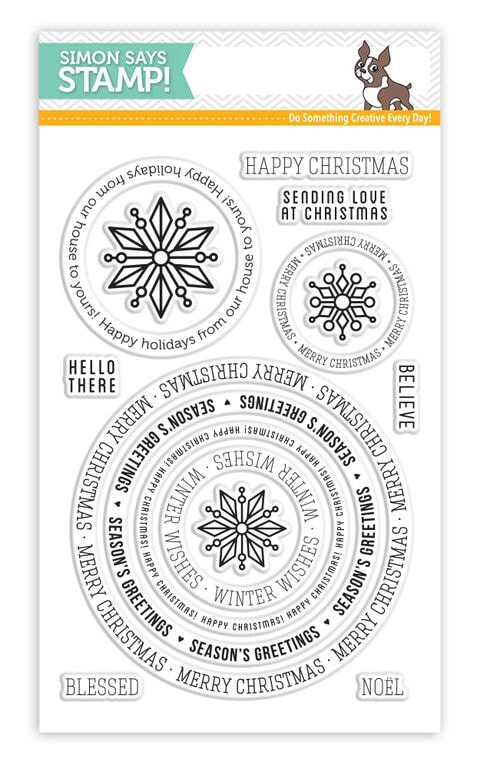
Simon Says Stamp circle saying holiday clear stamp
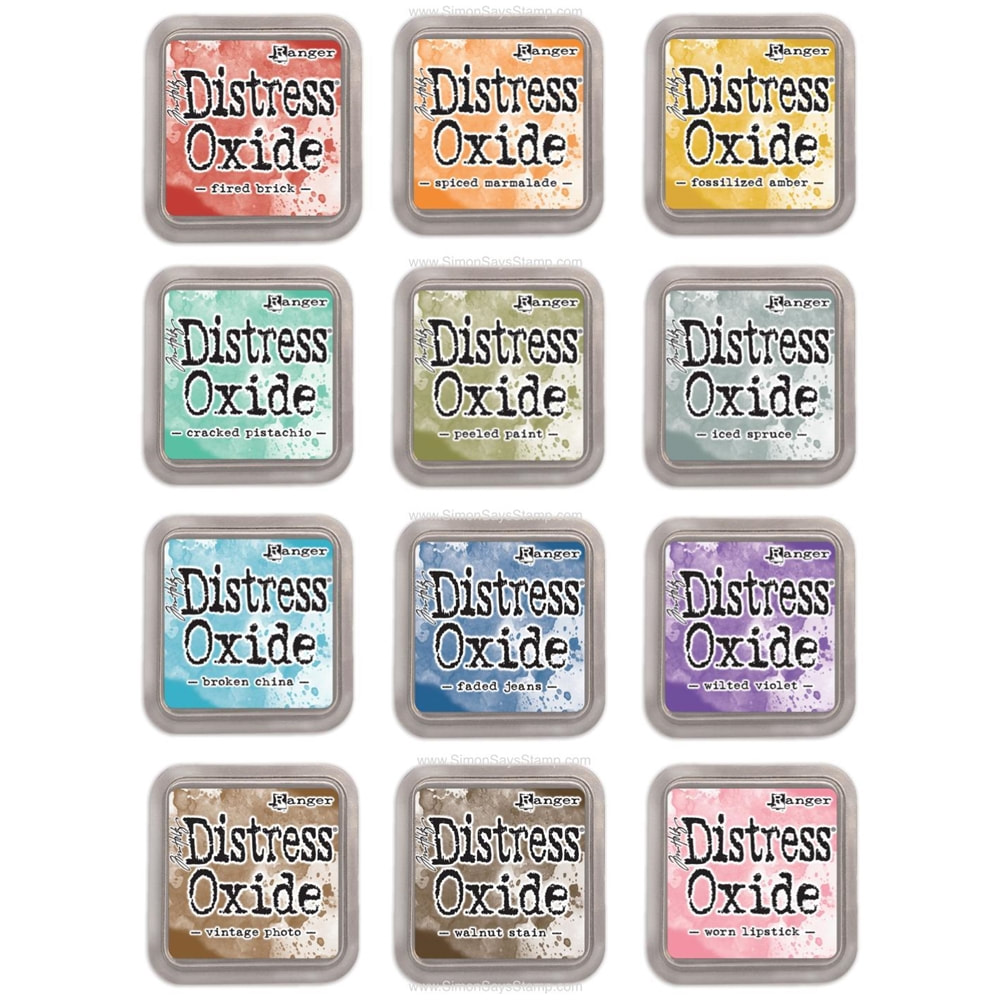
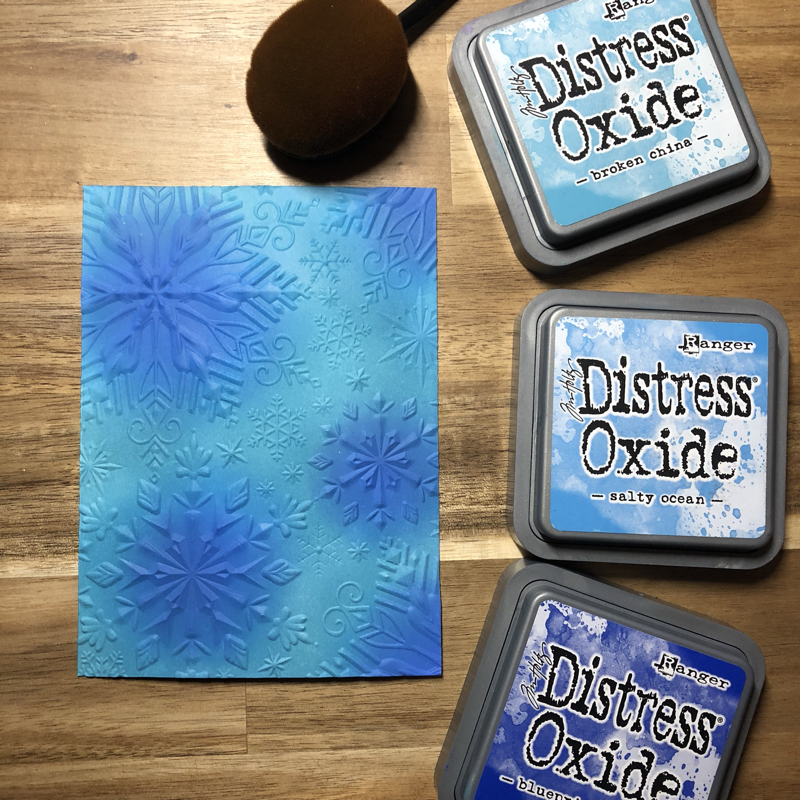
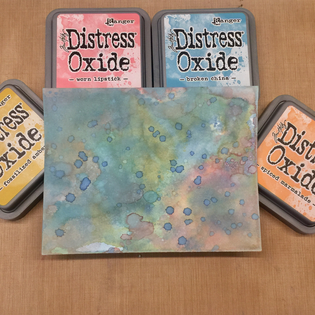
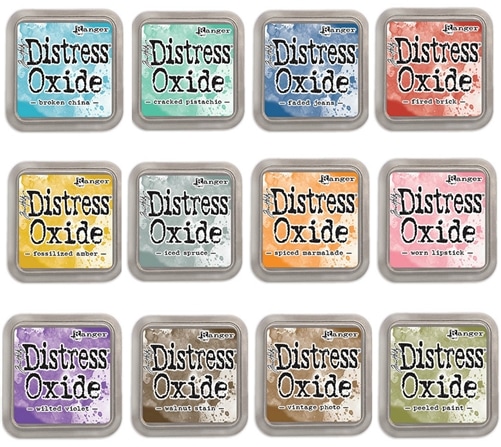
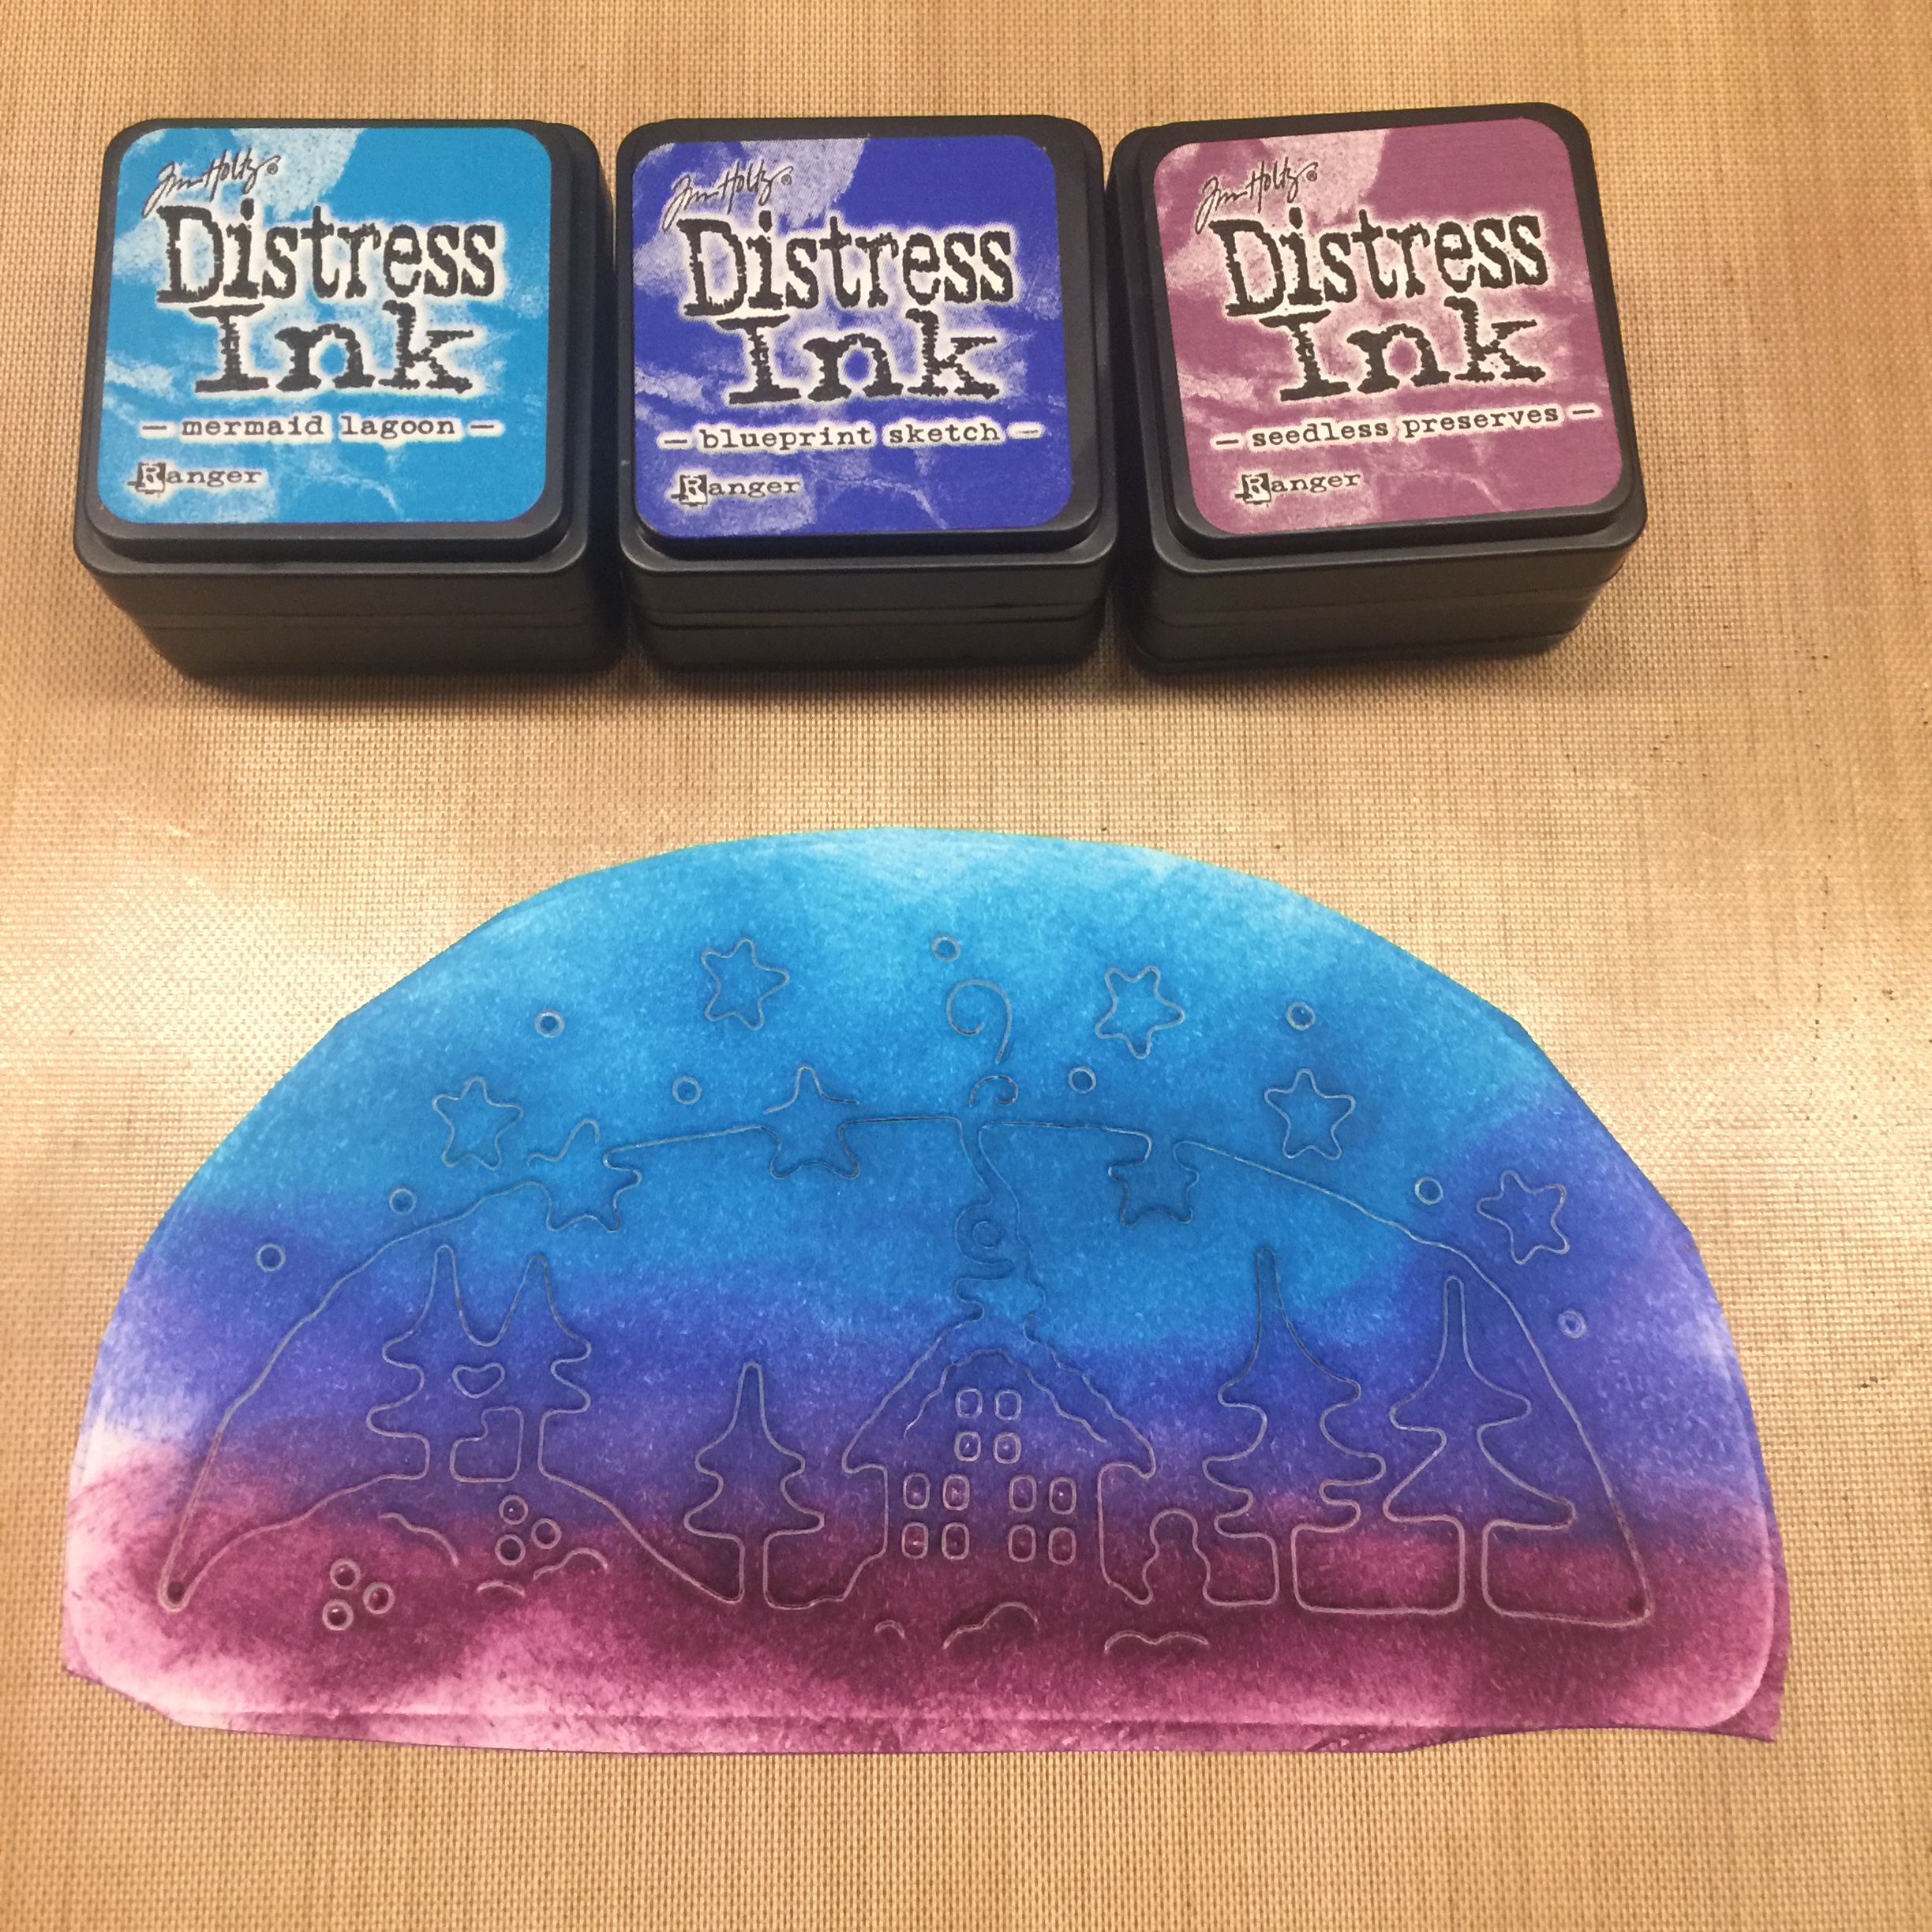
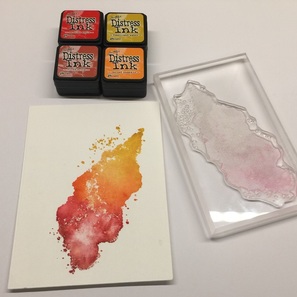
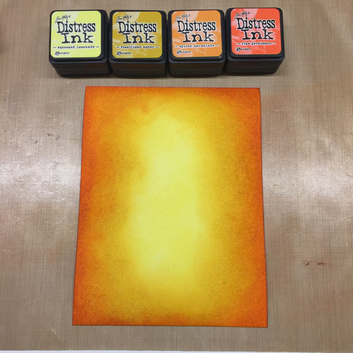
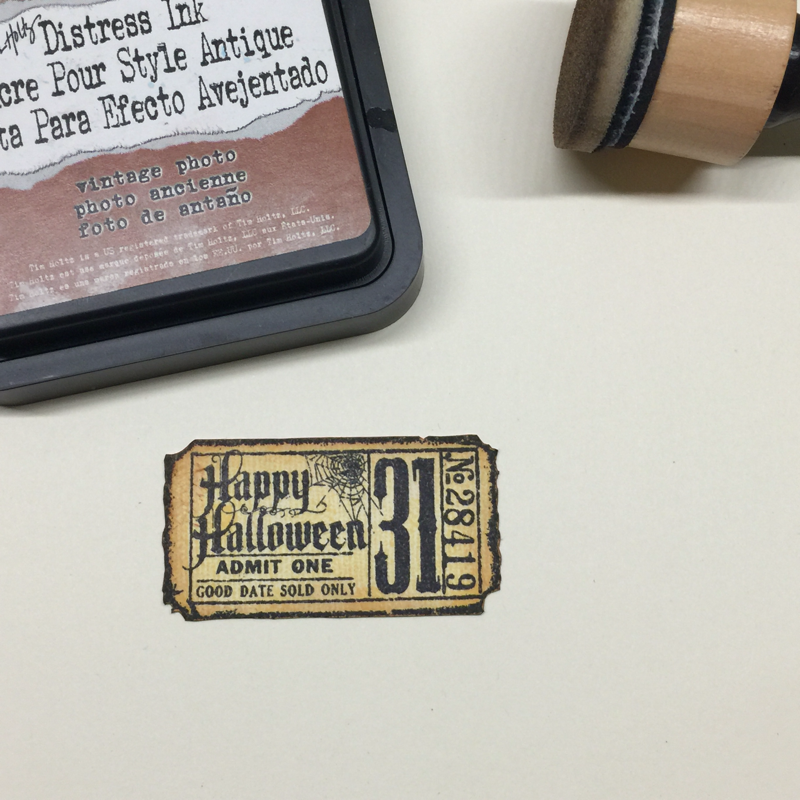
Tim Holtz distress oxide ink pad

Thank you for visiting~


 RSS Feed